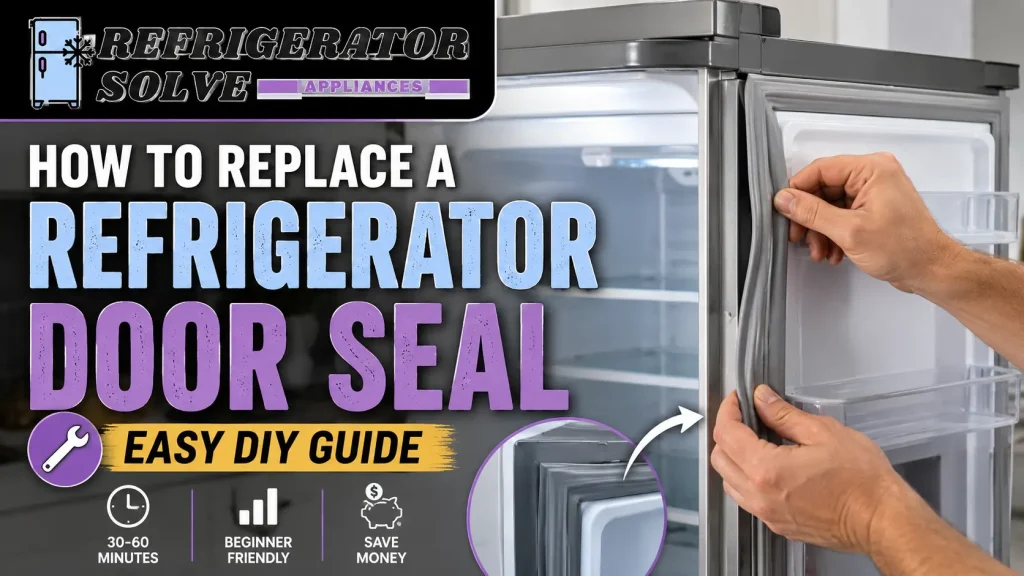
Learn how to replace refrigerator door seal with this easy DIY guide. Follow step-by-step instructions, testing tips, costs, and repair advice.
Learning how to replace refrigerator door seal can help me fix one of the most common refrigerator problems without calling a technician. A damaged door gasket allows cold air to escape, making the refrigerator work harder, creating frost buildup, and increasing electricity costs.
I have seen many homeowners notice the problem through everyday signs: warm milk even when the fridge is running, soft vegetables, or frost appearing on freezer walls. In many cases, this problem can be solved with a simple $30-$150 fix depending on the gasket model and refrigerator brand.
A worn seal does not always mean the refrigerator needs replacement. In many situations, I can restore proper cooling by learning how to replace fridge door seal correctly with basic tools and careful installation.
In this guide, I will explain the inspection process, repair options, complete replacement steps, testing methods, and mistakes to avoid when handling a refrigerator door seal replace project.
Author Bio
I have hands-on experience working with refrigerator maintenance and common appliance repairs. I focus on practical solutions that help homeowners diagnose problems, save repair costs, and keep appliances working efficiently.
Why Knowing How to Replace a Refrigerator Door Seal Can Save You Money
I know that a refrigerator with a weak seal can waste energy every day. According to the U.S. Department of Energy and ENERGY STAR refrigerator guidance, improving refrigerator efficiency helps reduce unnecessary energy use. You can learn more from ENERGY STAR here.
A damaged gasket forces the compressor to run longer because cold air escapes continuously. Replacing the seal early can prevent higher electricity bills and protect food quality.
Common signs that I check before replacing a refrigerator gasket include:
- Visible cracks or tears in the gasket
- Condensation around door edges
- Frost accumulation inside freezer
- Refrigerator running constantly
- Higher electricity bills
- Difficulty closing door completely
- Food spoiling faster than normal
I also consider food safety when checking refrigerator performance. Temperature problems caused by air leaks can affect storage conditions, and the USDA provides food safety information here: https://www.fsis.usda.gov
Should You Repair or Replace Your Refrigerator Door Seal?
Before I replace a refrigerator gasket, I first check whether the existing seal can be repaired.
When Repair Is Enough
A full replacement is not always necessary. I usually try simple fixes when:
- The gasket is dirty
- The gasket is slightly bent or misaligned
- Small gaps appear because of improper fitting
- The seal has temporarily lost its shape
Cleaning and reshaping can sometimes restore the magnetic seal.
When Full Replacement Is Needed
I recommend a new gasket when:
- The gasket has visible cracks
- Rubber feels hard or brittle
- Parts of the seal are torn
- The door still leaks after cleaning
- The seal is permanently damaged
A damaged rubber seal cannot maintain flexibility forever, so replacement becomes the better long-term solution.
Best Solutions Before You Replace Fridge Door Seal
1. Inspect the Entire Gasket
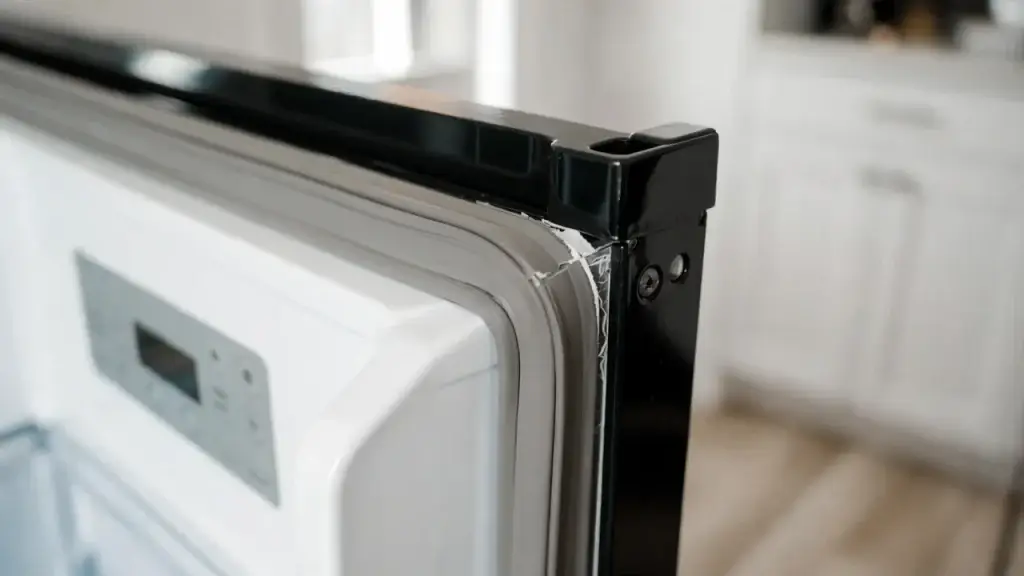
I always inspect the full gasket before ordering a replacement. I check for cracks, tears, and deformation, especially around corners where damage usually starts.
I also use the dollar-bill test. If the bill slides out easily from a closed door, the seal may not be creating enough pressure.
2. Clean Before Replacing
Sometimes dirt creates symptoms that look like gasket failure. I clean the gasket using warm water and mild soap, then test the door again.
Grease, dust, and food residue can prevent the magnetic strip from making proper contact.
3. Purchase the Correct Replacement
I always match the gasket with the refrigerator model number. OEM parts are usually preferred because they are designed specifically for that appliance.
Before ordering, I verify the dimensions carefully because even a small mismatch can cause sealing problems.
4. Maintain the Seal Regularly
I recommend cleaning refrigerator seals monthly. Regular maintenance prevents dirt buildup and extends gasket life.
I also inspect hinges every few months and avoid aggressively slamming the refrigerator door.
5. Test the Seal After Cleaning
I clean the gasket completely before deciding it has failed. A soft cloth and warm soapy water usually remove the buildup causing false symptoms.
After cleaning, I perform another seal test to confirm whether replacement is actually needed.
6. Check Door Hinge Alignment
A misaligned door can prevent even a new gasket from sealing correctly. I check whether the door hangs evenly and adjust hinges if necessary.
A properly aligned door helps the gasket sit flat against the frame.
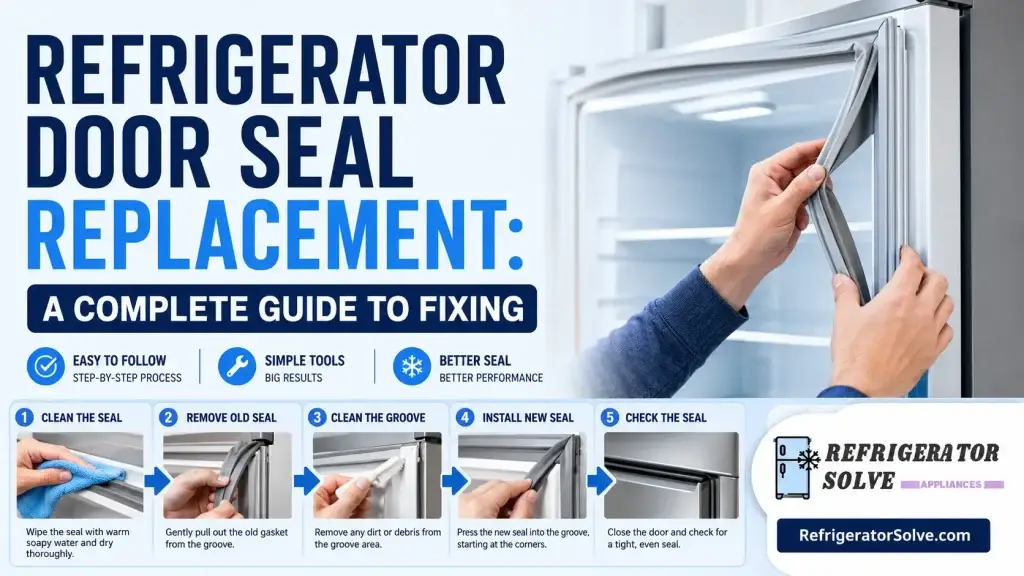
How to Replace Refrigerator Door Seal: Step-by-Step Guide
Here is exactly how to replace a refrigerator gasket at home using basic tools.
What You’ll Need Before You Start
Before beginning the replacement, gather these basic tools:
- Flat-head screwdriver
- Warm water & mild soap
- Clean dry cloth
- Hair dryer (optional, for softening the gasket)
- A dollar bill (for seal testing)
Most of these items are already available at home.
Step 1: Identify Your Refrigerator Model
I first find the model number before buying any part. It is usually located on the side wall, door frame, back panel, or inside the owner’s manual.
I always take a photo of the label for reference. The model number matters because refrigerator manufacturers use different gasket designs for different models.
Step 2: Order the Correct Gasket
I search using the model number on the manufacturer website or an authorized parts retailer.
I prefer OEM gaskets because they usually provide better fit and durability. I also compare dimensions with my existing door before ordering.
A replacement gasket normally costs around $30-$150 depending on the brand and model.
Step 3: Unpack and Soften the New Seal
I let the new gasket rest at room temperature for at least 30 minutes. Shipping can make rubber stiff and difficult to install.
If needed, I soak it in warm water for 5-10 minutes or use a hair dryer on low heat. A flexible gasket seats more evenly.
Step 4: Remove the Old Seal
I start at one corner and gently pull the old gasket from its channel.
If it is tight, I use a flat-head screwdriver carefully by turning slightly instead of forcing it. Warm water can help loosen stubborn sections.
I also take a photo before removal so I remember the original position.
Step 5: Clean the Mounting Surface
I clean the mounting area with a cloth dampened in warm soapy water.
I pay special attention to corners because grease collects there. I dry the surface completely because moisture can make the new gasket slip.
Step 6: Install the New Gasket
I start from the top corner and work down one side, across the bottom, and up the other side.
I press each section firmly before moving forward. I never stretch the gasket because stretching creates gaps.
I check continuously for twists, wrinkles, or uneven sections.
Step 7: Tighten Fasteners Carefully
If my model uses screws or fasteners, I tighten them in a cross pattern from corner to corner.
I only hand-tighten because power tools can damage the door frame. The gasket should sit flush before finishing.
Step 8: Test the Seal
I use the dollar-bill test after installation:
Place a dollar bill between the door and frame. Close the door. Slowly pull the bill out. Resistance means the seal is working. If it slides out easily, adjustment may be needed.
I test several points around the entire door because one weak area can still cause air leaks.
I also allow about 24 hours for the gasket to fully conform.
Expert Tips for Replacing Refrigerator Door Seal the Right Way
Pro Tips
- Clean the gasket monthly to extend lifespan
- Use a hair dryer for wrinkles after installation
- Inspect corners first because wear starts there
- Check door alignment before replacing the gasket
- Maintain refrigerator temperature between 35°F-38°F
Common Mistakes
- Installing the wrong gasket model
- Ignoring damaged door hinges
- Using harsh chemicals on rubber
- Forcing the seal into place unevenly
Still Leaking After You Replace Refrigerator Gasket? Try This
Even after careful installation, some issues can appear. Here is how I fix the most common problems:
Problem 1: Gaps at Corners
I press the gasket back into place using thumb pressure. A hair dryer on low heat can help the rubber conform properly.
Problem 2: Door Feels Uneven
I check hinge alignment first. If needed, I loosen hinge screws, realign the door, and retighten carefully.
Problem 3: Frost Still Building Up
I wait 24-48 hours because the gasket may need time to settle. If frost continues, I repeat the dollar-bill test around all edges.
Problem 4: Gasket Keeps Popping Out
I check whether the gasket size matches the refrigerator model number. A wrong part usually requires ordering the correct OEM replacement.
FAQs: How to Replace Refrigerator Door Seal
How do I know if I need to replace my refrigerator door seal?
I look for visible cracks, frost buildup, condensation, rising energy bills, and food spoiling faster than normal.
Can I replace a refrigerator door seal myself?
Yes. I only need basic tools, and the process usually takes 30-60 minutes depending on the refrigerator model.
How much does it cost to replace a refrigerator door seal?
A gasket usually costs $30-$150. Professional labor often adds $50-$100, so DIY replacement can save money.
How long does a refrigerator door seal last?
Most seals last around 5-10 years with proper maintenance. I replace mine sooner if cracks or leaks appear.
Will replacing the seal lower my energy bills?
Yes. A proper seal reduces cold air loss, helps the compressor run less, and can lower electricity usage.
Can a damaged seal cause food spoilage?
Yes. Temperature changes caused by air leaks can shorten food shelf life and create food safety concerns.
What is the difference between a refrigerator gasket and door seal?
There is no difference. Both terms describe the rubber strip around the refrigerator door.
Can I use adhesive to fix a damaged seal?
Adhesive is only a temporary fix. It cannot restore rubber flexibility or magnetic holding strength. Full replacement is the better long-term solution.
Final Thoughts on How to Replace Refrigerator Door Seal
Learning how to replace refrigerator door seal is one of the most useful DIY refrigerator repairs I can perform at home. A damaged gasket can increase energy use, create frost problems, and affect food safety.
With basic tools, careful inspection, and the correct replacement part, I can complete the job in under one hour in many cases. The cost is usually much lower than hiring a technician, especially when the gasket itself costs only $30-$150.
I always recommend checking the seal, cleaning it first, and testing the door properly before replacing anything. A well-installed gasket improves cooling performance, reduces wasted energy, and helps the refrigerator maintain stable temperatures.
For more appliance repair solutions, maintenance advice, and refrigerator guides, explore more refrigerator repair guides and maintenance tips at RefrigeratorSolve.

Hi, I’m the lead researcher and appliance enthusiast behind RefrigeratorSolve. With years of hands-on experience troubleshooting cooling systems and testing home appliances, I am dedicated to bringing you honest reviews, energy-saving tips, and practical solutions to keep your refrigerator running perfectly.