
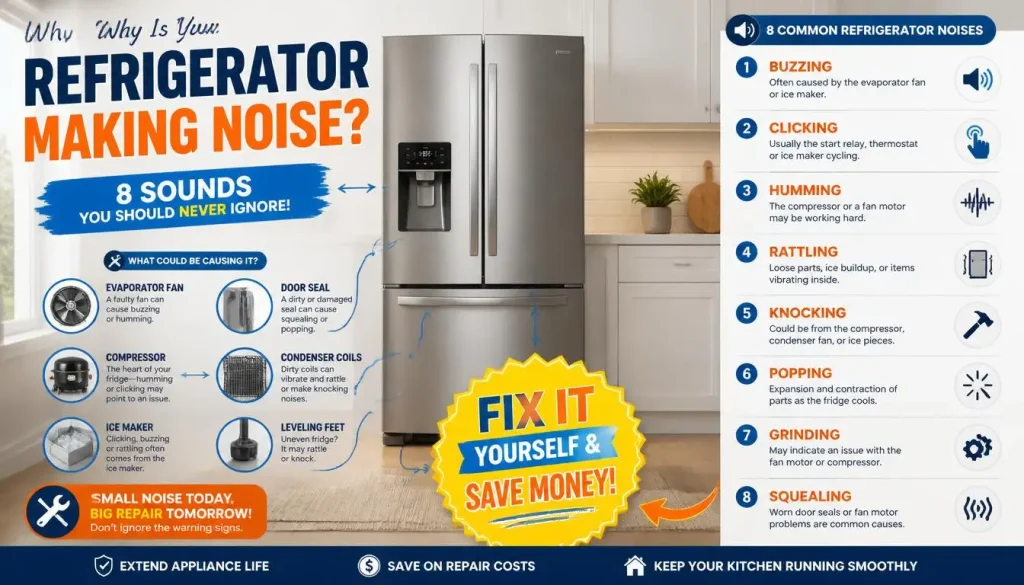
Quick Answer: A noisy refrigerator or fridge is usually caused by the condenser fan, evaporator fan, compressor, ice maker, drain pan, loose leveling, or normal cooling expansion. Start by identifying the exact sound type, buzzing, clicking, grinding, rattling, squealing, or knocking, then match it to the source using the diagnosis table below. Most noise problems can be fixed at home without replacing the appliance.
A noisy fridge can turn a quiet kitchen into a constant source of frustration. One day it hums softly. The next, it buzzes, clicks, rattles, knocks, or squeals every time the cooling cycle runs. Whether you own a Samsung, LG, Whirlpool, Bosch, Beko, Hotpoint, Fisher & Paykel, or Westinghouse refrigerator, the troubleshooting approach is the same, match the sound to the source, then fix the cause.
Some fridge sounds are completely normal. Others are early warning signs that a component is struggling. This guide covers every common noise type, a full sound-to-cause diagnosis table, normal vs. abnormal sound guidance, step-by-step fixes, repair cost estimates for USA, UK, Canada, and Australia, and clear advice on when to call a technician.
Sound Diagnosis Table — Find Your Noise First
Match the sound you hear to the most likely cause, then go to the corresponding fix:
| Sound You Hear | Where It Comes From | Most Likely Cause | Go To |
|---|---|---|---|
| Loud buzzing | Rear bottom of fridge | Dirty condenser coils or blocked condenser fan | Fix 2, Fix 3 |
| Repeated clicking | Rear or underneath | Failing start relay or overheating compressor | Fix 7 |
| Grinding or scraping | Inside the freezer | Ice buildup on evaporator fan blade | Fix 4 |
| Rattling | Bottom or sides | Loose drain pan, water lines, or uneven leveling | Fix 1, Fix 5 |
| Knocking | Rear of fridge | Compressor starting/stopping or loose water line | Fix 5, Fix 7 |
| Squealing | Freezer or rear | Fan motor bearing wearing out | Fix 3, Fix 4 |
| Gurgling or bubbling | Inside walls or back | Refrigerant flowing through coils — normal | Normal Sounds section |
| Popping or cracking | Interior walls | Plastic liner expanding and contracting — normal | Normal Sounds section |
| Hissing | Inside or rear | Refrigerant or defrost water draining — usually normal | Normal Sounds section |
| Loud humming, constant | Rear or underneath | Dirty coils making compressor overwork | Fix 2 |
| Tapping | Underneath | Loose drain pan or water line vibrating | Fix 5 |
| Pulsing hum, speed changes | Rear | Inverter/variable-speed compressor — normal on smart fridges | Fix 8 |
Normal Refrigerator Sounds vs. Sounds That Need Fixing
Before troubleshooting, it helps to know which sounds are built into how your fridge works and which ones signal a real problem:
| Normal — No Action Needed | Abnormal — Investigate Immediately |
|---|---|
| Soft humming from the compressor during a cooling cycle | Loud grinding or scraping inside the freezer |
| Gurgling or bubbling inside the walls as refrigerant flows | Repeated clicking every few minutes with no cooling |
| Single click when the compressor starts or stops | Loud buzzing that did not exist before |
| Popping or cracking from interior plastic liner as it expands | Squealing or whining from any fan motor |
| Rushing or whooshing sound as cold air circulates | Knocking that continues when the compressor is off |
| Hissing when defrost water drains | Any burning smell alongside any noise |
| Pulsing hum that changes speed on smart/inverter fridges | Noise that gets louder over days or weeks |
| Ice maker fill sound (a brief rush of water) | Rattling that shakes visible parts of the fridge |
Pro Tip: Record the noise on your phone for 20 to 30 seconds. This helps you compare it to descriptions online and is extremely useful if you need to explain the problem to a technician, saving diagnostic time and potentially reducing the call-out fee.
Why Refrigerator Noise Matters More Than You Think
A noisy fridge is not just annoying, it is often an early warning that the appliance is working harder than it should. Dirty condenser coils, blocked fans, poor airflow, or a loose component do not just create noise. They force the compressor to run longer, increase energy consumption, reduce food storage temperature stability, and shorten the life of expensive components.
Modern refrigerators in 2026 are also more sophisticated. Many Samsung, LG, GE Profile, Whirlpool, Bosch, KitchenAid, Beko, Hotpoint, Fisher & Paykel, and Westinghouse models use variable-speed inverter compressors, smart sensors, and app-connected diagnostics. These systems produce different operating sounds than older single-speed models, which is why understanding what is normal for your specific fridge type matters as much as identifying the noise itself.
Did You Know: Most refrigerators perform best with the fresh food section near 37°F / 3°C and the freezer near 0°F / -18°C. When airflow is restricted by dirty coils, blocked vents, or a failing fan, the fridge runs longer and louder while trying to hold those temperatures.
8 Fixes for a Noisy Refrigerator or Fridge
Fix 1 — Level the Refrigerator Cabinet
Fixes these sounds: Rattling, vibrating, or knocking from the bottom or sides of the fridge.
Best for: A fridge that was recently moved, installed on an uneven floor, or has developed a rattle after years of settling.
- Place a bubble level (available at any hardware store, B&Q or Screwfix in the UK, Bunnings in Australia, Home Depot or Lowe’s in USA/Canada) across the front edge of the fridge.
- Turn the front leveling legs clockwise to raise that side or counterclockwise to lower it. Most fridges have adjustable front legs accessible from the front toe grille area.
- Keep the front of the fridge slightly higher than the back, this allows the doors to swing closed on their own without slamming.
- Rock the fridge gently by hand after adjusting. If it still wobbles, adjust the opposite leg until all four corners are stable.
Expected result: The fridge sits firmly on the floor with no wobble. Cabinet vibration and door rattling stop.

Fix 2 — Clean the Condenser Coils
Fixes these sounds: Loud continuous humming, buzzing from the rear, or long compressor run times.
Best for: Fridges that have not had coil cleaning in 6 or more months, especially in homes with pets or open-plan kitchens where grease and dust accumulate faster.
- Unplug the fridge from the wall and pull it forward carefully, at least 12 inches / 30 cm from the wall.
- Locate the condenser coils — on most fridges they are at the back or beneath the unit behind the toe grille.
- Use a long, flexible appliance coil brush (available at hardware stores, Amazon, or appliance parts suppliers in all four markets) to loosen dust, pet hair, and grease from between the coil fins.
- Vacuum the loosened debris thoroughly with a crevice tool attachment.
- Leave at least 2 inches / 5 cm of clearance between the back of the fridge and the wall before pushing it back.
Maintenance schedule: Clean condenser coils every 6 months as standard. Homes with pets, heavy cooking, or open kitchens may need cleaning every 3 months. Dirty coils are the single most common cause of loud fridge humming and high energy bills.
Expected result: The compressor runs with less strain. Humming reduces noticeably and run times shorten within 24 hours of cleaning.

Fix 3 — Check and Clear the Condenser Fan
Fixes these sounds: Buzzing, scraping, or clicking from the rear bottom area, especially when the compressor is running.
Best for: A fridge that has started buzzing suddenly, or where the buzzing changes in intensity when you push the fridge or open a door.
- Unplug the fridge and remove the lower rear access panel using a Phillips screwdriver.
- Inspect the condenser fan blade for cardboard, pet hair, dust clumps, food packaging, or any debris that may be touching or catching on the blade as it spins.
- Spin the blade slowly by hand while the fridge is unplugged. It should spin freely with no wobble, grinding, or resistance. If the blade wobbles or feels stiff, the fan motor bearings may be failing.
- Clean any debris, reinstall the panel, and plug the fridge back in. Listen for the change in noise during the next cooling cycle.
Expected result: The fan moves air across the condenser freely without rubbing, buzzing, or overheating the motor. If the fan motor is worn, replacement is typically inexpensive, see repair costs below.
Fix 4 — Defrost Ice From the Evaporator Fan
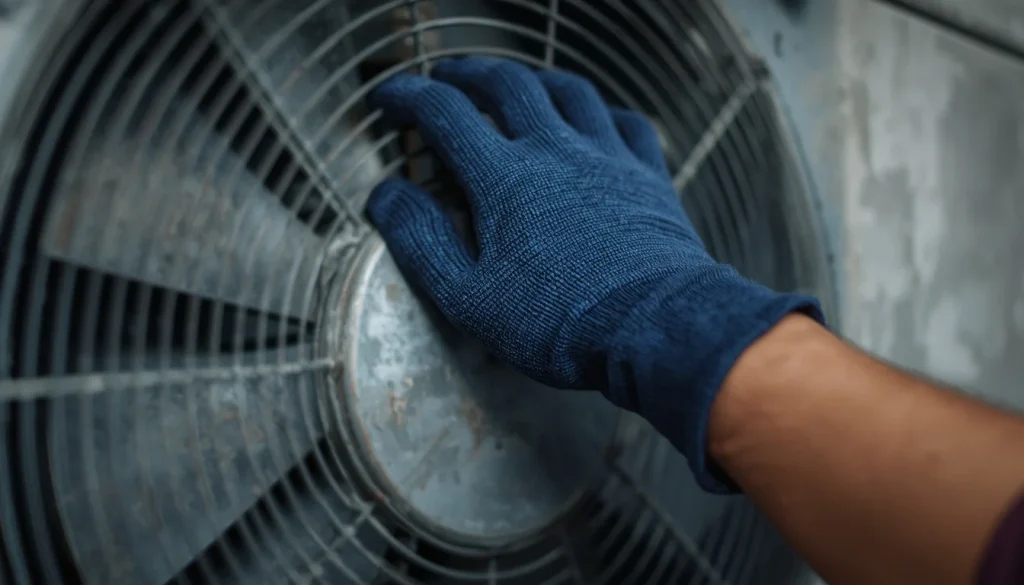
Fixes these sounds: Grinding, scraping, or squealing from inside the freezer, the most common freezer-specific noise complaint.
Best for: A fridge where a grinding sound comes from the back of the freezer compartment, gets louder when the freezer door is held open (which keeps the fan running), or has worsened gradually over weeks.
- Open the freezer door and press the door switch by hand while listening near the rear panel. If the noise gets significantly louder when the fan runs, ice around the evaporator fan blade is the cause.
- Unplug the fridge and remove all freezer contents. Place them in a cool bag or second fridge while you work.
- Place folded towels around the base of the freezer and on the floor in front of the fridge to absorb meltwater.
- Leave the freezer door open and allow the ice to thaw naturally. This typically takes 2 to 8 hours depending on how much ice has built up. Do not use a knife, chisel, or heat gun near the plastic freezer liner — these can puncture the evaporator tubing or melt the plastic.
- Once fully defrosted, dry the interior and plug the fridge back in.
If the grinding returns within days or weeks: The defrost heater, defrost thermostat, or defrost timer is likely faulty — ice is rebuilding faster than the automatic defrost cycle can handle. This requires professional diagnosis rather than repeated manual defrosting.
Expected result: The evaporator fan spins freely. Grinding and scraping stop immediately. Cold air circulates properly through the freezer and fresh food sections.

Fix 5 — Secure the Drain Pan and Water Lines
Fixes these sounds: Rattling, tapping, or vibrating from underneath the fridge during cooling cycles.
Best for: A fridge where the noise is underneath rather than inside, especially if it started after the fridge was cleaned or moved.
- Remove the front toe grille — it usually unclips or pulls straight off, and locate the drain pan sitting in a track beneath the cabinet.
- Make sure the drain pan sits flat and level in its track. It should not touch the condenser fan housing or wobble when you press it gently.
- Check the water supply line (if your fridge has a water dispenser or ice maker) at the rear. The line should have a small gap between itself and the wall or cabinet rather than pressing directly against any surface.
- Wrap any sections of water line that vibrate against the cabinet with foam pipe insulation tape, available from any hardware store in all four markets.
Expected result: Tapping and rattling from underneath stop. The drain pan no longer resonates during compressor cycles.
Fix 6 — Improve Food Storage and Interior Airflow
Fixes these sounds: Excessive fan noise, frequent running, uneven cooling, or frost buildup caused by blocked internal airflow.
Best for: A fridge that runs more often than it used to, especially after restocking with groceries.
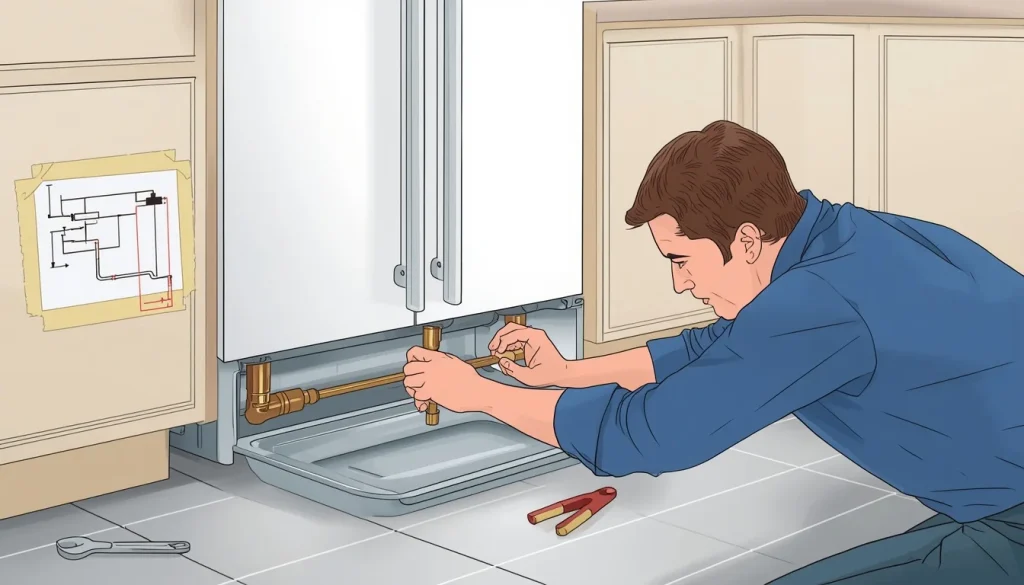
- Move tall cartons, bottles, or boxes away from the rear air vents in the fresh food section, leave at least 1 inch / 2.5 cm of clearance in front of all vents.
- Make sure no freezer bags, ice cream tubs, or frozen food packages are pressed against the rear panel where the evaporator fan sits behind the liner.
- Use stackable storage containers (available from any supermarket or homeware store) to organise food more efficiently and maintain consistent airflow throughout both compartments.
- Keep the freezer at least two-thirds full — a full freezer holds temperature more efficiently and causes less fan cycling than an empty one.
Expected result: Better internal airflow helps the fridge cool evenly, run less often, and reduce fan noise caused by the compressor working harder than necessary.
Fix 7 — Diagnose Compressor and Start Relay Clicking
Fixes these sounds: Repeated clicking every few minutes, especially when the fridge is not cooling properly or is warmer than usual.
Best for: A fridge where a single component click at startup is not the issue — the clicking repeats continuously without the compressor successfully starting.
- Confirm the fridge is plugged directly into a grounded wall outlet — not a power board, extension cord, or multi-adapter. A poor power connection causes the compressor to fail to start and click repeatedly.
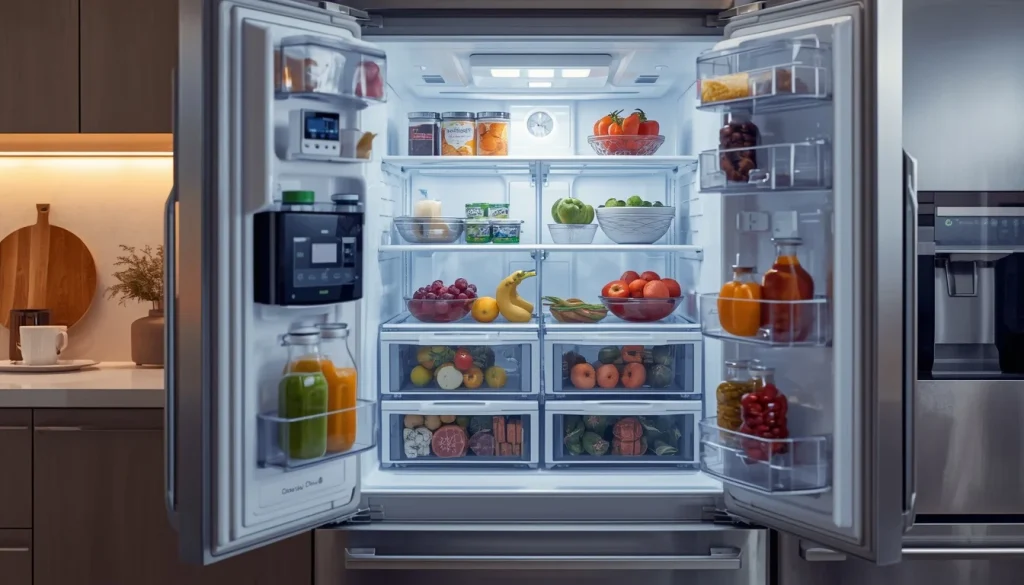
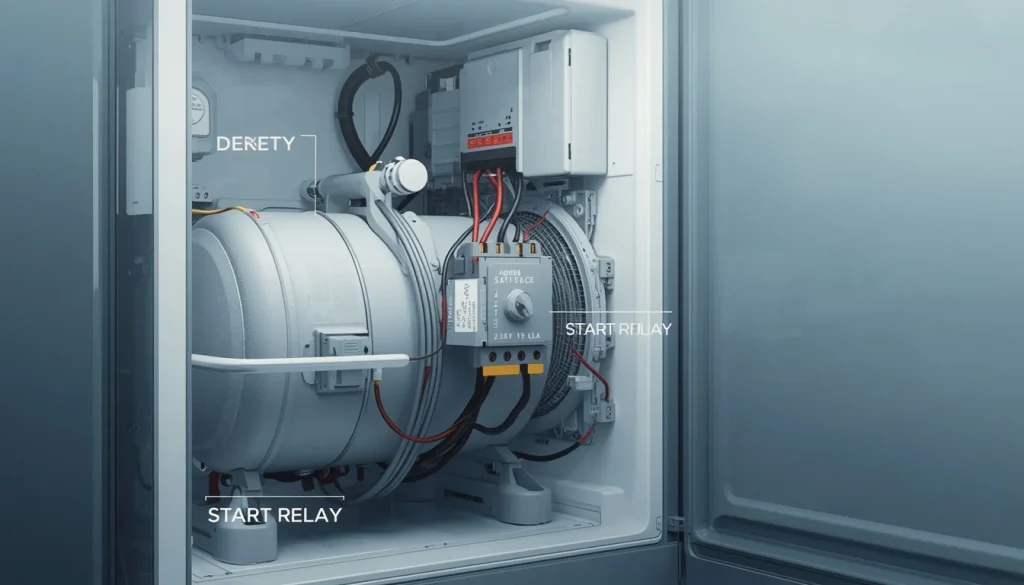
- Locate the start relay — a small plug-in component attached to the compressor at the rear bottom of the fridge. Pull it off and shake it next to your ear. If you hear a rattle, the relay has failed and needs replacing. This is an inexpensive part in all four markets.
- If replacing the start relay does not stop the repeated clicking, the compressor itself may be overheating or failing — this requires professional diagnosis.
Do not delay on repeated clicking. A fridge that clicks repeatedly without cooling will gradually warm above 40°F / 4°C — the threshold at which food safety becomes a concern. If temperatures are rising, move perishables immediately and call a technician.
Expected result: A new start relay (if that was the fault) resolves the clicking and the compressor starts normally. If clicking persists after relay replacement, professional service is needed.
Fix 8 — Understand Smart Compressor and Inverter Sounds
Fixes these sounds: Pulsing hum, changing-speed sounds, or low-frequency vibration on newer energy-efficient models.
Best for: Owners of 2020–2026 fridges with inverter or variable-speed compressors who are unsure whether a new sound is normal or a fault.
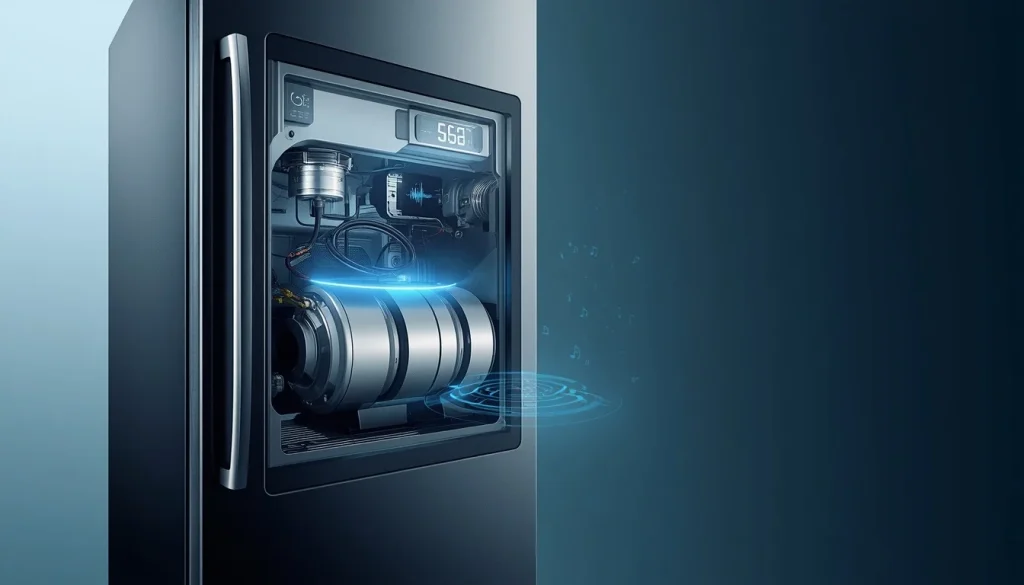
- Check whether your fridge has an inverter or variable-speed compressor — this is common on LG Linear Compressor models, Samsung Digital Inverter fridges, GE Profile, and many Bosch and Siemens models. The fridge manual or manufacturer website will confirm this.
- Listen for smooth speed changes — the hum gets louder as the compressor speeds up, then quieter as it slows. This is normal and more energy-efficient than older on/off cycling.
- Use a refrigerator thermometer to confirm 37°F / 3°C in the fresh food section and 0°F / -18°C in the freezer. If temperatures are stable, the changing sound is normal operation.
- Open your fridge’s connected app (LG ThinQ, Samsung SmartThings, GE SmartHQ, or equivalent) and check for active alerts — temperature warnings, door-open notifications, or filter reminders that may explain a change in operating sound.
Expected result: You can confidently distinguish normal inverter compressor operation from sounds that genuinely need repair, avoiding unnecessary service calls.
Step-by-Step Troubleshooting Guide
- Identify the exact sound. Write down whether it is buzzing, clicking, grinding, rattling, knocking, squealing, gurgling, or popping. Use the Sound Diagnosis Table above to find the most likely cause before touching anything.
- Locate the noise source. Listen systematically — rear bottom, inside the freezer, behind the fresh food section, near the ice maker, and underneath the toe grille. Change your position to triangulate where the sound is loudest.
- Check temperatures first. Set the fridge to 37°F / 3°C and the freezer to 0°F / -18°C. Verify with a physical thermometer placed inside for 30 minutes — not just the panel display.
- Clear the interior vents. Move food at least 1 inch away from all air vents. Keep freezer bags away from the rear panel where the evaporator fan sits.
- Level the cabinet. Use a bubble level across the front edge and adjust the leveling legs until the fridge is stable. Keep the front slightly higher than the back.
- Clean the condenser area. Unplug the fridge, brush the coils, vacuum all dust, and reinstall the panel with at least 2 inches / 5 cm rear clearance before restarting.
- Inspect both fans. Check the condenser fan (rear bottom) for debris. Check the evaporator fan (inside the freezer) for ice. Defrost safely with towels — never use sharp tools near the plastic liner.
- Monitor for 24 hours. After cleaning and leveling, observe whether the sound returns during cooling, defrost, ice making, or water fill cycles. If it does, note exactly when in the cycle it appears — this information is valuable for a technician.
Expert Tips for a Quieter Refrigerator
- Use a thermometer before changing parts. If temperatures hold near 37°F / 3°C and 0°F / -18°C, the sound is more likely a mechanical vibration than a failing component. Check leveling and airflow before ordering anything.
- Record the noise on your phone. A 20-second clip is more useful than a description. It helps you compare online, share with a technician, and avoid misdiagnosis.
- Clean coils every 6 months. Homes with pets, heavy cooking, or carpeted floors near the fridge may need cleaning every 3 months. Dirty coils cause humming, high energy bills, and shorter compressor life.
- Find your model number before ordering parts. On most Whirlpool, KitchenAid, and Maytag fridges, the label is inside the fresh food compartment near the upper side wall. On Samsung and LG models, it is usually on a side wall inside the fridge. On Beko, Hotpoint, and Indesit (UK common), it is typically inside the fridge door. Always verify with your model manual before purchasing any part.
- Match part numbers exactly. Whirlpool parts commonly use a W prefix, GE uses WR prefixes, Samsung uses DA prefixes, LG uses AD or EAU prefixes, and Beko/Hotpoint use numeric part codes. Generic or visually similar parts may not fit correctly or may fail sooner than genuine components.
Common Mistakes to Avoid
Never use a knife or heat gun to remove freezer ice. A knife can puncture the evaporator tubing — a repair that costs hundreds of pounds, dollars, or AUD. Always thaw ice safely using towels and time only.
- Ignoring repeated clicking. A single click is normal. Repeated clicking every few minutes usually means the start relay or compressor is struggling. Food temperatures will begin rising if this is not addressed promptly.
- Pushing the fridge tight against the wall. Poor rear clearance traps heat around the compressor and condenser, increasing humming and dramatically shortening compressor life. Always maintain at least 2 inches / 5 cm of rear clearance.
- Replacing the compressor as the first diagnosis. A loud fridge may need nothing more than leveling, coil cleaning, fan clearing, or a new start relay. Compressor replacement is expensive in all four markets — always exhaust simpler fixes first.
- Judging results within the first hour. After cleaning coils or clearing a fan, allow 24 hours of normal operation before concluding whether the noise has been resolved.
Refrigerator Noise Repair Costs — All Markets
Here are approximate costs for the most common noise-related refrigerator repairs across all four markets:

Repair vs. Replace — When Is It Worth Fixing?
General rule: If the repair cost is below 50 percent of the fridge’s current market value and the appliance is under 10 years old, repair is almost always more economical. If the fridge is over 10 years old and requires a compressor replacement, replacement is usually the better long-term decision.
| Situation | Recommendation |
|---|---|
| Fridge under 5 years old, single component fault (fan, relay, coils) | Repair — straightforward and cost-effective |
| Fridge 5–10 years old, fan motor or start relay fault | Repair — parts are inexpensive, repair cost well below replacement |
| Fridge 5–10 years old, compressor fault | Get a second opinion — compressor cost may approach 40–60% of a new fridge |
| Fridge over 10 years old, compressor fault | Replace — multiple other components near end of life too |
| Samsung (2017–2020) or LG (2014–2019) French door with known issues | Check recall status first — may be covered before paying anything |
When to Call a Technician
Stop troubleshooting yourself and call a qualified appliance technician if any of the following apply:
- The fridge makes loud grinding that returns within days of defrosting — the defrost system has failed
- Repeated clicking continues after replacing the start relay — compressor inspection needed
- The fridge trips the wall outlet or causes the circuit breaker to flip
- Any burning smell alongside any noise — unplug immediately and call a technician
- The fridge temperature rises above 40°F / 4°C despite the compressor running
- A squealing fan motor returns after cleaning — the bearing is worn and the motor needs replacing
Frequently Asked Questions
Why is my refrigerator making noise at night?
Refrigerators often sound louder at night because the house is quieter. You may hear the compressor hum, refrigerant flowing, the ice maker filling, or the plastic liner expanding and contracting. Check that the fridge is level, the back has at least 2 inches / 5 cm of clearance, and temperatures are near 37°F / 3°C and 0°F / -18°C. If the noise is new or getting louder, use the Sound Diagnosis Table above and work through the relevant fix.
Why is my refrigerator making a grinding noise from the freezer?
Grinding or scraping from the freezer almost always means ice has built up around the evaporator fan blade. The blade hits the ice with every rotation. Unplug the fridge, remove all freezer contents, and let the ice thaw safely using towels. Never use a knife or heat gun near the plastic liner. If the grinding returns within days, the defrost heater or thermostat has likely failed and needs professional attention.
Is a buzzing refrigerator dangerous?
A light buzz is normal when the compressor or water inlet valve runs. A loud, persistent buzz from the rear bottom usually means dirty condenser coils, a blocked condenser fan, or a loose drain pan. Unplug the fridge, clean the coils, inspect the condenser fan, and check the drain pan. If buzzing continues with a burning smell or a tripped outlet, stop using the appliance immediately and call a technician.
Why does my refrigerator keep clicking on and off?
A single click at compressor start or stop is normal. Repeated clicking every few minutes usually points to a failing start relay, an overheating compressor, or a poor power connection. Plug the fridge directly into a grounded wall outlet — not an extension cord. Remove and shake the start relay: if it rattles, replace it. This is inexpensive in all four markets. If clicking continues after a new relay, call a technician to inspect the compressor.
Why is my refrigerator making noise after I cleaned it?
After cleaning, rattling often comes from a rear access panel that was not fully tightened, a drain pan that was moved and not reseated flat, or a water supply line now pressing against the cabinet wall. Pull the fridge forward, check all panel screws, press the drain pan firmly into its track, and ensure the water line has a small gap between itself and the wall or cabinet.
Do smart refrigerators make more noise than regular ones?
Smart fridges with inverter or variable-speed compressors produce changing-speed sounds — a pulsing hum that varies in intensity — which is completely normal and more energy-efficient than older on/off cycling. Grinding, loud knocking, burning smells, or repeated clicking are not normal on any fridge regardless of how smart it is. Use the fridge’s connected app to check for temperature or door alerts if you notice an unfamiliar new sound.
When should I call a technician for refrigerator noise?
Call a technician if the fridge makes loud grinding that returns after defrosting, trips the outlet, produces a burning smell, warms above 40°F / 4°C, or clicks repeatedly without the compressor successfully starting. Also get professional help if a squealing fan returns after cleaning, or if coil cleaning does not reduce an unusually loud continuous hum — these symptoms point to motor or compressor faults beyond DIY repair.
Conclusion
A noisy refrigerator or fridge is easiest to fix when you match the exact sound to its most likely source. Use the Sound Diagnosis Table at the top of this guide to find your specific noise, then follow the corresponding fix. Rattling usually comes from leveling, the drain pan, or loose water lines.
Buzzing typically points to dirty condenser coils or a blocked condenser fan. Grinding inside the freezer almost always means ice on the evaporator fan. Repeated clicking usually indicates a start relay fault before it means a failing compressor.
Work through the safe basics before buying any parts, check temperatures, clear interior vents, level the cabinet, clean the coils, and inspect both fans. These steps resolve the majority of refrigerator noise complaints without any parts required.
If the noise persists after completing these checks, the Sound Diagnosis Table and cost estimates above will help you decide whether a DIY part replacement or a professional technician call is the right next step for your situation and budget.

Hi, I’m the lead researcher and appliance enthusiast behind RefrigeratorSolve. With years of hands-on experience troubleshooting cooling systems and testing home appliances, I am dedicated to bringing you honest reviews, energy-saving tips, and practical solutions to keep your refrigerator running perfectly.




One Response