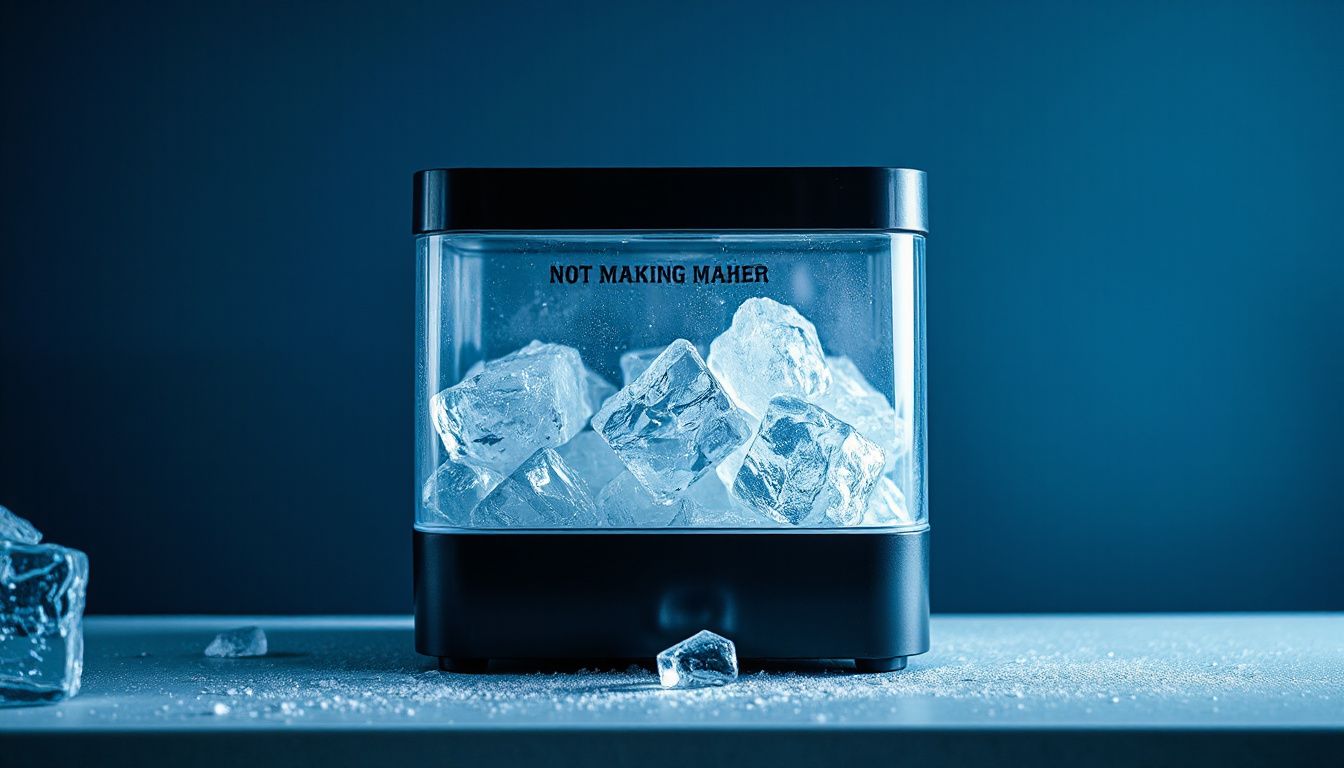
ice maker not making ice after purchase is a common first-week frustration. You unbox a brand-new unit, plug it in, and wait then nothing. No cubes. No harvest. Just a quiet machine and rising doubt about whether you made the right call.
But here’s the thing: most “dead on arrival” ice makers are not defective. They are not fully set up yet, or one small condition is blocking the first freeze cycle. Look, modern units are sensitive by design water level, temperature, and sensors must align before they will commit to making ice.
Real-world example: a new countertop ice maker sits on a kitchen island next to the oven. It powers on, the fan runs, but the room temperature stays high after dinner. The unit never reaches the internal cooling threshold, so it will not start the first batch—until it is moved to a cooler, ventilated spot.
Before you start a return, check these quick culprits:
- Power and reset: outlet, GFCI, control lock, or a missed “Start” step
- Water supply: tank not seated, low fill line, kinked inlet, or air in the line
- Temperature and airflow: warm room, blocked vents, or tight cabinet clearance
- First-cycle timing: initial freeze can take longer than expected
- Sensor and bin issues: misaligned ice bin, full-bin sensor triggered, or shipping foam left inside
Quick First Checks Right After Unboxing and Setup
If your ice maker not making ice after purchase is happening on day one, start with the basics that manufacturers expect during initial setup. Many “dead on arrival” reports are traced to simple startup conditions, not defects. Look, these checks take minutes and can prevent an unnecessary return.
First, confirm power and status indicators. A unit can light up but still be in standby or “clean” mode. Verify the control panel shows “ice” or “on,” and make sure any child lock is disabled.
- Remove all packing materials inside the ice basket area and around the water inlet or reservoir.
- Level the unit front-to-back and side-to-side; many portable models will pause if tilted.
- Check ventilation clearance (often 4–6 inches on sides/back) so the compressor can start and stay running.
Next, verify water supply conditions. For countertop models, fill the reservoir to the marked line using cold, potable water. For plumbed units, confirm the shutoff valve is open and the supply line is not kinked behind the cabinet.
- Confirm the water filter (if included) is fully seated and flushed per the manual.
- Listen for a brief fill cycle; no sound can indicate an airlock or closed valve.
- Check that the drain cap or plug is fully closed to prevent slow leaks.
Now the timing. Most new units need 10–30 minutes before the first harvest, and the first batch may be small or wet. Real-world example: a customer sets a new countertop unit on a thick rubber mat, tight against a wall; it overheats, pauses, and never completes a freeze cycle until moved and leveled.
Water Supply and Filtration Issues That Stop Ice Production
If your ice maker not making ice after purchase passed the basic unboxing checks, focus on water. New installs often fail because the unit is not actually receiving a steady, cold supply. Look for a fully opened shutoff valve, a kink-free line, and correct pressure at the inlet.
Most residential ice makers need consistent inlet pressure to fill the mold on time. Low pressure can cause short fills, hollow cubes, or no harvest at all. Too much pressure is rare, but it can trigger leaks or a fill valve that chatters.
- Shutoff valve not fully open: Quarter-turn valves can feel “on” when they are not.
- Kinked or crushed water line: Common after pushing the refrigerator back into place.
- Air trapped in the line: Typical on first connection; purge by dispensing water for 2–3 minutes.
- Saddle valve restriction: Older piercing valves clog easily and underfeed the ice maker.
Filtration can also stop production, especially right after a filter change. Some filters require priming, and many refrigerators will not fill properly until the filter is seated and locked. If your model has a bypass plug, test briefly with the bypass to isolate a filter problem.
Real-world example: A new fridge was installed and the dispenser worked, but the ice tray stayed dry. The cause was a slightly misaligned filter cartridge; it allowed a trickle to the dispenser but starved the ice maker fill cycle. Reseating the filter and flushing 3 gallons restored normal ice within 6 hours.
- Verify the filter is OEM-compatible and fully clicked into place.
- Replace saddle valves with a proper shutoff for reliable flow.
- Confirm the line is 1/4-inch and not shared with a restricted splitter.
Temperature, Airflow, and Freezer Settings That Prevent Ice
If your ice maker not making ice after purchase is not a water issue, temperature and airflow are the next high-probability causes. Most ice makers will not cycle if the freezer is too warm, even when the dispenser and lights work normally. Look for a stable freezer temperature, not a “feels cold” guess.
Set the freezer to 0°F (-18°C) and verify it with a standalone thermometer placed between stored items for 24 hours. Many units need the ice maker zone at about 5°F (-15°C) or colder to harvest properly. If you are seeing 10–15°F swings, the ice maker can stall or produce hollow cubes.
Airflow problems are common right after installation because packaging, bins, or food placement blocks vents. But here’s the thing: the freezer can look full and fine, while the ice maker compartment starves for cold air. Keep clear space around the rear wall vents and the ice maker housing.
- Do not overpack the top shelf near the ice maker; leave 1–2 inches for circulation.
- Confirm the ice maker switch/arm is ON and not held up by a container.
- Check for frost buildup on the back panel, which can signal a defrost or door-seal issue.
- Avoid “Fast Ice” if it forces warmer defrost cycles on some models; test both modes.
Real-world example: a new side-by-side is set to “3” (mid setting) and reads 12°F on a thermometer. After changing to 0°F, clearing pizza boxes from the upper vent, and waiting one full freeze cycle (often 12–24 hours), the unit begins dropping full-size cubes again.
Ice Maker Controls, Sensors, and Reset Procedures to Try
If your ice maker not making ice after purchase persists after temperature and airflow checks, move to the controls and sensors. New units often ship with the ice maker switched off, the bail arm raised, or a software state that needs a reset. Quick fixes. Often overlooked.
Start with the obvious control points on your model. Look for an ice maker power switch, an “Ice On” button on the dispenser panel, or a wire shutoff arm that must hang down to enable cycling. If your freezer has “Sabbath,” “Demo,” or “Showroom” mode, turn it off; these modes can disable ice production to save energy or reduce noise.
- Optical sensors (emitter/receiver): If the bin is full or a flap is blocked, the beam reads “full” and stops harvesting.
- Door switch: A misaligned switch can tell the control board the door is open, pausing the ice maker.
- Mold thermostat or thermistor: If it never senses freezing, the harvest cycle will not start.
Now try a reset or forced cycle. Many Whirlpool, KitchenAid, and Maytag units use a test button under the ice maker cover; hold it 3–10 seconds until the rake moves. Samsung and LG often use an “ICE TEST” button; press and hold until you hear a chime, then wait for the cycle to complete.
Real-world example: a new French-door refrigerator arrived with the bin installed slightly crooked, blocking the optical sensor. Reseating the bin and holding the test button for 5 seconds restarted harvest, and the first batch dropped within 90 minutes.
Common Installation and Shipping Problems After Purchase
If your ice maker not making ice after purchase started immediately after delivery, suspect setup or transit issues before assuming a failed component. New units often arrive with protective parts installed, lines kinked, or fittings slightly loose. Small details. Big impact.
Start with water supply basics. A shutoff valve that is only half-open can fill the mold slowly, then trigger a harvest delay that looks like a “dead” ice maker. Also verify the supply line is not crushed behind the cabinet after you slid the refrigerator into place.
- Shipping spacers/tape left in the ice bin area, blocking the shutoff arm or optical sensor path
- Kinked or pinched water line at the rear lower corner, especially on first push-in
- Loose compression fitting causing micro-leaks and low pressure at the inlet valve
- Incorrect filter installation (not fully seated), restricting flow on brand-new filters
- Leveling issues causing water to overfill one side of the mold and freeze irregularly
Look for freeze-related shipping damage as well. If the unit was laid on its side, refrigerant oil can migrate; cooling may be weak until it runs upright for several hours. That can keep the ice maker cycling without ever reaching proper mold temperature.
Real-world example: a customer reports no ice on day one, but dispenser water works. The installer later finds the refrigerator pushed back tightly, bending the 1/4-inch supply line into a U-shape. Straightening the line and reopening the valve fully restores normal fill, and the first batch drops within 2–3 hours.
Finally, confirm the freezer is actually cold enough. After delivery, frequent door openings and warm food loads can keep temperatures above the ice-making threshold, even when the display looks normal.
When to Contact Support, Warranty Steps, and What to Document
If your ice maker not making ice after purchase persists after basic install checks, contact support when there is no ice after 24 hours, the unit shows error codes, or you hear repeated water-valve clicking with an empty mold. Also call if water leaks, breakers trip, or the compressor runs nonstop. Safety first. Fast action protects your warranty position.
Before you call, do two quick validations: confirm the water shutoff is fully open and the inlet line is not kinked, then verify freezer temperature is at or below 0°F (-18°C) for refrigerator ice makers. But here’s the thing: if a brand-new unit was shipped on its side, oil migration can delay cooling, and support may recommend a 24-hour upright rest. Document that shipping detail.
Warranty steps are usually predictable. Follow them in order to avoid a denied claim.
- Locate proof of purchase and record model and serial numbers (photo the rating label).
- Register the product if required, then open a case with the manufacturer (phone, chat, or portal).
- Describe symptoms with timestamps: “No harvest cycles since 6:00 p.m.” beats “not working.”
- Complete requested tests (reset, diagnostic mode, fill test) and write down results.
- Ask whether service is in-home, mail-in, or parts-only, and confirm any labor coverage limits.
What to document. Keep it clean and specific.
- Photos: water line routing, shutoff valve position, filter install date, and any leaks.
- Video: no-fill condition during a forced cycle, or auger/jam noises.
- Readings: freezer temperature, household water pressure if known, and error codes.
Example: a customer reports “no ice” on day two. Their video shows the mold never fills, and a photo shows the saddle valve barely open. Support authorizes a valve replacement only after confirming the supply is fully open and pressure is adequate. Evidence speeds approvals. It also reduces repeat visits.
Frequently Asked Questions
Why is my new ice maker running but not producing ice?
If your ice maker not making ice after purchase still runs, it is usually a setup or supply issue rather than a failed part. Most new units need time to stabilize temperature and water flow before the first harvest cycle completes.
Check the basics first: the water valve is fully open, the fill line is not kinked, and the freezer is cold enough for ice production.
How long should a brand-new ice maker take to start making ice?
Many units need 12–24 hours after installation to begin steady production, especially if the freezer has not reached its target temperature yet. Some models also discard the first batch, which can make it seem like nothing is happening.
Look, if you just moved the refrigerator, waiting a full day is often the correct play before troubleshooting deeper.
What installation mistakes commonly stop ice production right after purchase?
New installs fail for predictable reasons. But here’s the thing, one small oversight can block the entire cycle.
- Water supply left off or partially opened
- Shipping tape, foam, or a protective plug not removed from the ice maker or fill tube
- Incorrectly seated water filter or a filter bypass not installed when required
- Freezer temperature set too warm (often above 0°F / -18°C)
Should I replace the water filter immediately on a new refrigerator?
Not usually. If the unit shipped with a filter installed, confirm it is locked in place and flushed per the manufacturer’s instructions; trapped air can reduce flow and delay ice. If the home has high sediment, an early replacement can help, but only after verifying water pressure and proper installation.
When should I contact the retailer or manufacturer for warranty support?
Contact support if there is no ice after 24 hours, the mold never fills with water, or you see error codes, leaks, or repeated loud valve buzzing. Now, if you verified temperature, water supply, and filter seating, escalation is reasonable.
Real-world example: a homeowner installed a new refrigerator, waited overnight, and still had no ice. The fix was simple—shipping tape on the shutoff arm kept the unit in “off” mode, and ice started within two hours after removal.
Practical Wrap-Up: What to Do Next
If your ice maker is not producing ice right after purchase, treat it like a commissioning checklist, not a repair job. Confirm freezer temperature, water supply, and any shipping materials first. Small details matter. A lot.
My recommendation: give the unit up to 24 hours, then run a structured check water valve open, line unkinked, filter seated and flushed, and ice maker switched on. If those items pass and the mold still does not fill, stop guessing and use warranty support. That is the cleanest, fastest path to a working unit without risking damage or voiding coverage.

Hi, I’m the lead researcher and appliance enthusiast behind RefrigeratorSolve. With years of hands-on experience troubleshooting cooling systems and testing home appliances, I am dedicated to bringing you honest reviews, energy-saving tips, and practical solutions to keep your refrigerator running perfectly.