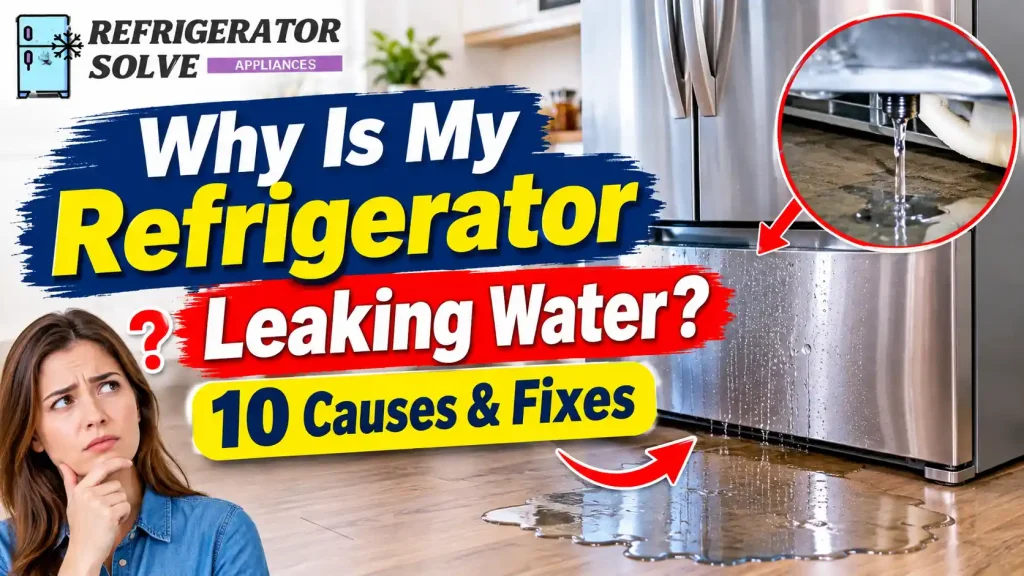
Finding a puddle of water under your refrigerator or moisture inside the fresh-food compartment can be frustrating. In most cases, a refrigerator leaks because of a clogged defrost drain, a loose water supply line, an incorrectly installed water filter, or a problem with the ice maker.
The best way to fix the problem is to identify where the water first appears and then inspect the component responsible. This guide explains 10 common causes of refrigerator water leaks, how to recognize each problem, and what you can safely do to stop it.
Where Is Your Refrigerator Leaking Water From?
Before replacing any parts, pay attention to where you see the water. Its location can help narrow down the possible cause.
Here are some common leak locations and the components worth checking first.
| Where You Find Water | Possible Cause |
|---|---|
| Under the crisper drawers | Clogged or frozen defrost drain |
| On the refrigerator floor | Blocked drain or excess condensation |
| Under the refrigerator | Drain pan, water line, or internal leak |
| Behind the refrigerator | Loose water supply line or inlet valve |
| Around the water filter | Incorrect installation, damaged seal, or housing |
| Inside the freezer | Frozen defrost drain or ice maker problem |
| Around the water dispenser | Trapped air, dispenser line, or valve problem |
| Near the ice maker | Damaged fill tube or leaking water connection |
One important detail: water does not always appear directly below the faulty component. It can travel along the refrigerator’s base or internal surfaces before reaching the floor.
For that reason, dry the visible water and observe where it returns. This simple check can save you from replacing the wrong part.
10 Common Reasons Your Refrigerator Is Leaking Water
Let’s look at the most common reasons a refrigerator leaks and how to identify each one.
1. Clogged or Frozen Defrost Drain
A clogged or frozen defrost drain is one of the first things worth checking when you find water under the crisper drawers.
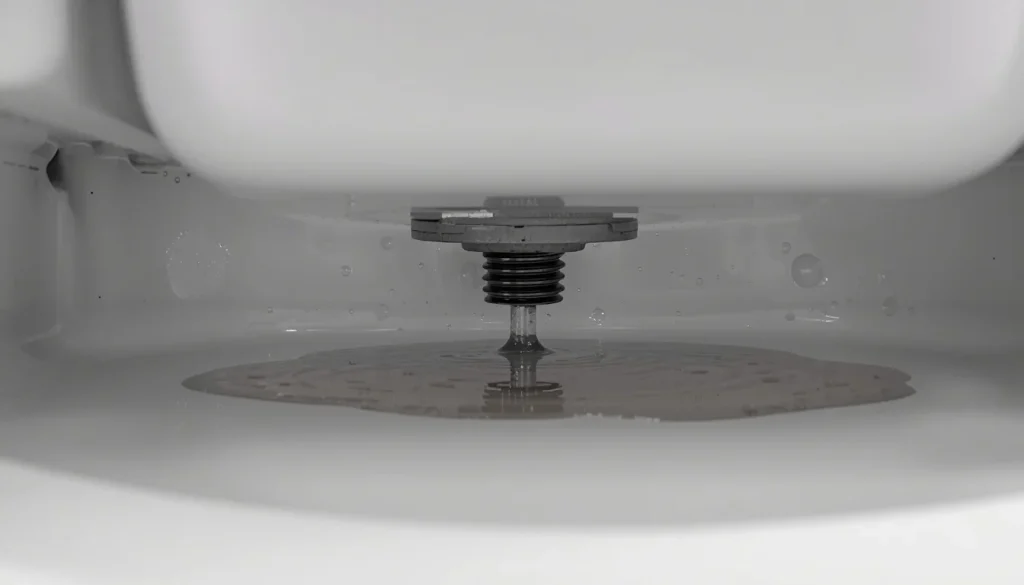
Your refrigerator automatically removes frost from the evaporator during its defrost cycle. As the frost melts, the resulting water travels through a small drain opening and into a drain pan underneath the appliance.
The collected water normally evaporates over time.
However, food particles, dirt, or ice can block the drain opening. When this happens, water cannot flow through the drainage system properly. Instead, it may collect inside the refrigerator, freeze on the bottom surface, or eventually spill onto the kitchen floor.
Common signs of a blocked defrost drain:
- Water pooling underneath the vegetable drawers.
- A sheet of ice forming on the refrigerator floor.
- Water appearing inside the refrigerator after a defrost cycle.
- Repeated moisture accumulation even after cleaning.
How to fix it:
- Remove the food and drawers needed to access the drain area.
- Check your refrigerator manual to locate the defrost drain.
- Look for visible ice or debris around the drain opening.
- If the drain is designed for user maintenance, clear it using the procedure recommended by the manufacturer.
- Use only the approved water temperature and cleaning method for your model.
- Dry the area and monitor the refrigerator for further leaks.
Never use a knife, screwdriver, sharp wire, or heat gun to break up ice. These tools can damage the drain tube or nearby components.
If the drain is hidden behind an internal panel or repeatedly freezes after being cleared, arrange a professional inspection.
If you own a Samsung refrigerator, our detailed guide on how to fix a clogged Samsung refrigerator drain hole explains this particular problem in more detail.
For additional model-specific instructions, you can also consult Samsung’s official refrigerator water leak troubleshooting guide.
2. Damaged or Blocked Defrost Drain Tube
Sometimes, the drain opening is clear, but the problem exists farther down the drainage tube.
The defrost drain tube carries melted frost from the refrigerator compartment toward the drain pan. If this tube becomes blocked, disconnected, damaged, or displaced, water may escape before reaching the pan.
A partial blockage can also slow drainage. This means water may accumulate gradually instead of leaking immediately.
Common signs:
- Water repeatedly collects underneath the refrigerator drawers.
- Water leaks from the bottom after the defrost cycle.
- Cleaning the visible drain opening does not solve the problem.
- Moisture returns even when the drain entrance appears clear.
How to fix it:
First, check whether your refrigerator manual provides access to the drain tube for cleaning.
If the tube is accessible and designed for user maintenance, follow the manufacturer’s instructions to remove the blockage. Check for visible damage or a loose connection only where it is safe to do so.
A cracked or disconnected drain tube usually needs proper replacement or reconnection.
Do not remove internal panels or force a tool through the tube without checking the manufacturer’s instructions. Some refrigerator models require a technician to access the drainage assembly.
3. Loose or Damaged Water Supply Line
If you find water behind your refrigerator, inspect the water supply line.
Refrigerators with ice makers or water dispensers usually have a small water line connected to a household water supply. This line carries water to the refrigerator’s inlet valve and other internal components.
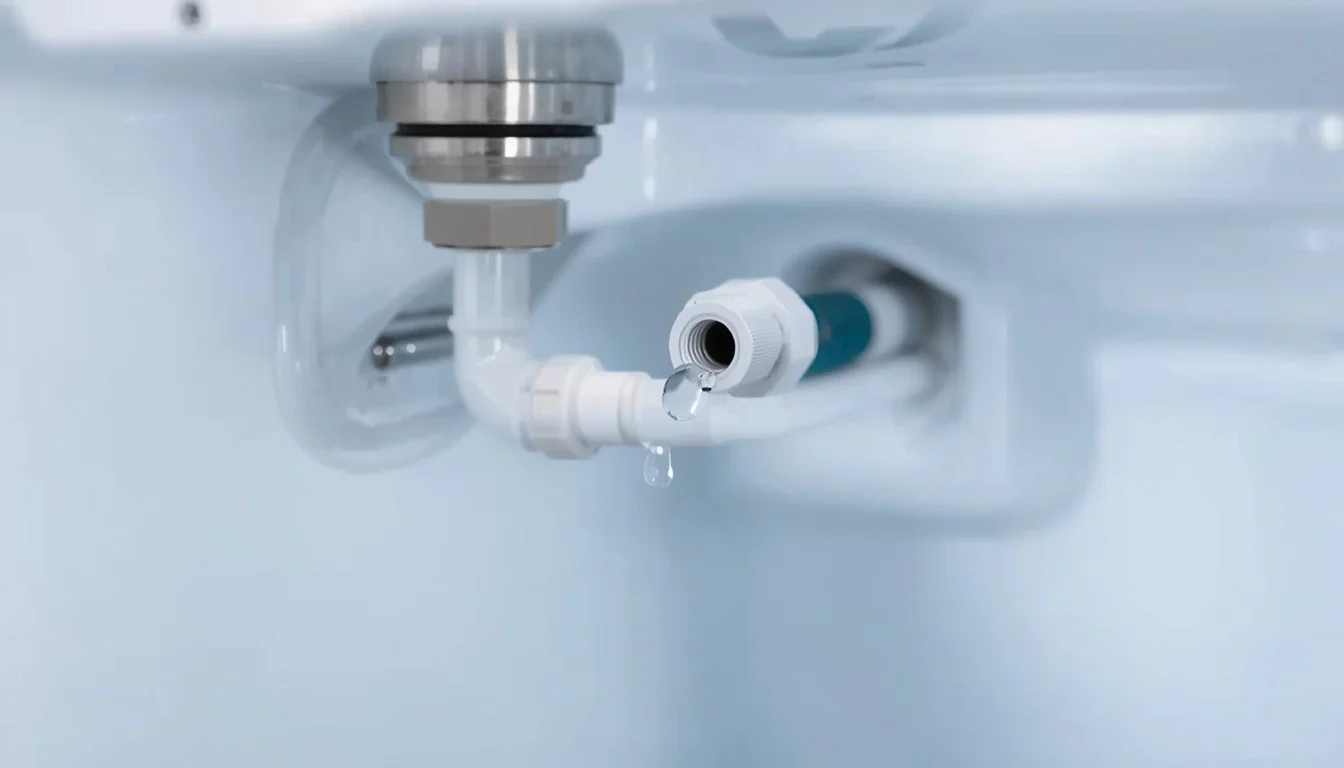
A loose fitting, cracked tube, damaged connector, or kinked hose can allow water to escape.
This problem is particularly worth checking if you recently:
- Moved the refrigerator.
- Installed a new refrigerator.
- Replaced flooring or cleaned behind the appliance.
- Reconnected the refrigerator after a repair.
How to identify the problem:
Look for moisture around accessible water connections. A dry paper towel can help you identify small drips around a fitting.
Check the visible tubing for cracks, bends, or signs of damage.
How to fix it:
- Turn off the water supply using the accessible shutoff valve if it is safe to reach.
- Inspect the visible water line and connections.
- Check whether a fitting appears loose or the tubing is damaged.
- Replace damaged tubing with the correct type specified for your refrigerator.
- Have a qualified technician or plumber repair inaccessible connections.
Never force a fitting or overtighten plastic connections. A damaged connector can make the leak worse.
Frigidaire also recommends checking the water connections and valve behind the refrigerator when water is leaking onto the floor. You can read its official refrigerator water leak troubleshooting instructions.
4. Incorrectly Installed or Damaged Water Filter
A refrigerator water filter can cause leaking if it is not installed correctly.
Most modern refrigerators with built-in water dispensers and ice makers use a replaceable filter. The cartridge must fit properly into its housing to maintain a secure connection.
If the filter is inserted at the wrong angle, not fully locked into position, or fitted with a damaged seal, water may escape around the filter area.
An incompatible replacement filter can cause similar problems.
Common signs:
- Water appears around the filter compartment.
- A leak starts shortly after replacing the filter.
- The water dispenser begins dripping.
- Water pressure becomes unusually low.
- The refrigerator develops a slow leak inside the cabinet.
How to fix it:
- Turn off the water supply if your refrigerator’s instructions recommend doing so.
- Remove the filter according to the owner’s manual.
- Inspect the cartridge for visible cracks or damage.
- Check the seal for twisting, damage, or missing parts.
- Confirm that the replacement filter matches your refrigerator model.
- Reinstall it carefully until it locks into position.
- Follow the manufacturer’s instructions for flushing the water system.
Do not force the cartridge into the housing. If it does not fit correctly, it may be the wrong filter.
For more details, see our guide on how to replace a refrigerator water filter.
5. Cracked Water Filter Head or Housing
Even when the water filter itself is in good condition, the filter head or housing can be damaged.
The filter housing holds the cartridge in place and connects it to the refrigerator’s water system. Depending on the design, it may contain seals, connections, and other components that help prevent water from escaping.
A cracked housing or damaged filter-head seal can cause continuous dripping.
What to check:
- Moisture around the filter head.
- Visible cracks in the plastic housing.
- A damaged or missing O-ring.
- Water leaking even after installing a compatible filter correctly.
How to fix it:
Remove the filter only according to the manufacturer’s instructions and inspect the accessible components.
If the housing or filter head is cracked, replacement is generally the appropriate solution. Do not try to seal it with ordinary glue or household adhesive.
These components operate under water pressure, and an improvised repair may fail and cause further damage.
If water continues leaking with the filter removed, the problem may be inside the filter housing or another part of the water system. A technician should inspect it.
6. Leaking Refrigerator Water Tank or Reservoir
Some refrigerators have an internal water tank or reservoir that stores chilled water before it reaches the dispenser.
These reservoirs may be made of plastic and connected to several sections of tubing.
Over time, a reservoir can develop a small crack or a connection can become loose. Even a minor defect may cause a slow leak that is difficult to locate.
Common symptoms:
- Water collecting inside the refrigerator.
- Moisture around the water reservoir.
- Water appearing even when the dispenser is not being used.
- A leak that continues after replacing the water filter.
How to fix it:
Start by checking your owner’s manual to find the location of the water reservoir.
If it is visible without removing internal panels, look for moisture around the tank and its connections.
A cracked reservoir generally needs replacement rather than an adhesive repair.
Because the tank and its tubing may be difficult to access, professional service is usually the safest choice.
7. Faulty Water Inlet Valve or Water Pressure Problem
The water inlet valve controls the flow of water into the refrigerator.
It supplies water to components such as the ice maker and water dispenser. When the refrigerator requests water, the valve opens and then closes when the required amount has entered the system.
If the valve develops a crack, its connections become loose, or its internal mechanism stops closing properly, water may continue to escape.
An unsuitable household water pressure can also interfere with the proper operation of some water systems.
Signs of a faulty inlet valve:
- Water leaking from the back of the refrigerator.
- Water entering the ice maker when it should not.
- Continuous or unusual dripping.
- Moisture around the valve connections.
- The leak continues even when the dispenser is not being used.
How to fix it:
Turn off the refrigerator’s water supply if you can safely access the shutoff valve.
Inspect only the visible connections for moisture or obvious damage. Do not open the valve or attempt electrical testing yourself.
A damaged inlet valve usually requires replacement with a part compatible with the refrigerator’s exact model number.
If water pressure is suspected, have it checked against the manufacturer’s specified range. A plumber or appliance technician can determine whether the supply pressure or valve is responsible.
8. Leaking Ice Maker or Damaged Fill Tube
An ice maker can also be responsible for a refrigerator water leak.
The ice maker receives water through a fill tube. When everything works correctly, the correct amount of water enters the ice mold and freezes into cubes.
However, a damaged fill tube, loose water connection, or malfunctioning water valve may allow water to escape.
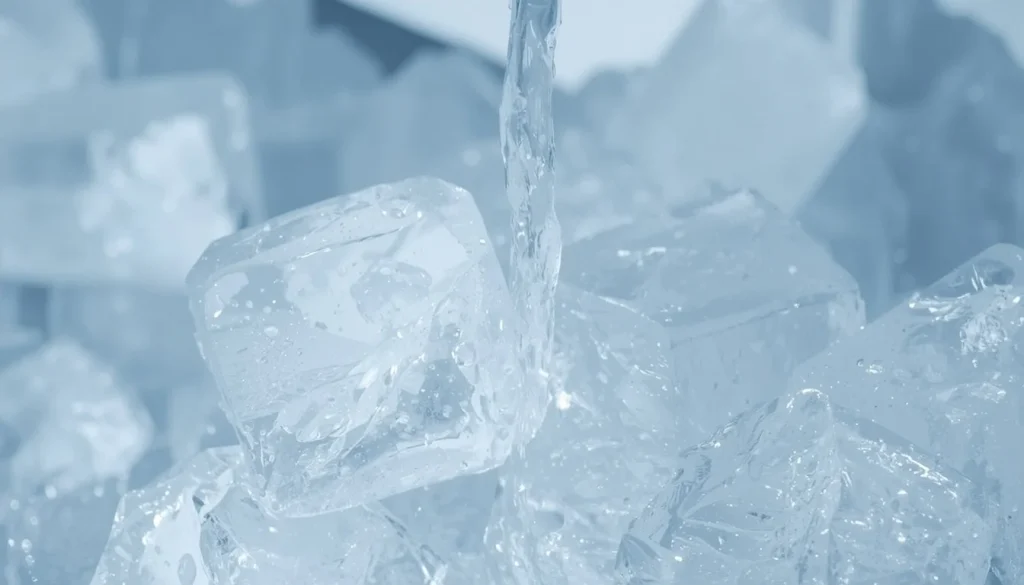
Sometimes, water can also enter the ice maker incorrectly and spill into the freezer.
Common signs:
- Water pooling beneath the ice maker.
- Ice forming in unusual areas of the freezer.
- Large frozen clumps in the ice bin.
- Water leaking after the ice maker attempts to fill.
- Ice production becoming inconsistent.
How to fix it:
- Turn off the ice maker using the designated control if necessary.
- Check for visible ice buildup around the fill area.
- Inspect accessible water connections for moisture.
- Check whether the ice maker or fill tube has visible damage.
- If the water supply connection is leaking, shut off the supply and arrange the correct repair.
Do not use sharp tools to remove ice from the fill tube. Heating internal components with a hair dryer or heat gun can also cause damage.
If the problem involves the inlet valve, internal tubing, or ice maker assembly, arrange professional service.
You can also read our complete guide on how to troubleshoot a refrigerator ice maker for more information about common ice maker problems.
9. Cracked, Displaced, or Overflowing Drain Pan
The drain pan collects water produced during the refrigerator’s automatic defrost cycle.
On many models, the pan is positioned near the bottom of the appliance, where collected water can evaporate over time.
However, a damaged, displaced, or overflowing drain pan may allow water to reach the floor.
A leak around the bottom of the refrigerator does not automatically mean the pan is cracked. The actual problem may be a blocked drain, an unusual amount of water entering the pan, or an evaporation issue.
How to identify the problem:
- Water consistently appears underneath the refrigerator.
- The drain pan has visible cracks or damage.
- The pan appears displaced, if it is designed to be removable.
- Water collects faster than the pan can normally evaporate.
How to fix it:
Check your owner’s manual to determine whether the drain pan can be accessed safely.
If the pan is designed for user removal, inspect it for cracks, displacement, or excessive water. Clean and reinstall it according to the manual.
A damaged pan should be replaced with a compatible part.
Some refrigerators have drain pans that are difficult to access or are not designed for routine removal. Do not force one out.
For additional details, see Samsung’s guide to refrigerator drain tray leaks.
10. Damaged Door Gasket or Improper Refrigerator Leveling
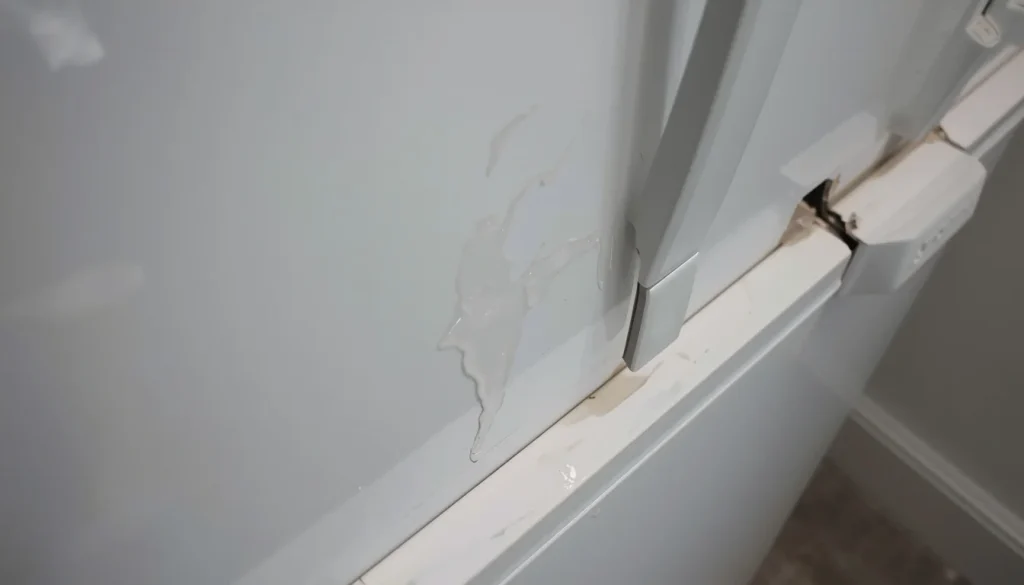
A refrigerator door gasket creates a seal between the door and the cabinet. It helps keep warm, humid air outside the refrigerator.
When the gasket becomes cracked, twisted, dirty, or loose, warm air can enter the compartment.
That moisture can condense on cold surfaces and eventually collect as water. Excessive moisture may also contribute to frost buildup.
An improperly positioned refrigerator can create additional problems. Many models are designed to tilt slightly backward so the doors close properly and drainage works as intended.
Common signs:
- Water droplets around the refrigerator door.
- Excessive condensation inside the compartment.
- A door that does not close completely.
- Frost forming around the freezer compartment.
- Water appearing near the front of the appliance.
How to fix it:
First, inspect the rubber gasket around the refrigerator door.
Clean dirt and food residue with a soft cloth and mild cleaning solution approved for the appliance.
Look for tears, loose sections, or areas that no longer make proper contact with the cabinet.
Next, check the refrigerator’s position using the leveling instructions in your owner’s manual. Do not assume every model uses the same leveling adjustment.
If the gasket is damaged, replace it with the correct part.
Our guides on refrigerator door gasket replacement and why a refrigerator door may not seal properly can help you understand these problems in more detail.
Could It Be Condensation Instead of a Refrigerator Leak?
Not every puddle around a refrigerator comes from a broken component.
Sometimes, the water is caused by condensation, an accidental spill, or another nearby source.
Before replacing any parts, rule out these possibilities.
1. Spilled Food or Liquid
A container with a loose lid, cracked bottle, or spilled liquid can create a puddle inside the refrigerator.
Remove the items around the wet area and check their bases for leaks.
Clean the shelf and dry the refrigerator floor before checking whether water returns.
2. Condensation After a Power Interruption
If the refrigerator has been switched off or has experienced a power interruption, the temperature inside may rise.
When the appliance starts cooling again, moisture can collect on cold surfaces and appear as water.
Allow the refrigerator to return to its normal operating temperature and monitor the area.
3. Warm Food Containers
Placing hot or warm food directly inside the refrigerator can introduce additional moisture.
As the food cools, condensation may form on the container and drip onto shelves or drawers.
Allow food to cool safely before placing it in the refrigerator, and use properly sealed containers.
4. Water Coming From a Nearby Source
Sometimes, water travels across the floor from a sink, dishwasher, water purifier, or nearby plumbing connection.
The refrigerator may appear to be leaking even when its own components are dry.
Check the surrounding floor and nearby plumbing before assuming the appliance is responsible.
For additional guidance, see LG’s official refrigerator water leak troubleshooting guide.
How to Fix a Refrigerator That Is Leaking Water: Step-by-Step
Once you have a general idea of where the leak is coming from, follow these steps.
Step 1. Protect the Floor and Locate the Leak
Wipe up standing water to prevent slipping and floor damage.
Use a dry cloth or paper towel to check where moisture first appears. Look inside the refrigerator, underneath the drawers, around the filter, and near accessible water connections.
Do not assume the largest puddle marks the original leak location.
Step 2. Follow the Necessary Safety Precautions
Water and electricity are a dangerous combination.
If water reaches electrical components, the power cord, or electrical outlets, stop troubleshooting.
Do not touch wet electrical connections or handle the plug while standing in water. If power needs to be isolated, use a safely accessible circuit breaker only if you can do so without contacting water. Otherwise, seek professional assistance.
Step 3. Turn Off the Water Supply if Necessary
If the refrigerator has an active water supply leak, close the accessible shutoff valve if it is safe to reach.
This can help prevent additional water from entering the damaged line or component.
If the leak is coming from a different source, shutting off the household water supply may not be necessary.
Step 4. Inspect the Water Filter
Check whether the filter was recently replaced.
Make sure it is compatible with your refrigerator and installed according to the owner’s manual.
Look for visible cracks, damaged seals, or water around the filter housing.
Step 5. Check the Defrost Drain
If water collects under the crisper drawers, inspect the defrost drain area.
Only clear it yourself if the manufacturer provides a safe user-maintenance procedure.
If the drain is inaccessible or repeatedly freezes, arrange professional service.
Step 6. Inspect the Accessible Water Supply Line
If water is leaking behind the refrigerator, check the visible tubing and connections.
Look for drips, cracks, damaged fittings, or kinks.
Avoid pulling a heavy refrigerator away from the wall by yourself. Have someone help or ask a professional to inspect the connections.
Step 7. Check the Door Gasket and Refrigerator Level
Make sure the door closes completely and the gasket is clean and undamaged.
Also check whether the refrigerator is positioned according to the manufacturer’s leveling instructions.
Step 8. Monitor the Refrigerator
After completing a safe inspection or repair, dry the affected area.
Restore the water supply only when the connection is secure and the water system is safe to use.
Monitor the appliance for further leaks. If the water returns, stop repeated DIY attempts and arrange a professional inspection.
Why Is Your Refrigerator Leaking Water After Changing the Water Filter?
If the leak started immediately after replacing the water filter, investigate the filter installation before looking at unrelated components.
There are several possible explanations.
Air Trapped in the Water Line
Air can enter the water system during filter replacement.
This may cause sputtering or temporary dripping from the dispenser.
Follow the manufacturer’s flushing instructions to remove trapped air. The required amount of water can differ between models.
Water Filter Not Installed Correctly
A filter that is not fully seated may allow water to escape around its connection.
Remove and reinstall it according to the manufacturer’s instructions.
Damaged Filter Seal
A twisted, damaged, or missing O-ring can prevent the filter from forming a proper seal.
Inspect the accessible seal and replace damaged components as specified by the manufacturer.
Incorrect Replacement Filter
A filter that looks similar to the original may not fit your refrigerator correctly.
Always check the refrigerator model number and use a compatible replacement.
If the leak continues after fitting the correct filter, the filter housing or internal connections may need professional inspection.
Why Is Your Refrigerator Water Dispenser Leaking?
A refrigerator water dispenser can drip for several reasons.
First, understand the difference between normal dripping and a continuous leak.
Normal Dripping After Dispensing
A few drops immediately after filling a glass can be normal on some models.
The water remaining at the dispenser nozzle may fall after you release the lever.
Check your owner’s manual for model-specific guidance.
Continuous Water Dripping From the Dispenser
If water continues dripping long after dispensing has stopped, investigate the water system.
Possible causes include:
- Air trapped in the water line.
- An incorrectly installed water filter.
- A leaking dispenser tube.
- A problem with the water inlet valve.
- Incorrect water pressure.
Ice or Frost Around the Dispenser Chute
On refrigerators with through-the-door ice dispensers, ice buildup around the chute can melt and drip.
Check the chute for visible ice or frost. Follow the manufacturer’s cleaning instructions rather than using sharp tools.
For further guidance, see Samsung’s official water dispenser troubleshooting instructions.
If the dispenser continues leaking after basic checks, a technician should inspect the water lines, valve, and dispenser assembly.
When Should You Call a Refrigerator Repair Technician?
Not every refrigerator water leak is suitable for DIY repair.
Basic checks such as inspecting an accessible filter or wiping up condensation may be straightforward. However, some problems require specialist tools and experience.
Arrange professional service when:
- Water continues leaking after basic troubleshooting.
- An internal water line is cracked or disconnected.
- The water inlet valve needs replacement.
- The water reservoir or filter housing is damaged.
- The defrost drain repeatedly becomes blocked.
- Water reaches electrical connections or components.
- The refrigerator stops cooling properly.
- You cannot identify the source of the leak.
- The appliance is still covered by its warranty.
Before arranging a repair, check your refrigerator’s model number and warranty conditions.
This can help the technician identify the correct parts and determine whether the repair may be covered.
How to Prevent Your Refrigerator From Leaking Water Again
A few regular checks can help reduce the chance of another water leak.
Inspect water connections: Check accessible water lines and fittings for visible moisture or damage.
Replace filters correctly: Use compatible filters and follow the manufacturer’s installation and flushing instructions.
Keep the door gasket clean: Remove dirt and food residue that may prevent the door from sealing properly.
Avoid leaving the door open: An open door allows warm, humid air to enter and can contribute to excess moisture and frost.
Check refrigerator leveling: Follow the owner’s manual to maintain the correct position.
Watch for water buildup: Do not ignore small puddles or repeated moisture under the drawers.
Follow the maintenance instructions: Different brands and models have different drainage systems and service requirements.
If you notice water returning in the same area, investigate the underlying cause instead of repeatedly cleaning the puddle.
Frequently Asked Questions
Why is my refrigerator leaking water onto the floor?
A refrigerator may leak onto the floor because of a clogged defrost drain, damaged water supply line, faulty inlet valve, overflowing drain pan, or leaking ice maker. Start by identifying where the water first appears before inspecting any components.
Why is there water under my refrigerator’s crisper drawers?
Water under the crisper drawers often indicates a clogged or frozen defrost drain. When the drain cannot carry away melted frost, water collects at the bottom of the refrigerator instead.
Why is my fridge leaking water from the back?
A leak behind the refrigerator may come from a loose water supply connection, damaged tubing, faulty inlet valve, or drain pan. Inspect accessible connections and shut off the water supply if an active line leak is found.
Why is my refrigerator leaking after changing the water filter?
An incorrectly installed filter, damaged O-ring, incompatible cartridge, or cracked filter housing can cause leaking after replacement. Air trapped in the water line may also cause temporary dispenser dripping. Reinstall the compatible filter and flush the system according to the manufacturer’s instructions.
Can a clogged defrost drain cause water to leak?
Yes. A blocked defrost drain prevents melted frost from draining properly. Water may collect inside the refrigerator, freeze underneath the drawers, or eventually spill onto the floor.
Why is my refrigerator water dispenser dripping?
A few drops immediately after dispensing may be normal. Continuous dripping can indicate trapped air, an improperly installed filter, a damaged water line, ice buildup around the dispenser, or an inlet valve problem.
Why is my freezer leaking water onto the floor?
A freezer can leak water when the defrost drain is blocked or frozen. Melted frost may accumulate inside the freezer and eventually escape onto the floor. A faulty ice maker or water supply connection can also cause this problem.
Is it safe to use a refrigerator that is leaking water?
It depends on the source of the leak. A small amount of condensation may not indicate a mechanical fault, but water near electrical components can create a serious safety risk. Stop using the appliance and seek professional assistance if water reaches electrical parts or connections.
Should I turn off the water supply if my refrigerator is leaking?
Yes, when the leak is coming from an active water supply line, filter connection, or another pressurized water component, shutting off the refrigerator’s water supply can help prevent further damage. Do not touch wet electrical components while doing so.
How much does it cost to fix a leaking refrigerator?
The repair cost depends on the faulty component, refrigerator brand, model, replacement parts, and technician’s labor charges. A simple filter installation problem may require little more than correcting the installation, while replacing an internal valve or water reservoir can cost considerably more. Request a diagnosis and estimate before approving the repair.
Final Thoughts
A leaking refrigerator does not always mean you need an expensive repair. In many cases, the problem comes from a clogged defrost drain, incorrectly installed water filter, loose water connection, or damaged drainage component.
Start by identifying where the water first appears. Then inspect the relevant parts using your refrigerator’s owner’s manual and follow the recommended safety precautions.
Avoid replacing components without confirming the source of the leak. If water reaches electrical parts, an internal connection is damaged, or the problem keeps returning, contact a qualified appliance repair technician.
Finding the actual cause is the most reliable way to stop the leak, protect your kitchen floor, and keep your refrigerator working properly.

Hi, I’m the lead researcher and appliance enthusiast behind RefrigeratorSolve. With years of hands-on experience troubleshooting cooling systems and testing home appliances, I am dedicated to bringing you honest reviews, energy-saving tips, and practical solutions to keep your refrigerator running perfectly.