“How to defrost a triple door refrigerator manually?” You do it by turning off the appliance, removing all food, and allowing the ice to melt naturally, then thoroughly drying the interior before restarting it. It’s a vital part of refrigerator maintenance that keeps your appliance running efficiently for years.
I’ll be honest with you the first time I saw a massive ice wall forming in the freezer section of my fancy new triple-door fridge, my heart sank. I thought, “This smart, energy-efficient machine is supposed to handle this itself!” But even the best appliances need a little help from time to time. That’s when I learned the essential skill of manual defrosting.
Over the years, through trial and error (and chats with more than one repair technician), I’ve perfected a method that’s safe, effective, and minimizes the stress on both me and the refrigerator. If you’re staring at a similar icy situation, don’t worry. I’m here to walk you through the entire process, step-by-step. We’ll turn what seems like a big chore into a totally manageable task.

Why Manual Defrosting is a Must-Do Task
First, let’s talk about the “why.” Most triple-door refrigerators are frost-free, meaning they have a built-in system to prevent ice accumulation. So, why would ice build up? It’s usually a sign that something is slightly off. Maybe the door seal isn’t perfect, letting in warm, humid air. Perhaps the automatic defrost heater or drain is clogged with a small piece of food debris.
When that frost layer gets too thick—usually around a quarter-inch—it acts as an insulator. Your compressor has to work much harder and run longer to keep the cabinet cold, which shoots your electricity bill up and puts unnecessary wear and tear on the entire cooling system. A simple manual defrost can restore your fridge’s energy efficiency and prevent a costly service call down the line.
Your Pre-Defrost Checklist: Getting Prepared
You can’t just unplug a full fridge and hope for the best. A bit of preparation makes the whole experience smooth and prevents food spoilage.
- Pick Your Time: Choose a day when your fridge is relatively less full. A cool, overcast day is ideal because your kitchen won’t be too hot, helping to keep your food at a safe temperature for longer while it’s out of the fridge. I always plan this for a morning when I know I’ll be home all day.
- Gather Your Supplies: Having everything at hand is key. You’ll need:
- Coolers and Ice Packs: These are your best friends. You’ll transfer your perishable food here to keep it cold and safe.
- Old Towels and Bath Mats: Lots of them! You’ll use these to soak up the water from melting ice.
- A Large Bowl or Shallow Pan: To place inside the freezer to catch dripping water.
- A Plastic Spatula or Scoop: Never a metal knife or sharp object! This is for gently loosening large chunks of ice once they’ve mostly melted.
- A Bucket: For wringing out soaked towels.
- Baking Soda and Warm Water: For the final cleaning wipe-down.
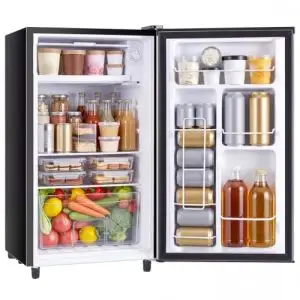
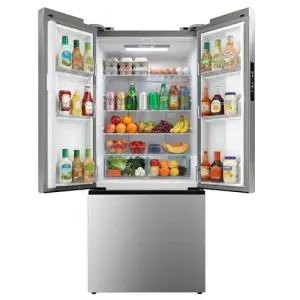
- Empty the Fridge: This is the big one. Take everything out of all three compartments—the refrigerator, the freezer, and that middle drawer (often a flex zone or freshness chamber). As you remove items, it’s a great chance to check expiration dates and wipe down jars and bottles that might be sticky.
- Sort the Food: Group your food into piles: perishables for the coolers, and non-perishables that can sit on the counter. To keep food safe, aim to get your cooler temperature as close to 40°F (4°C) as possible with those ice packs.
- Turn It Off and Unplug: Locate the temperature control panel—usually inside the fresh food section—and turn the appliance off. Then, for absolute safety, go to the wall outlet and unplug the entire unit. This ensures there’s no risk of electrical shock while you’re working with water.
- Open the Doors: Prop open all three doors. This allows warmer air to circulate and begin the melting process. I also remove all the glass shelves, crisper drawers, and any removable bins. These are much easier to clean separately in the kitchen sink.
The Step-by-Step Defrosting Process
Now for the main event. Remember, patience is your greatest tool here.
1. The Waiting Game (Natural Melting): This is the safest and most recommended method. Simply let the ice melt on its own. Place your bowl or pan on a lower shelf or directly on the floor of the freezer to catch the drips. Lay towels all around the base of the fridge to protect your kitchen floor. This process can take a few hours, so now is a good time to clean those shelves and bins you removed.

2. Speeding Things Up (Safely): If you need to hurry the process along a little, you can use a hairdryer. But be extremely careful! Keep the hairdryer on a low, cool setting and hold it at least a foot away from any ice or interior surfaces. Never, ever point it at electrical components or near water pools. The goal is to gently warm the air, not melt the plastic interior. Alternatively, you can place a bowl of hot (not boiling) water inside the freezer and shut the door for 10-15 minutes. The steam will help soften the ice.

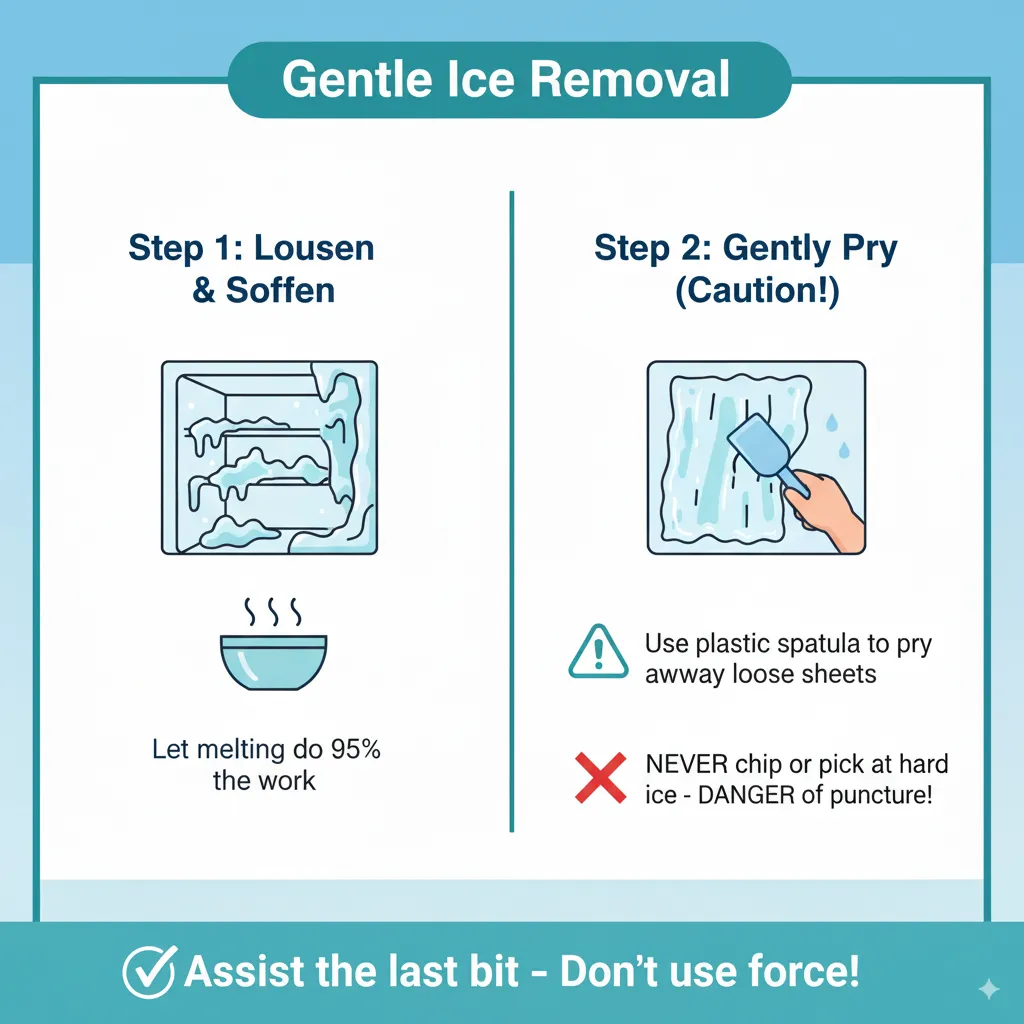
3. Gentle Ice Removal: Once the ice has loosened and is slushy, you can use your plastic spatula to gently pry large sheets away from the walls. Do not chip or pick at the ice. Applying too much force can easily puncture a cooling coil behind the lining, which is a serious and expensive repair. Let the melting do 95% of the work; you’re just assisting the last little bit.
4. Tackle the Drain Hole: In the bottom of the freezer compartment, you’ll find a small drain hole. This is often the culprit for ice buildup if it’s clogged. Once everything is melted, check this hole. You can clear it with a pipe cleaner or a cotton swab to ensure proper drainage in the future.

The Cleanup and Restart

The ice is gone! Now, let’s get everything back to normal.
- Dry Everything Thoroughly: This is the most crucial step. Use dry towels to wipe down the entire interior of all three compartments—every wall, shelf socket, and corner. Any leftover moisture will just freeze again into a new layer of frost the moment you turn the fridge back on. I go over it twice to be sure.
- A Quick Clean: While everything is empty and dry, it’s the perfect opportunity to wipe the interior with a mild solution of warm water and baking soda. This neutralizes odors and leaves everything fresh. Make sure you then wipe it again with a clean water-dampened cloth and dry it completely.
- Reinstall Shelves and Drawers: Put all your clean, dry shelves, bins, and drawers back into their proper places.
- Plug It In and Power On: Once you are 100% certain the interior is bone-dry, plug the refrigerator back in and turn it on using the control panel. Set the temperature to your desired settings. For the freezer, that’s typically 0°F (-18°C), and for the fridge, it’s 37°F (3°C).
- Wait Before Restocking: Give the fridge time to get back down to its correct temperature before you put all your food back in. This usually takes about 4-6 hours. Use a refrigerator thermometer to be sure. Once it’s cold, you can reload your food.
“A well-maintained appliance is an efficient appliance. Regular cleaning and defrosting, even for modern units, is the simplest way to extend its life and save money.” — James Ellington, Appliance Repair Specialist
Frequently Asked Questions for How to Defrost a Triple Door Refrigerator Manually?
How often should I manually defrost my triple door refrigerator?
Even if it’s a frost-free model, doing a manual defrost once a year is a great practice. If you notice ice building up faster than that, it might indicate an issue with a door gasket or the drain.
Can I use a knife or other sharp tool to chip away the ice?
Absolutely not. This is the most common way people cause serious damage. You can easily puncture a refrigerant line, which will require a professional repair that often costs more than a new fridge. Always be patient and let it melt.
My fridge has a dedicated ‘Defrost’ mode. Should I use that?
Yes! If your model has a specific defrost function, consult your user manual and use that setting. It will typically turn off the compressor and fans to facilitate melting. You still need to unplug the unit and remove the food, but the process might be slightly streamlined.
How long will the entire process take?
Plan for the better part of a day. The melting alone can take 3-6 hours depending on the ice thickness. The cleaning, drying, and cool-down time add several more hours.
The ice came back very quickly. What does that mean?
Rapid ice buildup usually points to one of three things: a torn or dirty door seal (gasket) letting in moist air, a clogged defrost drain, or a problem with the defrost heater or thermostat. Check the seals first, as that’s an easy fix.
“The enemy of your freezer isn’t use, it’s neglect. That thin layer of frost is a message—listen to it.”
— Maria Garcia, Home Economist
Keeping Frost at Bay: Daily Habits
To extend the time between manual defrosting sessions, adopt a few simple habits:
- Check the Door Seals: Regularly wipe the rubber gaskets around all three doors with warm, soapy water and ensure they are sealing tightly. A simple test is to close the door on a dollar bill; if you can pull it out easily, the seal might be weak.
- Avoid Overloading: Don’t pack the freezer so full that air can’t circulate around the food.
- Cover Liquids: Always cover soups and liquids before placing them in the fridge to reduce ambient moisture.
- Let Food Cool: Allow hot food to cool to room temperature before placing it in the refrigerator, but don’t leave it out for more than two hours.
Conclusion
Learning how to defrost my triple-door refrigerator manually was a game-saving skill. It felt intimidating at first, but breaking it down into simple, logical steps made it completely doable. This process isn’t just about removing ice; it’s about taking proactive care of a major appliance in your home. You’re ensuring it runs efficiently, which saves you money on your energy bills, and you’re significantly extending its lifespan.
Setting aside one day a year for this task is a small investment for the peace of mind that comes with a humming, frost-free, and perfectly functioning refrigerator. You’ve got this!
“The most sophisticated technology still relies on simple, consistent care from its owner.”— David Chen, HVAC Engineer

Hi, I’m the lead researcher and appliance enthusiast behind RefrigeratorSolve. With years of hands-on experience troubleshooting cooling systems and testing home appliances, I am dedicated to bringing you honest reviews, energy-saving tips, and practical solutions to keep your refrigerator running perfectly.