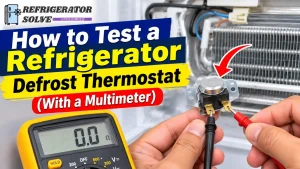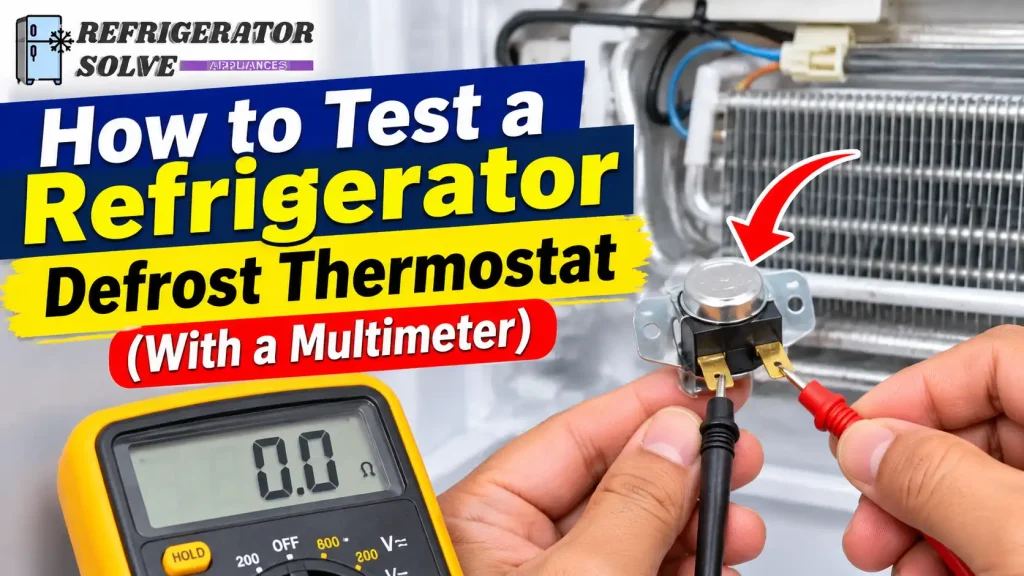
If your refrigerator has thick frost buildup behind the freezer panel or struggles to maintain a steady temperature, a faulty defrost thermostat could be one possible cause. You can test many mechanical defrost thermostats with a digital multimeter, but the test must be performed at the correct temperature with the refrigerator disconnected from power.
In this guide, I’ll explain how to identify the defrost thermostat, test its continuity in cold and warm conditions, understand the meter readings, and decide what to check if the thermostat passes the test.
Quick Answer: How Do You Test a Refrigerator Defrost Thermostat?
To test a mechanical refrigerator defrost thermostat, unplug the refrigerator, disconnect the thermostat’s electrical wires, and set a multimeter to continuity or resistance mode. Test the thermostat while it is colder than its specified closing temperature. A working bimetal thermostat should show continuity when cold and an open circuit after warming above its specified opening temperature. Always check the temperature specifications for your refrigerator model because these values vary.
What Does a Refrigerator Defrost Thermostat Do?
A refrigerator defrost thermostat is a temperature-sensitive safety switch used in many automatic-defrost refrigerators. It is also known as a defrost limit switch or bimetal thermostat.
Its main job is to control the defrost heater according to the temperature around the evaporator coil.
During normal operation, moisture in the freezer air can freeze on the evaporator coils. The automatic defrost system periodically activates a heater to melt this frost. The defrost thermostat monitors the coil temperature and helps prevent the heater from becoming too hot.
In many traditional systems, the thermostat works in two stages:
- When the evaporator is cold: The thermostat contacts close at a specified low temperature, allowing the defrost circuit to operate when the control system calls for defrost.
- When the evaporator warms up: The contacts open at a specified higher temperature, interrupting power to the heater.
This prevents the defrost heater from continuing to heat the evaporator after the required temperature has been reached.
The thermostat does not normally decide when every defrost cycle starts. That job belongs to the defrost timer or electronic control system, depending on the refrigerator design.
How Does a Defrost Bimetal Thermostat Work?
A mechanical bimetal defrost thermostat contains two bonded metals that respond differently to temperature changes. As the temperature changes, the internal bimetal element moves and operates an electrical contact.
When the thermostat reaches its specified closing temperature, the contacts close. As the evaporator warms during defrost, the contacts open again at the specified opening temperature.
This type of thermostat normally has two electrical terminals. Its condition can therefore be checked with a multimeter by measuring continuity between those terminals.
However, not every refrigerator uses this exact design. Some newer models use electronic temperature sensors, such as thermistors, instead of a separate mechanical bimetal switch.
Defrost Thermostat vs. Thermistor: What’s the Difference?
These two components can look similar because both are involved in temperature monitoring. However, they do not work in the same way, and you should not test them using the same method.
| Feature | Bimetal defrost thermostat | Thermistor |
|---|---|---|
| Main function | Opens and closes an electrical circuit at set temperatures | Measures temperature and sends a changing resistance signal |
| Electrical behavior | Usually switches between closed and open | Resistance changes as temperature changes |
| Common test | Continuity or resistance test at specified temperatures | Resistance test compared with a temperature chart |
| Typical meter result | Near-zero resistance when closed; OL when open | A model-specific resistance value |
| Testing reference | Opening and closing temperature specifications | Manufacturer’s temperature-resistance chart |
A thermistor should not automatically be judged faulty because it does not beep in continuity mode. Its resistance needs to be compared with the correct temperature-resistance chart.
You can see an example of a thermistor testing procedure in RepairClinic’s refrigerator thermistor testing guide.
Before testing anything, identify which type of temperature-sensing component your refrigerator actually uses.
Signs of a Bad Refrigerator Defrost Thermostat
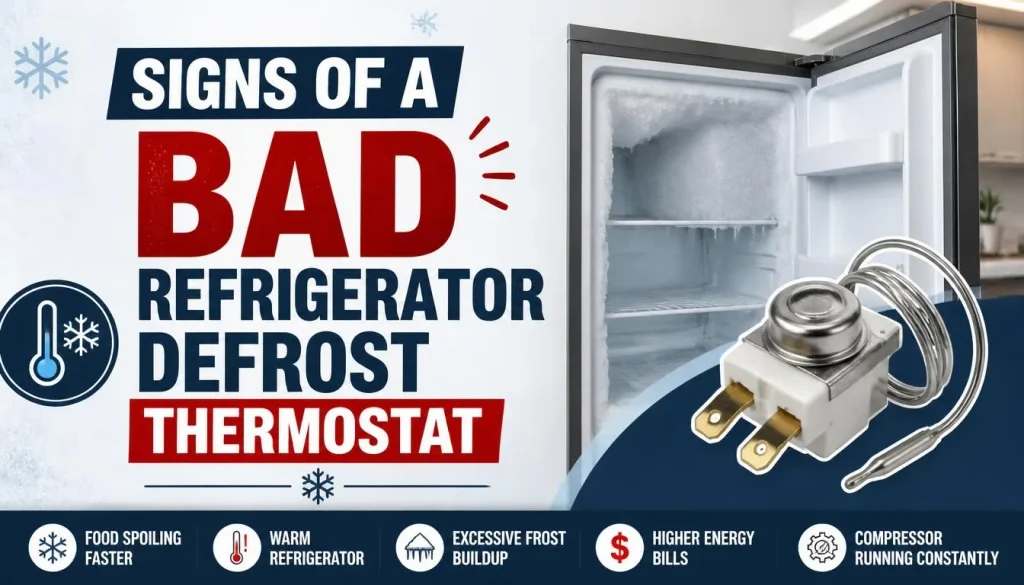
A faulty defrost thermostat can prevent the automatic defrost system from working correctly. However, these symptoms can also be caused by a defective heater, sensor, wiring connection, or control board.
Here are some signs worth investigating.
1. Excessive Frost on the Evaporator Coils
One common warning sign is a thick layer of frost or ice covering the evaporator coils behind the freezer’s interior rear panel.
If the defrost thermostat fails to close when the evaporator is cold, the defrost heater may not receive power during the defrost cycle. Frost can then continue accumulating.
Heavy ice can also restrict airflow, making it harder for the refrigerator to maintain its temperature.
2. The Refrigerator Is Not Cooling Properly
When ice covers the evaporator coils, airflow through the cooling system may become restricted. The freezer may remain cold initially while the refrigerator compartment gradually becomes warmer.
A faulty defrost thermostat is one possible cause, but it is not the only one.
Read Why Is My Refrigerator Not Defrosting? for a broader explanation of defrost system problems.
3. The Defrost Heater Does Not Operate
If the thermostat remains open when it should close, it may prevent the defrost heater from receiving power.
However, a heater that does not operate does not automatically mean the thermostat is defective. A failed heater, damaged wire, faulty timer, or control board problem can produce a similar result.
4. Frost Returns After Manual Defrosting
Manually removing the ice may temporarily restore airflow and cooling. But if the automatic defrost system still has a fault, frost can return.
Repeated manual defrosting does not identify which component has failed. You need to test the relevant parts before replacing anything.
Tools Needed to Test a Defrost Thermostat
Gather these tools before starting:
- Digital multimeter with resistance and continuity modes
- Refrigerator service manual or technical sheet
- Temperature thermometer suitable for the testing range
- Screwdriver set
- Needle-nose pliers for connectors, if needed
- Flashlight
- Protective work gloves
A digital multimeter is the most important tool. You will use it to check whether the thermostat’s electrical contacts open and close correctly.
The manufacturer’s service documentation is equally important because the opening and closing temperatures differ between models.
Where Is the Defrost Thermostat Located?
On many refrigerators with a mechanical defrost thermostat, the component is attached to or clipped around the evaporator tubing inside the freezer compartment.
To access it, you may need to remove the freezer’s interior rear panel. The thermostat is often a small, rounded or rectangular component with two wires connected to it.
Its exact location depends on the refrigerator’s design.
Before removing any panel, check the appliance’s service manual or parts diagram. Do not mistake the defrost thermostat for the evaporator thermistor, which may be located nearby.
Also, never pull or bend the evaporator tubing. Damaging a refrigerant line can turn a simple diagnostic job into an expensive repair.
How to Test a Refrigerator Defrost Thermostat With a Multimeter
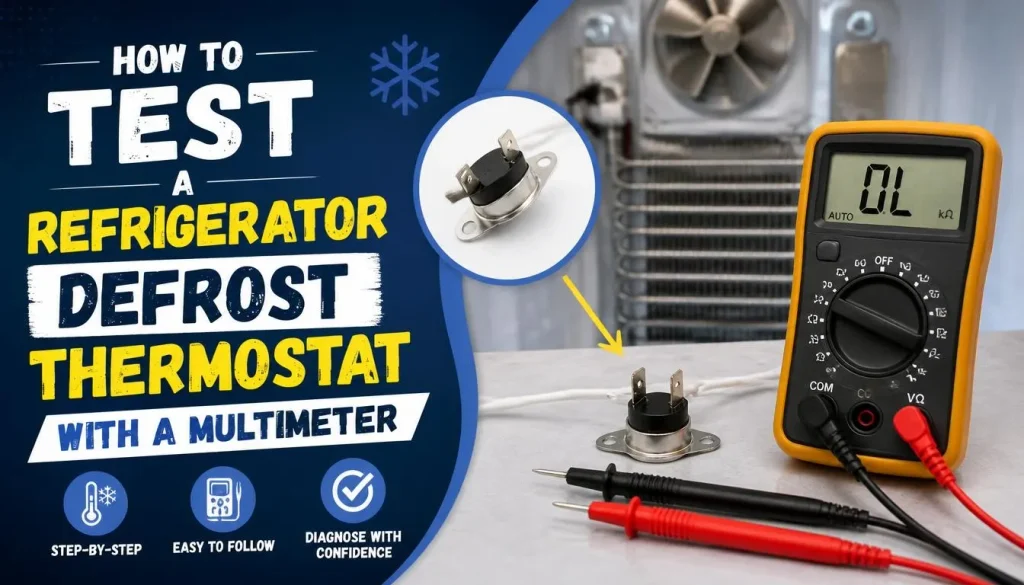
The following procedure applies to a conventional two-terminal mechanical bimetal defrost thermostat. It is not a universal procedure for electronic sensors or every refrigerator design.
Step 1: Disconnect the Refrigerator From Power
Unplug the refrigerator from the electrical outlet before opening the freezer compartment or handling its wiring.
If you cannot safely reach the plug, switch off the correct circuit breaker and make sure the appliance is disconnected from its power supply.
Never measure resistance or continuity on a live circuit.
Allow the freezer contents to be removed and stored safely. Put towels around the work area because melting frost or ice may release water.
Step 2: Access the Evaporator Compartment
Remove the freezer shelves, drawers, ice bucket, or other parts that block access to the interior rear panel.
Depending on the model, the panel may be secured with screws, clips, or both.
Remove it carefully and locate the evaporator assembly. Avoid touching the evaporator fins unnecessarily because they can be sharp.
If the panel is frozen in place, do not force it. Allow the ice to melt naturally or follow the manufacturer’s approved procedure for removing it.
Step 3: Locate and Disconnect the Thermostat Wires
Find the defrost thermostat attached to the evaporator tubing.
Take a clear photograph of the wiring before disconnecting anything. This will help you restore the connections correctly.
Disconnect the thermostat’s electrical connector so that you can test the component separately from the refrigerator circuit.
Pull on the connector rather than the wires themselves. Do not cut wires just to perform a basic continuity test.
If you cannot identify the correct component or connector, stop and check the parts diagram for your refrigerator model.
Step 4: Check the Thermostat’s Temperature Specifications
Before testing, find the thermostat’s specified:
- Closing temperature
- Opening temperature
These two values are not necessarily the same. The difference between them is known as temperature differential or hysteresis.
For example, a service manual may specify that a thermostat closes at 25°F and opens at 47°F. This is only an example of one design, not a universal refrigerator specification.
The Maytag PCF2700ACW service manual explains that the thermostat should show continuity with the power disconnected and the evaporator coil below freezing. It also describes how the thermostat opens at a preset higher temperature.
Use the technical sheet for your exact model instead of copying temperature values from another refrigerator.
Step 5: Set Your Multimeter to Continuity or Resistance Mode
Turn on your digital multimeter.
For a continuity test, select the continuity setting, usually marked with a sound-wave symbol. If your meter does not have this function, select a low resistance range.
Touch the two meter probes together.
A working meter should indicate continuity or a very low resistance reading. This confirms that the meter and test leads are operating.
Keep the probes away from each other until you are ready to test the thermostat.
Step 6: Test the Thermostat While Cold
The thermostat must be colder than its specified closing temperature before you judge its cold-state reading.
You can use a suitable controlled cooling method, such as a freezer or another temperature-controlled environment. Monitor the actual temperature with a thermometer.
Do not assume that placing the thermostat in an ordinary freezer automatically reaches the correct test temperature for every model.
Once the thermostat is sufficiently cold:
- Place one multimeter probe on each thermostat terminal.
- Check the meter display.
- Listen for the continuity tone if your meter has one.
- Compare the reading with the manufacturer’s specification.
For a conventional bimetal defrost thermostat that is designed to close at low temperatures, you should normally see continuity when it is sufficiently cold.
A near-zero resistance reading indicates that the contacts are closed.
If the thermostat remains open after it has reached the specified closing temperature, it may be defective.
Step 7: Test the Thermostat as It Warms Up
Now allow the thermostat to warm gradually.
Keep the thermometer close enough to monitor its temperature, but do not expose the electrical connector or multimeter terminals to water.
Continue checking the resistance across the two terminals as the temperature rises.
When the thermostat reaches its specified opening temperature, the contacts should open.
The multimeter should then display OL, infinite resistance, or an open-circuit indication, depending on the meter.
If the contacts remain closed after the thermostat has passed the specified opening temperature, the switch may be faulty.
Do not rely on room temperature alone. The manufacturer’s opening temperature is the correct reference.
Step 8: Compare Both Readings With the Manufacturer’s Specifications
Review your cold-state and warm-state results together.
A conventional mechanical bimetal thermostat should normally:
- Close at or below its specified closing temperature.
- Show continuity while its contacts are closed.
- Open at or above its specified opening temperature.
- Show an open circuit while its contacts are open.
If either switching action fails at the specified temperature, the thermostat may need replacement.
If the readings match the specifications, do not replace the thermostat simply because the refrigerator has a defrost problem. Continue checking the rest of the defrost system.
For another practical testing reference, see PartSelect’s guide to testing a refrigerator defrost thermostat.
How to Interpret Defrost Thermostat Multimeter Readings
Understanding the meter display is just as important as performing the test.
| Test condition | Typical result for a mechanical bimetal thermostat |
|---|---|
| Below the specified closing temperature | Continuity or low resistance |
| Above the specified opening temperature | OL or open circuit |
| No continuity when sufficiently cold | Possible failed thermostat |
| Continuity when sufficiently warm | Possible failed thermostat |
| Reading changes at the specified temperatures | Normal switching behavior |
A few points are worth remembering.
Near-zero resistance does not mean the thermostat is shorted. It normally indicates that the contacts are closed.
OL does not automatically mean the thermostat is faulty. It may be the correct result when the thermostat is warm.
The temperature at which you take the reading determines how you should interpret it.
Also, some multimeters show slightly different readings because of test-lead resistance and meter design. Follow the manufacturer’s specifications rather than expecting every working switch to display exactly 0.0 ohms.
Common Mistakes When Testing a Defrost Thermostat
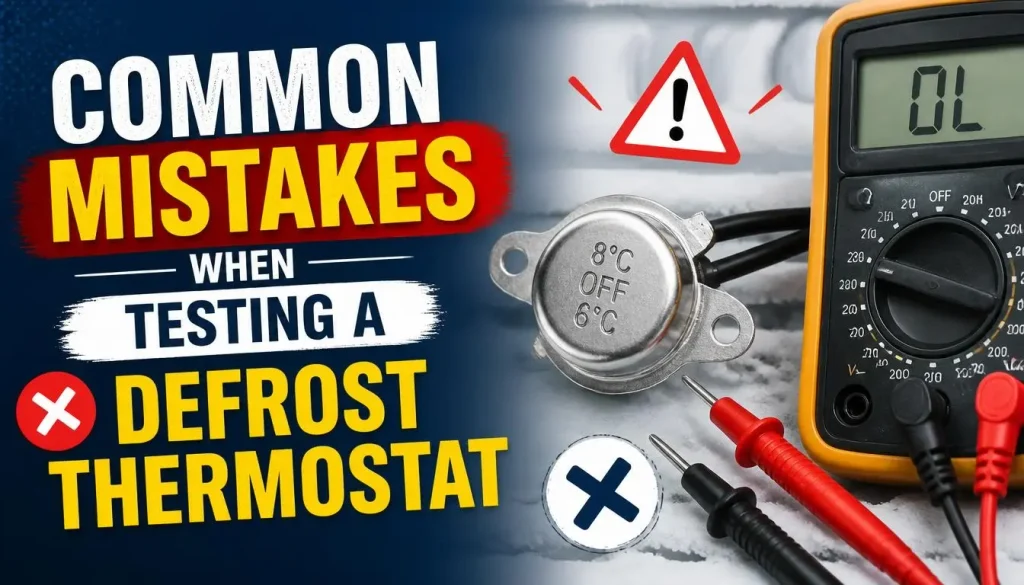
A small testing mistake can lead you to replace a perfectly good part. Avoid these common problems.
Testing at Room Temperature Only
Many mechanical defrost thermostats are open at normal room temperature. If you test one while it is warm, an OL reading may be completely normal.
You need to test it at the correct cold and warm temperatures.
Using the Wrong Temperature Range
Not all defrost thermostats close and open at the same temperatures.
Using a generic 32°F rule can produce a misleading diagnosis. Always check the model-specific service information.
Testing Without Disconnecting the Wires
If the thermostat remains connected to other components, the meter may measure part of the surrounding circuit rather than the thermostat alone.
Disconnect the component’s connector before performing the resistance or continuity test.
Confusing a Thermistor With a Bimetal Thermostat
A thermistor does not operate like a simple on-off mechanical switch. Its resistance changes with temperature.
Use the correct resistance-temperature chart for a thermistor instead of expecting a continuity tone.
Performing a Live Electrical Test
Never use the resistance or continuity mode on an energized refrigerator circuit.
Live-voltage diagnosis requires different equipment, procedures, and electrical knowledge. It is best left to a qualified appliance technician.
What If the Defrost Thermostat Tests Good?
If your defrost thermostat opens and closes at the correct temperatures, the problem may be somewhere else in the defrost system.
Here are the next components to consider.
1. Check the Defrost Heater
The defrost heater melts frost from the evaporator coils during a defrost cycle.
A heater with a broken internal element may fail to produce heat even when the thermostat is working correctly.
With the refrigerator disconnected from power and the heater electrically isolated, a technician or competent DIYer can check its resistance or continuity according to the service manual.
Do not use a universal resistance value for every heater. The correct reading depends on the heater’s design and electrical rating.
2. Inspect the Thermistor
Some refrigerators use a thermistor to report evaporator or compartment temperature to the electronic control board.
A faulty thermistor can send an incorrect temperature signal, affecting defrost operation.
Testing requires a temperature-resistance chart for the exact model. A reading that looks unusual at one temperature may be normal at another.
3. Check Wiring and Connectors
Inspect the wiring between the thermostat, heater, and control system.
Look for:
- Loose connectors
- Burned or discoloured terminals
- Damaged insulation
- Broken wires
- Corrosion around electrical connections
Disconnect power before inspecting these parts. Do not attempt to repair damaged high-voltage wiring unless you have the necessary electrical skills.
4. Investigate the Defrost Timer or Control Board
Older refrigerators may use a mechanical defrost timer to control the defrost cycle.
Many newer models use an electronic control board instead.
If the thermostat and heater both pass their tests, the timer, electronic control, wiring, or another temperature sensor may be responsible.
Further diagnosis may require a model-specific service procedure. Avoid replacing the control board without confirming that it is receiving the correct inputs and supplying the expected outputs.
If frost buildup is also affecting cooling, see Why Is My Refrigerator Not Cooling but the Freezer Is Working? for other possible causes.
When Should You Replace a Defrost Thermostat?
Consider replacing the thermostat when testing confirms that it does not open or close at the required temperatures.
Replacement may also be necessary if the component has damaged terminals, cracked insulation, visible corrosion, or a physically damaged housing.
Before ordering a replacement, check the refrigerator’s complete model number and find the correct part number. Two thermostats may look almost identical but have different temperature ratings or electrical specifications.
Do not choose a replacement based on appearance alone.
Also, install the replacement in the same position and orientation as the original. Its contact with the evaporator tubing is important for accurate temperature sensing.
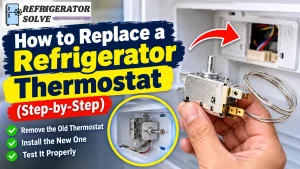
If you are unfamiliar with refrigerator wiring or evaporator access, a qualified appliance repair technician can perform the replacement safely.
Frequently Asked Questions
1. Does a Refrigerator Defrost Thermostat Need to Be Cold to Test?
For a conventional mechanical bimetal defrost thermostat, yes. It must be below its specified closing temperature to test whether the contacts close correctly.
Testing it only at room temperature may give an open-circuit reading even when the thermostat is working normally.
Always check the manufacturer’s temperature specifications.
2. Should a Defrost Thermostat Have Continuity?
It depends on its temperature.
A conventional bimetal defrost thermostat should normally have continuity when it is cold enough to close its contacts. When it warms above its specified opening temperature, it should show an open circuit.
The correct result therefore depends on the thermostat’s actual temperature during the test.
3. What Temperature Should a Defrost Thermostat Open and Close?
There is no single temperature that applies to every refrigerator.
Some models use a thermostat that closes at a temperature in the mid-20s Fahrenheit and opens at a higher temperature in the 40s Fahrenheit. Other models may use different specifications.
Always use the service sheet for your refrigerator’s model number.
4. How Many Ohms Should a Refrigerator Defrost Thermostat Have?
When a conventional bimetal thermostat is closed, a multimeter should usually show very low resistance, close to zero ohms.
When its contacts are open, the meter should show OL or infinite resistance.
The important point is to test the thermostat at the correct temperature. A low or high reading by itself does not prove that the part is faulty.
5. Can You Test a Defrost Thermostat Without Removing It?
Sometimes you can test an accessible thermostat without completely removing it from the evaporator tubing.
However, you still need to disconnect its electrical connector so that you can measure the component separately.
You also need to confirm that the thermostat is at the correct test temperature. If access is difficult or the wiring is unclear, follow the model-specific service procedure or contact a technician.
6. Can a Bad Defrost Thermostat Cause a Refrigerator Not to Cool?
Yes. If a faulty thermostat prevents the defrost heater from operating, frost can accumulate on the evaporator coils.
Over time, this ice can restrict airflow and reduce cooling performance. The refrigerator section may become warm even if the freezer initially remains cold.
However, a failed defrost heater, thermistor, wiring connection, or control board can cause similar symptoms.
7. Can You Bypass a Refrigerator Defrost Thermostat?
Bypassing a defrost thermostat is not a safe repair.
The thermostat helps prevent the defrost heater from overheating the evaporator area. Bypassing it can remove an important temperature-protection function and create a risk of component damage or fire.
Do not leave a thermostat bypassed. Test the component correctly and replace it with the specified part if it has failed.
Final Thoughts
Testing a refrigerator defrost thermostat with a multimeter is a useful way to narrow down an automatic defrost problem. However, the temperature at which you perform the test matters just as much as the meter reading.
For a conventional bimetal thermostat, check for continuity below its specified closing temperature and an open circuit above its specified opening temperature. Do not assume that every refrigerator uses the same temperature settings or even the same type of temperature sensor.
Before replacing anything, compare your results with the refrigerator manufacturer’s service information and check the other components in the defrost system. A careful diagnosis can help you avoid buying parts that are not actually faulty.
If you are unsure about accessing electrical components or interpreting the test results, ask a qualified appliance technician to inspect the refrigerator.

Hi, I’m the lead researcher and appliance enthusiast behind RefrigeratorSolve. With years of hands-on experience troubleshooting cooling systems and testing home appliances, I am dedicated to bringing you honest reviews, energy-saving tips, and practical solutions to keep your refrigerator running perfectly.