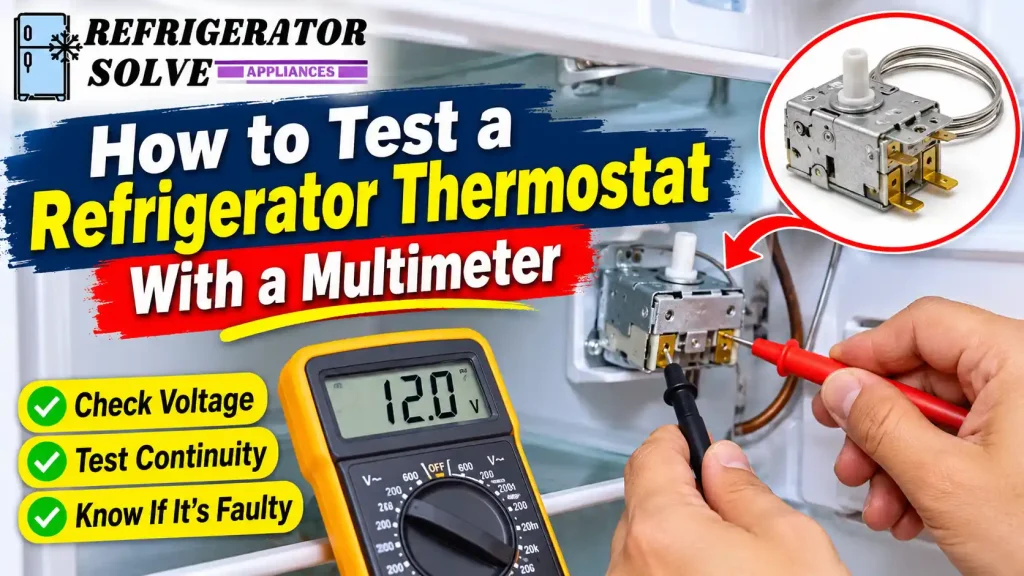
A faulty refrigerator thermostat can cause your fridge to run continuously, stop cooling, or freeze food that should stay fresh. You can test many mechanical refrigerator thermostats with a multimeter by checking their electrical continuity, but the correct testing procedure depends on the thermostat model.
Before replacing the part, it is worth checking whether the thermostat is actually faulty. A few simple tests can help you narrow down the problem and avoid spending money on a replacement you may not need.
What Does a Refrigerator Thermostat Do?
A refrigerator thermostat controls when the cooling system starts and stops. It monitors the temperature inside the appliance and helps regulate the compressor and, depending on the model, the fan motors.
On an older refrigerator, the temperature control may use a mechanical thermostat with a sensing bulb and capillary tube. When the temperature rises above the selected level, the thermostat closes its electrical contacts and allows the cooling system to operate. Once the refrigerator becomes cold enough, the contacts open and the cooling cycle stops.
Newer refrigerators often use electronic temperature sensors and a control board instead of a traditional mechanical thermostat.
This difference matters because a mechanical thermostat can often be checked with a continuity test, while an electronic thermistor needs a resistance test that follows the manufacturer’s temperature specifications.
Signs of a Bad Refrigerator Thermostat
A faulty thermostat does not always produce the same symptoms. However, a few warning signs can help you decide whether testing is necessary.
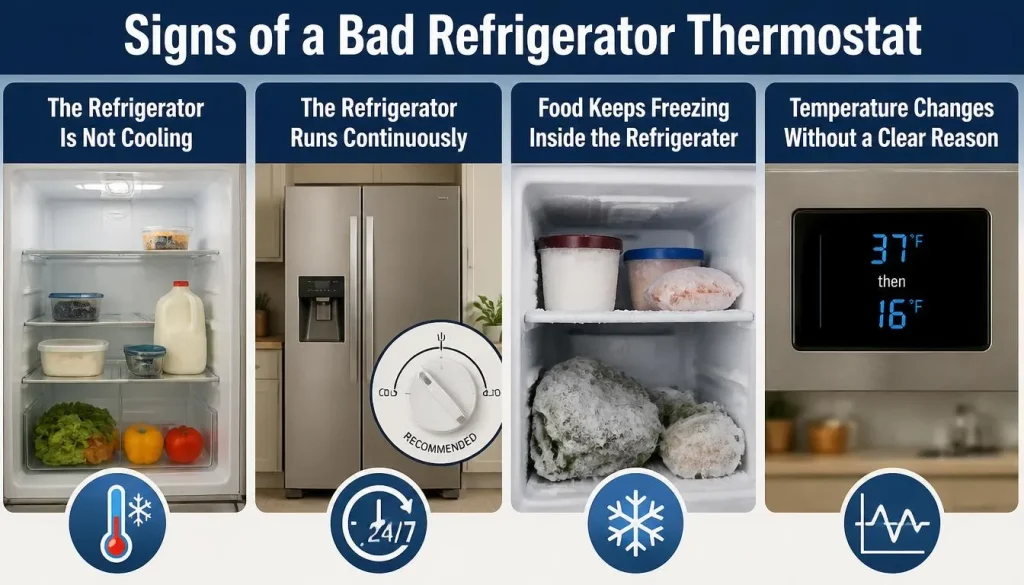
1. The Refrigerator Is Not Cooling
If the compressor does not start when the refrigerator becomes warm, a faulty temperature control could be responsible. The thermostat may not be sending the signal needed to start the cooling cycle.
However, a defective start relay, control board, wiring connection, or compressor can cause similar symptoms.
2. The Refrigerator Runs Continuously
A refrigerator normally cycles on and off to maintain its temperature. If the compressor runs almost constantly, the thermostat contacts may be stuck closed.
Before blaming the thermostat, check the door seal, airflow, condenser coils, and temperature settings.
3. Food Keeps Freezing Inside the Refrigerator
A thermostat that does not respond correctly to temperature changes may allow the cooling system to run longer than necessary.
If food is freezing near the back wall or in certain areas, blocked air vents or uneven airflow may also be responsible.
4. Temperature Changes Without a Clear Reason
Frequent temperature changes can indicate a problem with the thermostat, temperature sensor, or electronic control system.
Use an appliance thermometer to check the actual temperature rather than relying only on the control dial.
Tools Needed to Test a Refrigerator Thermostat
Gather these tools before starting:
- Digital multimeter with resistance and continuity settings
- Screwdriver suitable for the refrigerator’s panels
- Small container for keeping removed screws
- Phone or camera to photograph the wiring connections
- Insulated gloves and appropriate eye protection
- Refrigerator model number and service information
You do not need expensive testing equipment for a basic mechanical thermostat continuity check. A standard digital multimeter is usually enough.
Safety Precautions Before Testing
A refrigerator contains electrical components that can cause serious injury if handled incorrectly. Always take these precautions:
- Disconnect the power: Unplug the refrigerator before opening the control housing or touching thermostat wiring.
- Never test a live circuit in continuity mode: Resistance and continuity measurements must be performed on a de-energized component.
- Photograph the wiring: Take clear pictures before disconnecting any wires.
- Keep water away from electrical terminals: If the manufacturer’s procedure requires an ice-water test, only the designated sensing bulb should enter the water.
- Protect the capillary tube: Do not kink, twist, cut, or pull the thermostat’s sensing tube.
- Avoid unfamiliar electrical components: Do not touch capacitors, exposed control boards, or other components you cannot safely identify.
If your refrigerator is hardwired or you are unsure how to isolate the power, have a qualified appliance technician perform the test.
Where Is the Refrigerator Thermostat Located?
On many older refrigerators, the mechanical thermostat is located behind the temperature control dial inside the fresh-food compartment.
You may find it:
- Behind the temperature adjustment knob
- Inside the upper control housing
- Behind a small plastic cover near the light assembly
- Inside a control panel attached to the refrigerator compartment
The thermostat may have a small sensing bulb connected to a thin capillary tube. Depending on the design, the tube may extend from the thermostat into the refrigerator wall or cooling compartment.
Not every refrigerator has an accessible mechanical thermostat. Many newer models use electronic sensors connected to a control board.
Check your refrigerator’s model number and parts diagram before removing any panels.
How to Check a Refrigerator Thermostat Before Using a Multimeter
It is worth performing a basic inspection before taking the thermostat apart.
Check the Temperature Control Setting
Make sure the control is not accidentally set to OFF or the warmest setting.
If your refrigerator has a numbered dial, remember that higher numbers usually mean colder settings, but the exact arrangement depends on the model.
Our guide to fridge cold control settings explains how numbered temperature controls typically work.
Listen for a Clicking Sound
On a mechanical thermostat, slowly turn the temperature dial from one setting toward another.
You may hear a small click as the internal electrical contacts change position. This can indicate that the mechanism is responding.
However, hearing a click does not prove that the thermostat is electrically sound. A thermostat can make a clicking noise and still have faulty contacts.
If you hear no click or the cooling system does not respond as expected, a multimeter test may help.
How to Test a Refrigerator Thermostat With a Multimeter (Step-by-Step)
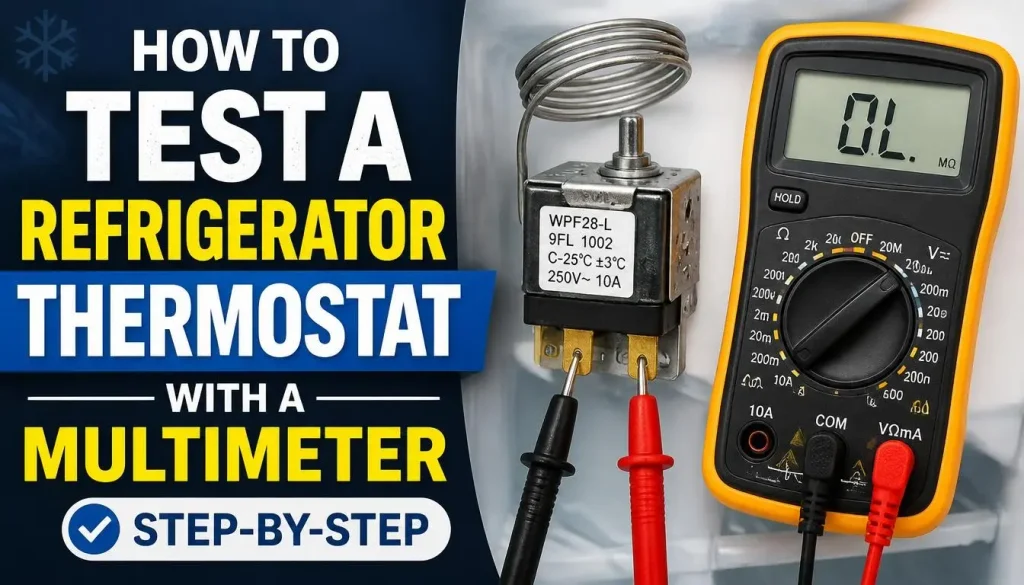
The following procedure applies to accessible mechanical temperature-control thermostats. It is not a universal testing procedure for every refrigerator.
For an example of this type of diagnostic method, see Repair Clinic’s refrigerator thermostat testing guide. Always follow your appliance’s service instructions when the test method differs.
Step 1: Disconnect the Refrigerator From Power
Unplug the refrigerator from the wall outlet.
Do not simply turn the temperature dial to OFF. The thermostat and its wiring may still be connected to the electrical supply.
Keep the refrigerator unplugged throughout the testing process.
Step 2: Locate and Access the Thermostat
Find the temperature control housing, usually behind the adjustment knob or inside the refrigerator’s upper control panel.
Remove the necessary cover screws and carefully lower the panel.
Avoid pulling the panel too far because wires may still be attached.
If the thermostat is difficult to reach or you cannot identify the correct component, stop and check the model-specific repair instructions.
Step 3: Photograph and Disconnect the Thermostat Wires
Take a clear photograph of the thermostat and its wire connections.
Next, carefully remove the connected wire terminals from the thermostat. Hold the connector itself rather than pulling on the wire.
This step is important because testing a thermostat while it remains connected to other electrical components can produce misleading readings.
Do not disconnect wires until you have identified the thermostat and recorded their original positions.
Step 4: Identify the Correct Thermostat Terminals
Look at the electrical terminals on the thermostat.
Some mechanical thermostats have two terminals, while others have additional terminals for different electrical functions.
Do not assume that every thermostat uses the same terminal arrangement.
Use the wiring diagram or service sheet for your refrigerator model to identify the correct common and switched contacts.
If you cannot identify the correct terminals, do not guess. Testing the wrong pair can give you an incorrect result.
Step 5: Set the Multimeter to Ohms or Continuity Mode
Turn on your digital multimeter.
Select the continuity setting or the lowest suitable resistance range (Ω).
If your meter has a continuity buzzer, it may beep when the circuit is closed.
Touch the two multimeter probes together briefly. A working meter should show a very low resistance reading or produce a continuity beep.
This confirms that the meter and test leads are responding.
Step 6: Test the Thermostat’s Electrical Continuity
Place one probe on each of the correct thermostat terminals.
Keep the probes in contact with the metal terminals and observe the display.
Depending on the thermostat’s position and the temperature of its sensing bulb, you may see:
- A reading close to zero ohms, indicating a closed electrical circuit.
- An OL or open-circuit reading, indicating that the contacts are open.
Neither reading alone proves that the thermostat is faulty. You need to know what the contacts should be doing under the test conditions specified by the manufacturer.
Step 7: Change the Dial Setting and Observe the Reading
While watching the multimeter, slowly turn the thermostat dial through its operating range.
Pay attention to whether the reading changes as the control moves between settings.
Some mechanical thermostat testing procedures also require the sensing bulb to be placed in ice water before checking the contacts. For example, Repair Clinic describes a procedure in which the sensing bulb is cooled while the dial is adjusted.
Only use this method if it is suitable for your thermostat and the manufacturer’s instructions allow it. Keep the electrical terminals and the rest of the thermostat dry.
The important point is that the contacts should respond to the expected temperature and control settings. A thermostat that never changes state under the correct test conditions may have failed.
Step 8: Compare the Results With the Manufacturer’s Specifications
Do not judge the thermostat using a universal resistance number.
Check the wiring diagram, service manual, or manufacturer’s testing instructions for the expected contact behavior.
If the thermostat fails the specified continuity test, it may need replacement.
If it passes, the cooling problem may be coming from another component.
What Should a Refrigerator Thermostat Read on a Multimeter?
There is no single resistance reading that applies to every refrigerator thermostat.
For a basic mechanical thermostat, the multimeter generally checks whether the electrical contacts are open or closed.
| Multimeter Reading | What It Usually Means |
|---|---|
| Near 0 ohms | Closed contacts with electrical continuity |
| OL or infinite resistance | Open contacts with no continuity |
| Reading changes during the specified test | Contacts are responding to the control or temperature change |
| No change when the test requires switching | Possible thermostat failure |
The expected reading depends on the thermostat’s temperature, dial position, terminal arrangement, and testing procedure.
For example, some service instructions describe an open circuit when the control is turned fully toward OFF and approximately zero ohms after the contacts click into the cooling position. Other testing procedures use a chilled sensing bulb and a different sequence.
This is why you should compare your results with the correct service information rather than relying on an online reading from a different refrigerator.
How to Know If Your Refrigerator Thermostat Is Bad
After completing the test, look at the overall behavior rather than focusing on one multimeter reading.
A mechanical thermostat may be defective when:
- It does not show continuity when the service procedure requires the contacts to be closed.
- It remains electrically closed when the contacts should open.
- The reading does not change when the thermostat should respond to the specified temperature or dial adjustment.
- The thermostat has visibly damaged terminals or a damaged sensing assembly.
A failed continuity test is useful evidence, but make sure you have tested the correct terminals under the correct conditions.
Also remember that a mechanical thermostat is only one part of the refrigerator’s cooling system. A refrigerator that does not cool may have another electrical or mechanical problem.
Refrigerator Thermostat vs. Thermistor: What’s the Difference?
A thermostat and a thermistor can both help control refrigerator temperature, but they do not work in the same way.
| Feature | Mechanical Thermostat | Thermistor |
|---|---|---|
| Main function | Controls electrical contacts | Measures temperature |
| How it works | Opens or closes a circuit | Changes electrical resistance with temperature |
| Common design | Mechanical dial and sensing bulb | Electronic temperature sensor |
| Typical multimeter test | Continuity test | Resistance test |
| Expected reading | Open or closed contacts, depending on conditions | Model-specific resistance value |
A thermistor sends temperature information to the refrigerator’s electronic control board. The board uses that information to manage the cooling system.
To test a thermistor, disconnect it as directed by the service manual and measure its resistance across the correct terminals. Then compare the reading with the manufacturer’s resistance-versus-temperature chart.
A thermistor may show several thousand ohms under normal conditions. However, the correct value depends on its design and actual temperature.
For this reason, a generic continuity test cannot reliably confirm whether an electronic thermistor is working correctly.
Can You Test a Refrigerator Thermostat Without Removing It?
You can perform a basic inspection without removing the thermostat.
For example, you can adjust the temperature dial, listen for a clicking sound, and check whether the cooling cycle responds.
However, a reliable multimeter continuity test usually requires access to the thermostat terminals and isolation of the component from the refrigerator’s wiring.
If the thermostat has to be removed to reach those terminals, follow the model-specific removal instructions.
Do not pull the thermostat out by its capillary tube or attempt to test exposed wiring while the refrigerator is connected to power.
What to Check If the Thermostat Passes the Multimeter Test
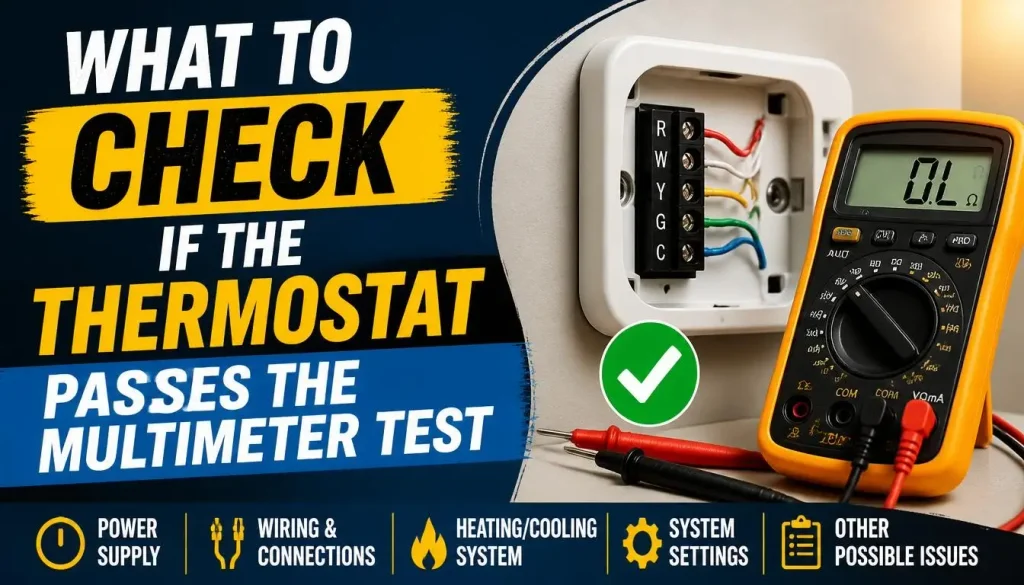
A thermostat that passes its test does not necessarily mean the entire refrigerator is working properly.
Here are some other components worth considering.
1. Thermistor or Temperature Sensor
An electronic sensor can provide incorrect temperature information to the control board.
If the sensor resistance does not match the manufacturer’s temperature chart, it may be defective.
2. Temperature Control Board
The control board receives temperature information and manages the cooling components.
A faulty board may fail to send the correct signals even when the temperature sensor is working.
3. Start Relay
A defective compressor start relay may prevent the compressor from starting.
This can make the refrigerator appear to have a thermostat problem even when the temperature control is functioning correctly.
4. Evaporator Fan
The evaporator fan moves cold air through the refrigerator and freezer compartments.
If it stops working, one compartment may become warm even though another remains cold.
If your refrigerator light works but the appliance is not cooling, our guide on why a fridge is not cooling even though the light is on covers other possible causes.
You can also read why a fridge may be freezing but not cooling properly if the freezer and fresh-food compartment have different temperature problems.
When Should You Replace the Refrigerator Thermostat?
Consider replacing the mechanical thermostat when the correct model-specific test confirms that its contacts are not operating as intended.
Before ordering a replacement, check the refrigerator’s complete model number. Two refrigerators from the same brand may use different thermostat assemblies.
Check these details:
- Manufacturer and refrigerator model number
- Thermostat part number
- Number and position of electrical terminals
- Sensing bulb and capillary tube design
- Compatibility with the original temperature control system
Do not select a replacement based only on appearance.
If the thermostat has an attached capillary tube, handle the new part carefully during installation. A damaged or kinked tube can prevent the thermostat from sensing temperature correctly.
If you are not comfortable removing electrical components or reinstalling the wiring, a qualified appliance technician can complete the replacement.
Frequently Asked Questions
How Do I Know If My Refrigerator Thermostat Is Working?
Start by checking the temperature settings and listening for a click when you adjust a mechanical thermostat. For a more reliable electrical check, disconnect the refrigerator from power and test the thermostat’s continuity according to the manufacturer’s instructions.
What Should a Refrigerator Thermostat Read on a Multimeter?
A mechanical thermostat generally shows near-zero resistance when its contacts are closed and OL or infinite resistance when they are open. The expected state depends on the thermostat temperature, dial setting, and model-specific test procedure.
Can a Refrigerator Thermostat Cause the Compressor Not to Start?
Yes. A faulty mechanical thermostat may fail to close its contacts when the refrigerator needs cooling. However, a defective start relay, control board, wiring connection, or compressor can cause the same symptom.
Can I Test a Refrigerator Thermostat Without Removing It?
You can check the dial response and listen for a clicking sound without removing the thermostat. However, a reliable continuity test generally requires access to its electrical terminals and isolation from the refrigerator’s wiring.
Is a Refrigerator Thermostat the Same as a Thermistor?
No. A mechanical thermostat uses electrical contacts to control the cooling cycle. A thermistor is an electronic temperature sensor that changes resistance as its temperature changes.
Can a Bad Thermostat Cause a Refrigerator to Freeze Food?
Yes. If a mechanical thermostat fails to stop the cooling cycle at the correct temperature, the compressor may run longer than necessary and freeze food in the refrigerator compartment.
Does Every Refrigerator Have a Mechanical Thermostat?
No. Many modern refrigerators use electronic thermistors and a control board instead of a traditional mechanical temperature-control thermostat. Check your model’s parts diagram before attempting a mechanical continuity test.
Final Thoughts
Testing a refrigerator thermostat with a multimeter can help you identify a faulty mechanical temperature control before replacing parts. The key is to disconnect the power, isolate the thermostat, identify the correct terminals, and check continuity under the conditions specified by the manufacturer.
Remember that a mechanical thermostat and an electronic thermistor require different testing methods. If your thermostat passes its test but the refrigerator still has cooling problems, investigate the other components rather than replacing the thermostat unnecessarily.
Finally, check the actual refrigerator temperature with an appliance thermometer. The FDA recommends keeping a refrigerator at 40°F (4°C) or below to help keep food safe. A successful electrical test does not automatically mean the refrigerator is maintaining a safe temperature.

Hi, I’m the lead researcher and appliance enthusiast behind RefrigeratorSolve. With years of hands-on experience troubleshooting cooling systems and testing home appliances, I am dedicated to bringing you honest reviews, energy-saving tips, and practical solutions to keep your refrigerator running perfectly.