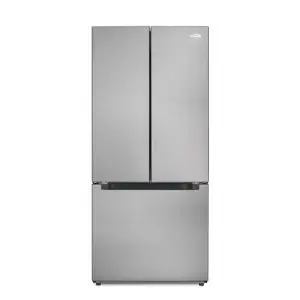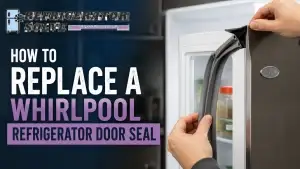
Learn how to replace the gasket in a double door refrigerator: locate the fasteners, remove the old seal, and carefully install the new one for a perfect, energy-saving fit.
I’ve been fixing things around the house for longer than I’d care to admit, and one of the most common and surprisingly satisfying repairs I’ve done is replacing the refrigerator door gasket. That rubber seal around your fridge door might not seem like a big deal, but when it fails, you’ll notice.
Your energy bill creeps up, you might find a little puddle of water on the floor, and the motor seems to run constantly. If you’ve noticed your double door refrigerator isn’t as cold as it should be, or you feel cold air leaking from the door, chances are you need a new gasket.
This isn’t a difficult job. With a little patience and the right information, you can handle this yourself, save a good chunk of money on a service call, and get your appliance back to peak performance. I’ll walk you through the entire process, from figuring out if you really need a new seal to the final test to ensure you did it right. Let’s get your fridge back in fighting shape.
First, How Do You Know You Need a New Refrigerator Gasket?
Before you order a part or start taking things apart, it’s smart to confirm that the gasket is actually the problem. A simple test is the dollar bill test. Take a dollar bill and shut the refrigerator door on it. If you can pull the bill out with very little resistance, the seal at that spot is weak. Try this at several points around the door. If the bill slips out easily in multiple places, your gasket is likely worn out.
Other signs include visible cracks or tears in the rubber, the seal feeling stiff or warped, or noticing frost building up inside the freezer section because warm, moist air is getting in. If your fridge seems to be working overtime, a faulty seal is a prime suspect.
Gathering Your Tools and Finding the Right Replacement Part
You won’t need a fancy toolkit for this project. Here’s what I gather before I start:
- A Phillips screwdriver and a flathead screwdriver (often just the Phillips is needed).
- A putty knife or a dull butter knife (to help pry old retainers without causing damage).
- A hairdryer (this is a secret weapon for making a stiff new gasket flexible).
- A clean cloth and some warm, soapy water for cleaning.
- The new refrigerator door gasket.
Getting the correct replacement is the most critical step. This is not a universal part. The gasket for a Samsung fridge will be different from one for an LG or a Whirlpool. The best way to find the right one is to locate your refrigerator’s model number. This is usually on a sticker inside the main fridge compartment on a side wall or on the top edge, or sometimes inside the door itself.
Once you have that model number, you can search for the exact part online or at an appliance parts store. Ordering the specific part for your model ensures it will have the right shape, magnetic strip, and any special features like a built-in water barrier or a specific curve.
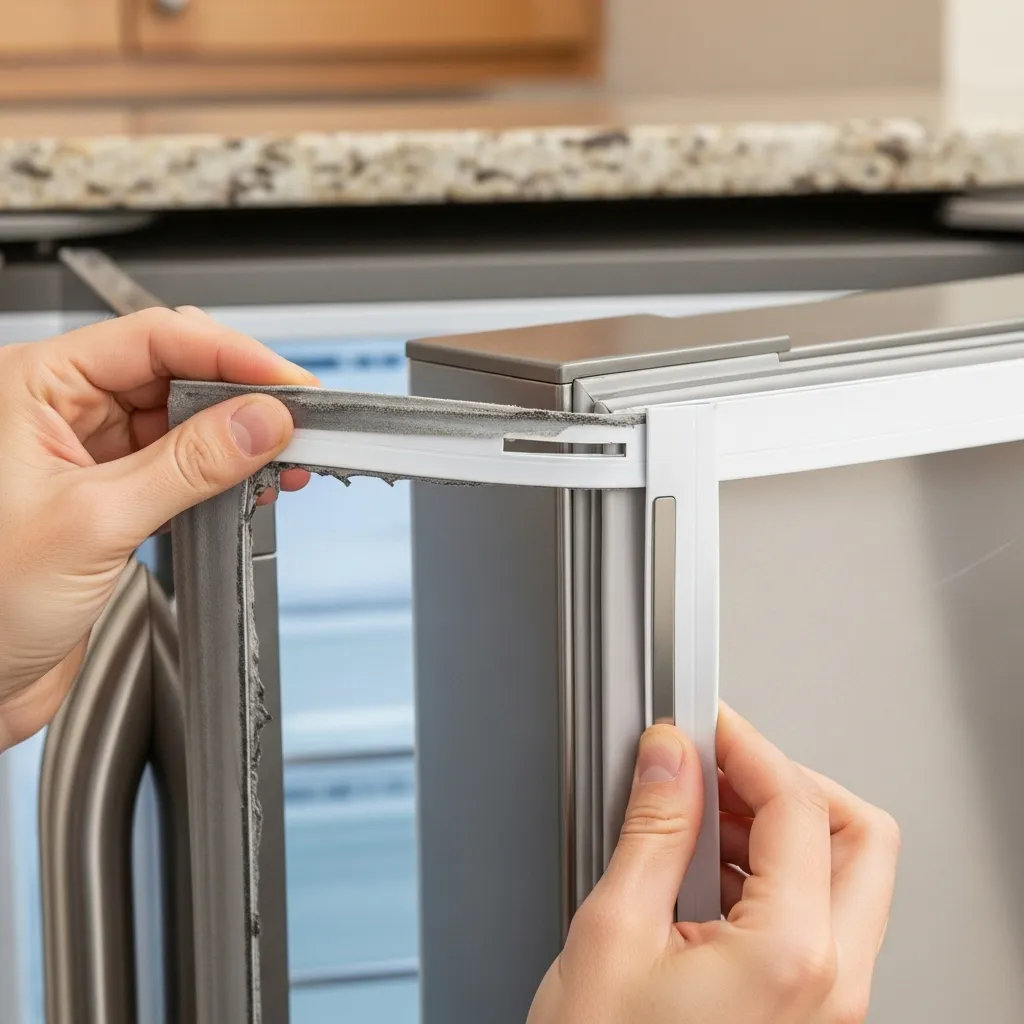
Step-by-Step: How to Replace the Gasket in a Double Door Refrigerator
Safety first! Always unplug your refrigerator from the wall outlet before you begin any repair. This prevents any risk of electric shock and allows you to work safely.
1. Remove the Old Refrigerator Door Seal:
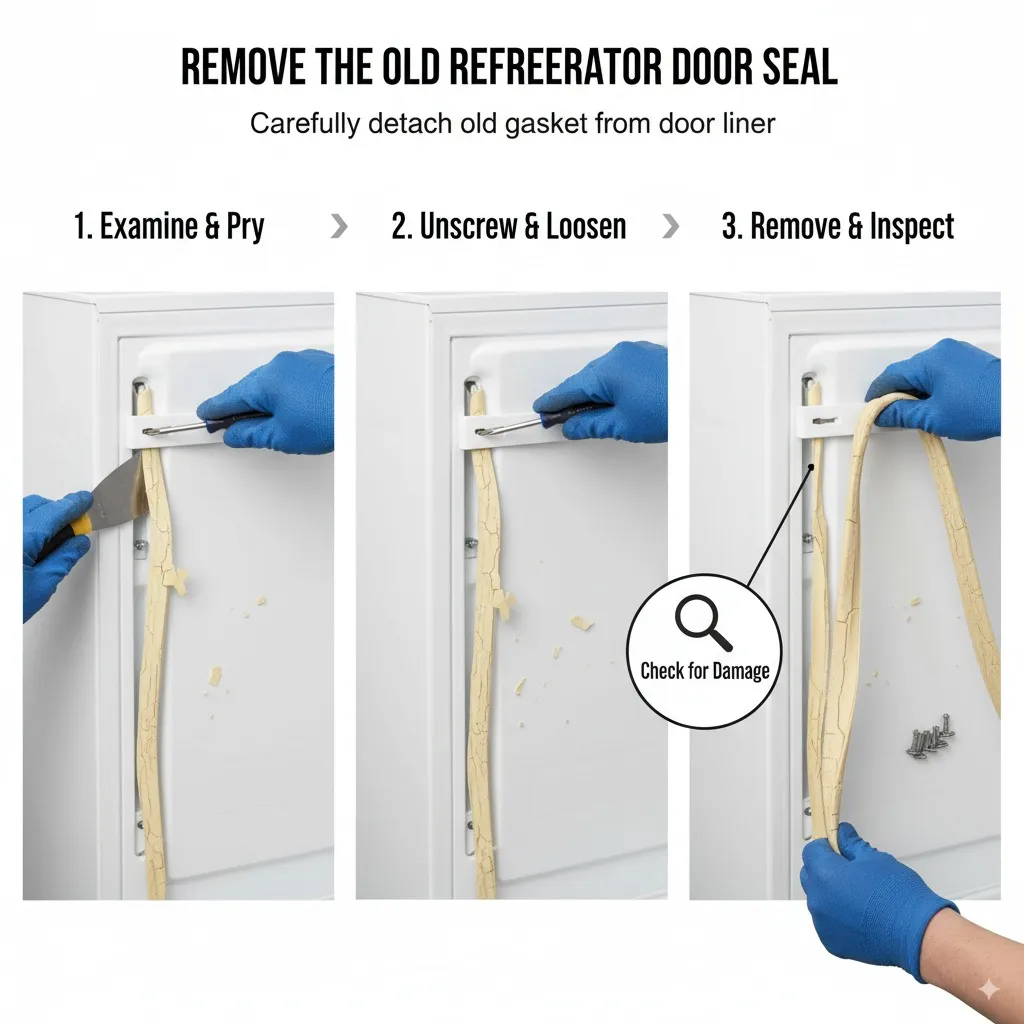
Start by examining how the old gasket is attached. Most modern fridges have the seal tucked into a channel on the door liner, held in place by a plastic retainer or a metal band. Carefully peel back the corner of the old gasket from the inside of the door. You should see a series of screws holding the retainer in place. Use your Phillips screwdriver to remove these screws. Sometimes the retainer is a little tricky; your putty knife can help gently pry it up without breaking it.
As you remove the screws, the old gasket will become loose. Slowly work your way around the entire door, removing screws and pulling the gasket out of its channel. Take your time here. If the gasket is old and brittle, it might tear, but that’s okay since you’re replacing it. Just be careful not to damage the door liner itself.
2. Thoroughly Clean the Channel and Door:

With the old seal removed, you’ll probably find a layer of dirt, old food particles, and maybe even some mildew. This is your chance to get it sparkling clean. Dip your cloth in the warm, soapy water and thoroughly wipe down the entire area where the gasket sits. Get into that channel and remove all the grime. Then, wipe it down with a clean, damp cloth to remove any soap residue and dry it completely. A clean surface is essential for the new seal to sit flat and secure.
3. Prepare and Install the New Gasket:

Your new gasket will likely be folded up in a box and might feel stiff. This is where the hairdryer comes in. Gently warm up the gasket, especially the corners and any folded areas. This makes the rubber pliable and much easier to work with, helping it regain its proper shape and making installation simpler.
Start at the top corner of the door. Begin tucking the lip of the new gasket into the channel. Work your way down one side, then across the bottom, and finally up the other side. You’re just getting it started in the channel; don’t worry about the retainer yet. Once the entire gasket is loosely seated in the channel, go back and press it firmly into place all the way around with your fingers.
4. Secure the Retainer and Screws:
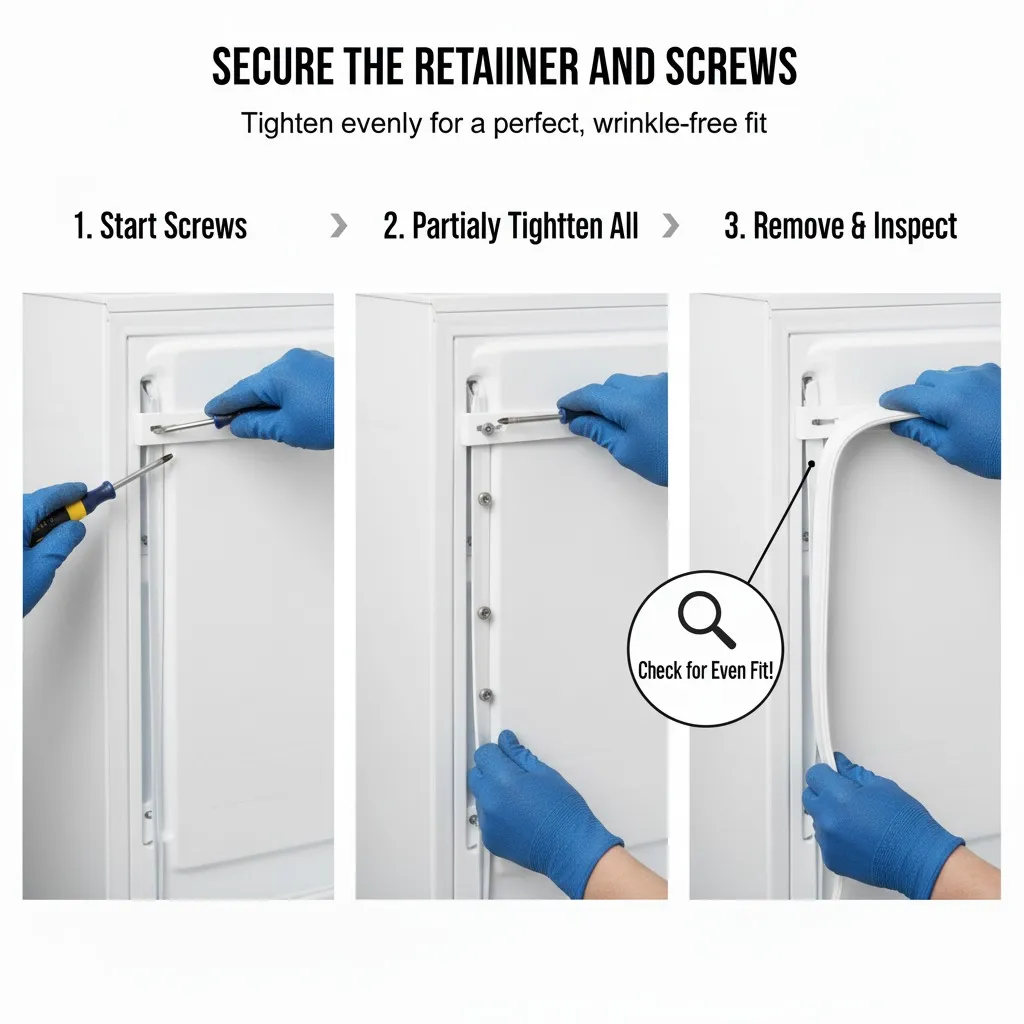
Now, place the plastic retainer back over the lip of the gasket that’s in the channel. Start inserting and lightly tightening the screws. Here’s a key tip: do not fully tighten each screw as you go. Instead, place each screw and get it just started. Work your way all around the door, getting every screw in place before you go back to fully tighten them. This allows the gasket to adjust and sit evenly, preventing wrinkles or gaps. Once all screws are snug, give the gasket one final check, smoothing it out with your hands to ensure a uniform fit.
5. The Final Step: Patience and Testing
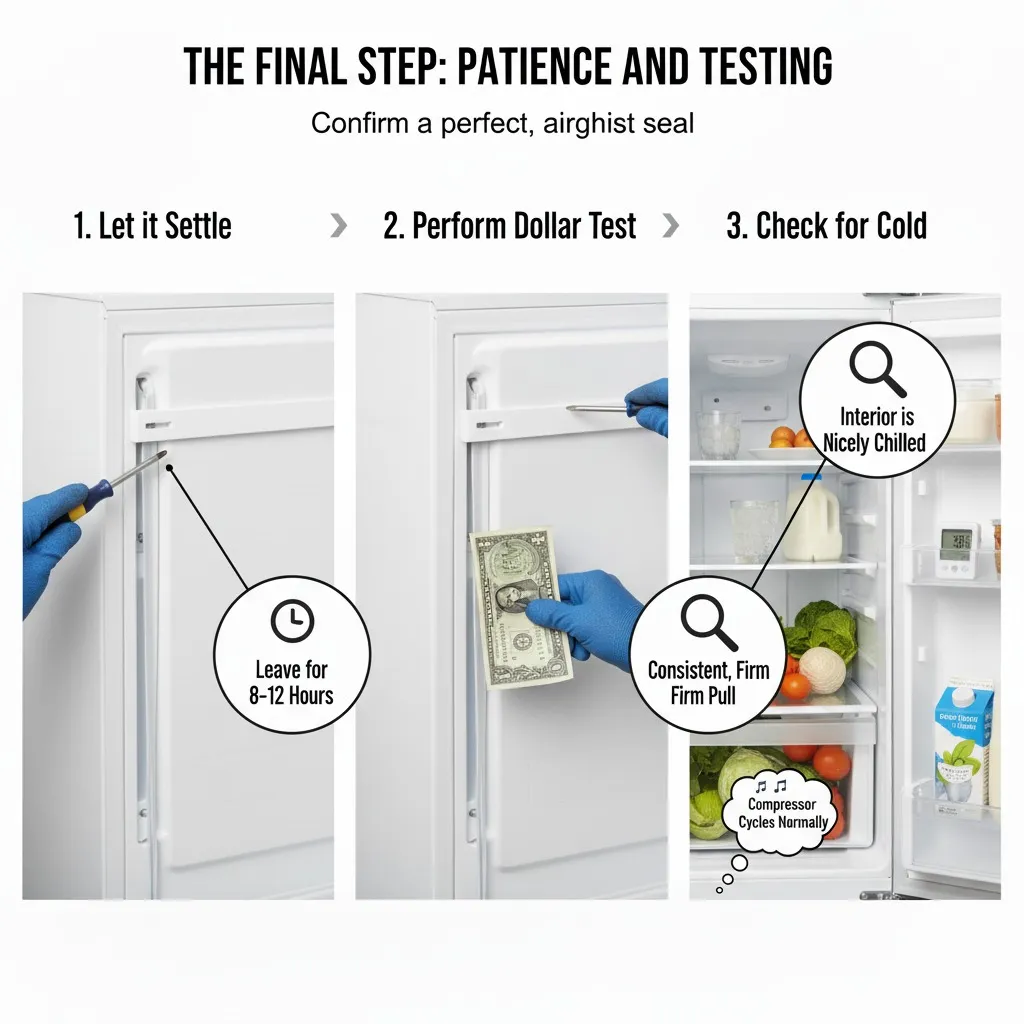
Your new gasket needs time to settle into its new home and acclimate to the temperature. Plug the refrigerator back in and close the door. I recommend leaving it alone for a few hours, or even overnight, to allow the rubber to form to the door frame.
After it’s had time to settle, perform the dollar bill test again. Shut the door on a bill at various points. You should feel a consistent, firm resistance when you try to pull it out. This confirms a good seal. Listen to your fridge; the compressor should cycle on and off normally instead of running non-stop. Check inside after a few hours; everything should feel nicely chilled, and you should notice improved cooling performance.
Frequently Asked Questions for How to Replace a Fridge Door Gasket?
How long does it take to replace a refrigerator door gasket?
For a first-timer, it should take about 30-45 minutes per door. Taking your time to ensure a proper fit is more important than speed.
Can I just clean my old gasket instead of replacing it?
Absolutely. Regular cleaning with a mild soap and water can extend its life. But if it’s cracked, torn, or has lost its flexibility, cleaning won’t restore the seal, and replacement is the only real solution.
Why is my new gasket not sealing perfectly?
The most common reason is that it wasn’t given enough time to warm up and become flexible before installation, or the retainer screws were tightened too much in one spot before others, creating a wrinkle. Go back, loosen all the screws, smooth out the gasket, and re-tighten them evenly.
Is this repair worth it, or should I just buy a new fridge?
Replacing a gasket is one of the most cost-effective repairs you can do. A new gasket typically costs between $50 and $150, compared to hundreds for a service call or over a thousand for a new refrigerator. It’s almost always worth fixing.
A Few Words of Wisdom
“The only thing you can break by trying is your own fear of trying.” – Jane Revell
This quote sums up DIY repair perfectly. You’re often more capable than you think.
“A place for everything and everything in its place.” – Benjamin Franklin
This old adage is key to a successful repair. Keeping track of your screws and parts as you remove them makes reassembly smooth.
“Quality is not an act, it is a habit.” – Aristotle
Taking the extra time to clean thoroughly and install the new part carefully is a habit that guarantees a job well done.
Conclusion
Replacing the door seal on your double door refrigerator might seem like a small thing, but it has a huge impact on your appliance’s efficiency and your wallet. It prevents cold air from escaping, which reduces the workload on the compressor, lowers your energy consumption, and stops those annoying puddles of water. This repair is a perfect example of a manageable DIY project that delivers real, noticeable results.
You have the knowledge and the steps right here. Trust yourself, take it slow, and remember that feeling of accomplishment when you feel that tight seal and hear your fridge humming along efficiently again. You’ve got this. Now, go fix it

Hi, I’m the lead researcher and appliance enthusiast behind RefrigeratorSolve. With years of hands-on experience troubleshooting cooling systems and testing home appliances, I am dedicated to bringing you honest reviews, energy-saving tips, and practical solutions to keep your refrigerator running perfectly.