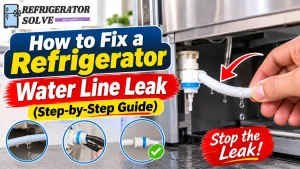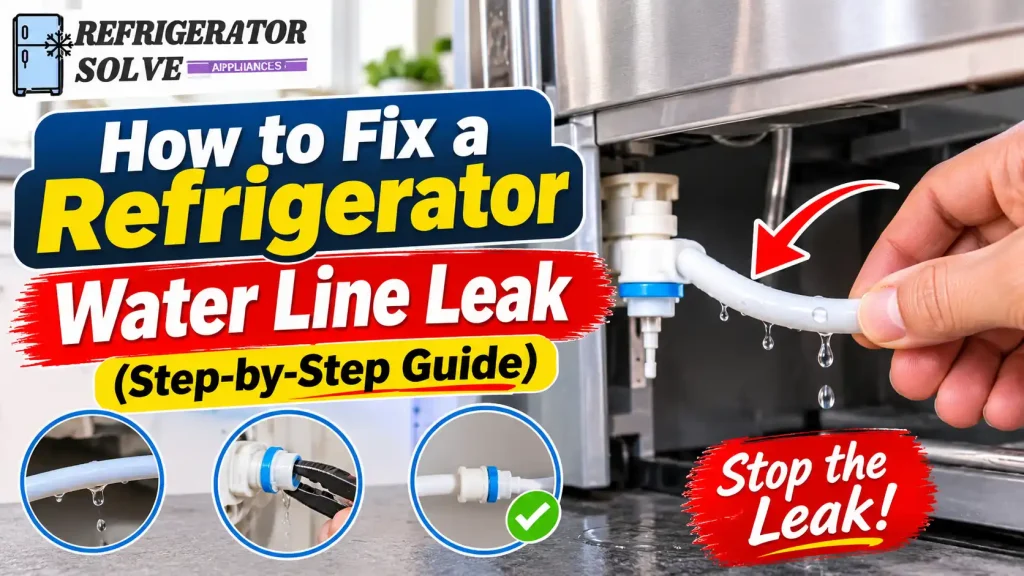
Finding water behind your refrigerator can be worrying, especially when you cannot tell where it is coming from. In many cases, the problem is a loose connection, damaged water tubing, or a leaking valve that supplies water to the ice maker and dispenser.
The good news is that some refrigerator water line leaks can be fixed without replacing the entire appliance. The first step is to identify exactly where the water is escaping. This guide walks you through the inspection process, common repairs, replacement options, and situations where calling a plumber or appliance technician is the safer choice.
Quick Answer: How Do You Fix a Refrigerator Water Line Leak?
To fix a refrigerator water line leak, first turn off the water supply and locate the leaking connection or damaged tubing. Tighten a loose fitting according to the manufacturer’s instructions, or replace cracked tubing with a compatible water line. Restore the water supply slowly and inspect every connection for drips before using the dispenser or ice maker again.
1. What Causes a Refrigerator Water Line to Leak?
A refrigerator water line connects the appliance to your home’s cold water supply. It delivers water to components such as the ice maker and water dispenser.
Over time, connections can loosen, tubing can become damaged, and valves can develop leaks. Here are the most common causes worth checking.
Loose Water Line Connections
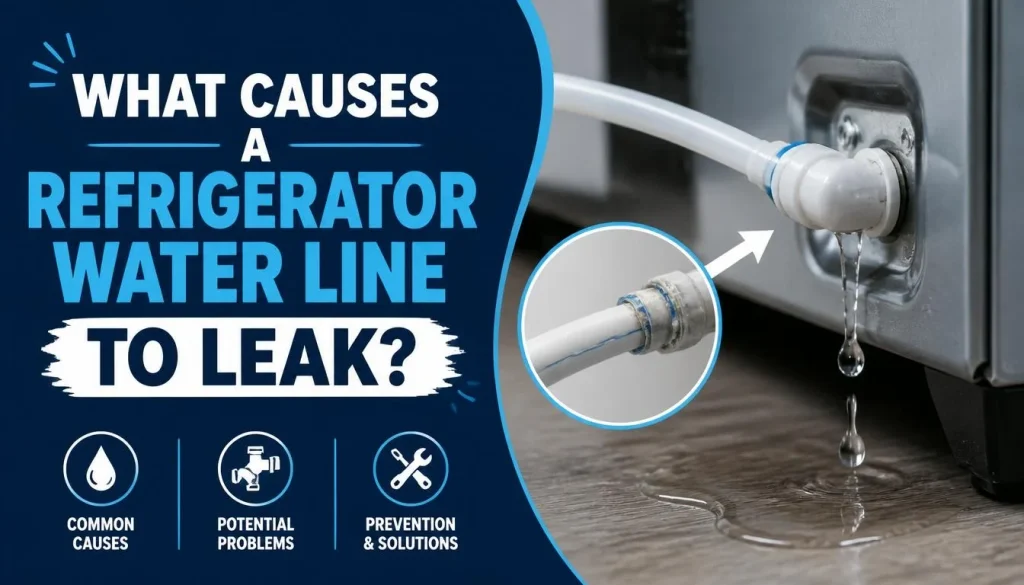
A loose connection is one of the first things to investigate when water appears behind the refrigerator.
The supply line connects to the household shut-off valve and the refrigerator’s water inlet. If either connection is not properly secured, water can escape around the fitting.
This may happen after:
- Moving the refrigerator for cleaning.
- Installing a new refrigerator.
- Replacing the water supply line.
- Disturbing a connection during maintenance.
Look for moisture around the fitting rather than assuming the tubing itself is damaged.
Cracked or Damaged Water Supply Tubing
Water supply tubing can develop cracks, splits, or worn sections.
Damage may occur when the refrigerator is pushed too close to the wall, the tubing is sharply bent, or the line rubs against another surface.
A small crack can produce a slow drip that gradually damages flooring or nearby cabinets.
If you find a split or cracked section, replacing the damaged line is usually more reliable than trying to seal it with tape or glue.
Worn or Damaged Compression Fittings
Some refrigerator water connections use compression fittings consisting of a nut and a small sleeve called a ferrule.
These components help create a watertight connection between the tubing and the valve.
A fitting may leak when:
- The nut is loose.
- The ferrule is damaged.
- The tubing is not inserted correctly.
- The tubing end is uneven or damaged.
- The wrong fitting has been installed.
The correct replacement fitting depends on the tubing material and refrigerator connection.
Leaking Water Shut-Off Valve
The shut-off valve controls water flowing from your household plumbing to the refrigerator.
It may leak around the valve body, stem, outlet, or tubing connection.
If water is coming from the wall-side valve rather than the refrigerator connection, you may have a household plumbing problem.
Do not force a corroded or stuck valve. A plumber should inspect or replace it when necessary.
Faulty Refrigerator Water Inlet Valve
The water inlet valve controls the flow of water into the refrigerator.
It is usually located near the lower rear section of the appliance, although its position varies by model.
A damaged valve may leak around its body or connection points. You might also notice problems with the ice maker or water dispenser.
If the valve itself is cracked or leaking through its body, tightening the water line will not solve the problem. The valve assembly may need replacement.
Damaged Water Filter Housing or Connection
A leaking water filter can sometimes be mistaken for a damaged supply line.
If the leak started shortly after replacing the filter, check whether the cartridge is correctly installed and whether its sealing rings are in place.
A cracked filter housing or damaged filter connection may also allow water to escape.
For more information about filter maintenance, see our guide on how often to replace a refrigerator water filter.
2. How to Find the Source of a Refrigerator Water Line Leak
Before replacing anything, identify where the water is coming from.
A puddle underneath the refrigerator does not always mean the supply line is leaking. Water from a defrost drain or another internal component can travel underneath the appliance before reaching the floor.
Use this table to narrow down the possible source.
| Where You Notice Water | Possible Problem |
|---|---|
| Behind the refrigerator | Damaged supply tubing or loose connection |
| Around the wall shut-off valve | Leaking valve or fitting |
| Near the refrigerator’s lower rear corner | Inlet valve or water line connection |
| Around the water filter | Incorrect installation, damaged O-ring, or housing |
| Near the ice maker | Fill tube or ice maker water connection |
| Around the dispenser | Internal dispenser tubing or connection |
| Under the crisper drawers | Defrost drain problem rather than supply line |
Check Behind the Refrigerator
Start by looking at the accessible area behind the refrigerator.
If the appliance needs to be moved, get assistance. Refrigerators are heavy, and pulling one without checking the power cord and water line can create additional damage.
Look for:
- Wet spots on the floor.
- Water dripping from the tubing.
- Cracks or splits in the line.
- Kinks or pinched sections.
- Moisture around the refrigerator’s water inlet.
A dry paper towel is useful for locating small leaks. After the water supply has been safely isolated and the area dried, inspect individual connections and look for moisture returning when the line is tested.
Inspect the Household Shut-Off Valve
Find the valve that supplies water to the refrigerator.
Depending on your home’s plumbing, it may be:
- Behind the refrigerator.
- Under the kitchen sink.
- In a nearby utility area.
- In a basement or service cupboard.
Check the valve body and tubing connection for visible moisture or corrosion.
If the valve itself is leaking, arrange professional plumbing service rather than attempting an unfamiliar plumbing repair.
Examine the Refrigerator Water Inlet Valve
The inlet valve is often found at the back of the refrigerator.
Check the accessible water connection and surrounding area for signs of dripping.
Do not remove the electrical connectors or dismantle the valve while troubleshooting a water leak. If the valve body appears damaged, have it inspected before ordering a replacement.
Check the Water Filter Connections
If water is appearing inside the refrigerator or around the filter compartment, inspect the filter installation.
Look for:
- A cartridge that is not fully seated.
- Missing or damaged O-rings.
- Visible cracks.
- Water collecting around the filter housing.
A filter-related problem should be addressed separately from an external supply line leak.
3. What to Do Immediately When Your Refrigerator Water Line Leaks
Before attempting any repair, protect your home and make the appliance safe to inspect.
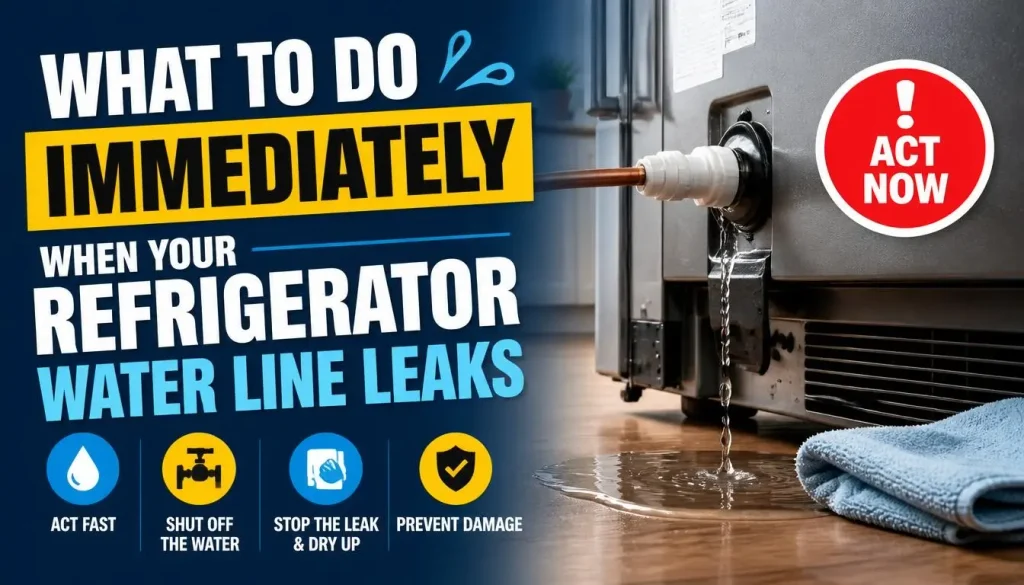
Turn Off the Water Supply
Locate the refrigerator’s shut-off valve and close it.
For a standard multi-turn valve, turn the handle clockwise to close it. For a quarter-turn valve, the handle is generally across the direction of the pipe when closed.
If you cannot locate the refrigerator’s shut-off valve, you may need to close the appropriate household main water valve.
Do not force a stuck or corroded valve.
Stop Using the Water Dispenser and Ice Maker
Once the water supply is off, stop using the dispenser and ice maker until the leak has been repaired.
This prevents water from being requested by the appliance while you are troubleshooting the system.
Protect the Floor
Remove standing water with towels or a suitable wet vacuum.
Dry the surrounding floor and inspect nearby cabinets. Water can cause damage to laminate, hardwood, flooring joints, and cabinet bases if left unnoticed.
Take Electrical Precautions
If the repair requires access to electrical components or the refrigerator’s water inlet valve, follow the manufacturer’s instructions for disconnecting power.
Never touch a wet plug, outlet, electrical cord, or appliance connection while standing in water.
If water has reached electrical components, keep clear and arrange safe electrical isolation and professional assistance.
4. How to Fix a Refrigerator Water Line Leak Step by Step
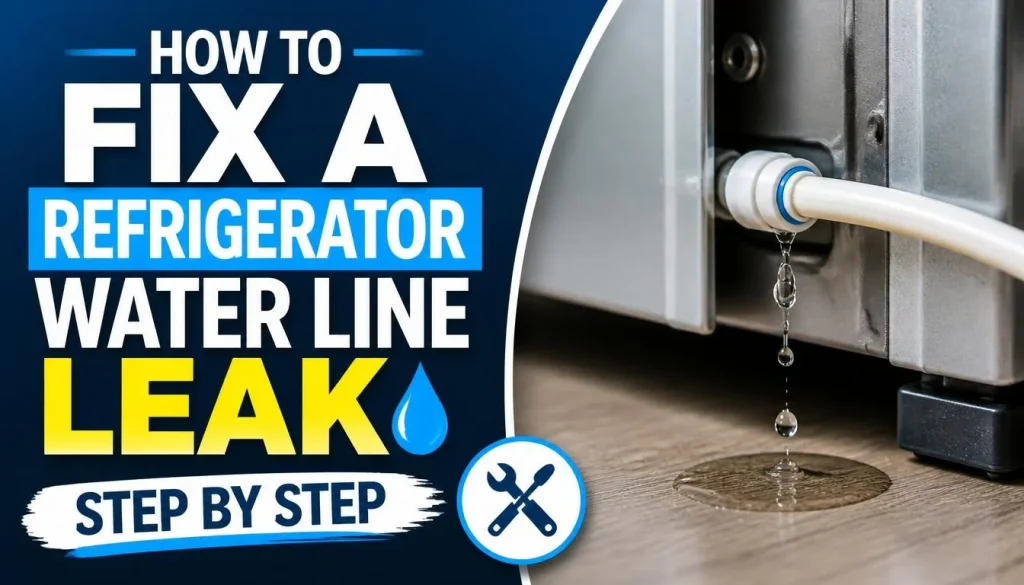
Once you have identified the leaking section, you can determine whether the connection needs adjustment or the tubing needs replacement.
Step 1: Turn Off the Water Supply
Close the refrigerator’s water shut-off valve before touching any water line connection.
If necessary, dispense water after closing the valve to release some remaining pressure from the accessible system.
Keep a towel and small container nearby because residual water may remain inside the tubing.
Step 2: Locate the Damaged Water Line
Inspect the full accessible length of the water supply tubing.
Pay particular attention to:
- Both ends of the supply line.
- The household shut-off valve connection.
- The refrigerator inlet connection.
- Areas where tubing bends.
- Sections that may have been pinched behind the refrigerator.
If the tubing is hidden inside a wall or inaccessible cabinet, do not cut into the surrounding material without first identifying the plumbing route.
Step 3: Inspect the Tubing and Connectors
Look closely at the suspected leak.
Determine whether the problem is:
- A loose compression nut.
- A damaged ferrule.
- A push-to-connect fitting that is not properly seated.
- A cracked supply tube.
- A leaking valve.
This distinction matters because tightening a fitting will not repair a cracked tube or defective valve.
Step 4: Fix a Loose Water Line Connection
If the connection is loose but the tubing and fitting are undamaged, reconnect it according to the manufacturer’s instructions.
For a compression fitting:
- Keep the water supply turned off.
- Check that the tubing is correctly positioned.
- Inspect the compression nut and ferrule.
- Confirm that the tubing is inserted to the required depth.
- Tighten the fitting according to the refrigerator or fitting manufacturer’s instructions.
Avoid overtightening. Excessive force can damage tubing, threads, or the fitting itself.
Do not automatically apply plumber’s thread tape to a compression connection or push-fit connector. Use only the sealing method specified for that connection type.
Whirlpool explains the correct use of compatible compression fittings and warns against overtightening in its refrigerator installation guide.
Step 5: Replace a Cracked or Damaged Water Line
If you find a visible crack, split, or damaged section, replacing the line is generally the better solution.
Follow these steps:
- Close the household water supply.
- Identify the exact tubing material and outside diameter.
- Check the refrigerator’s installation manual for an approved replacement line.
- Disconnect the damaged line using the appropriate fitting procedure.
- Install compatible replacement tubing.
- Secure the new tubing using the specified connectors.
- Make sure the tubing does not bend sharply or become pinched.
Use tubing and fittings approved for potable water and compatible with your refrigerator.
Do not assume that every refrigerator uses the same water line size or connector.
Step 6: Replace a Damaged Connector or Ferrule
A damaged compression fitting may continue to leak even after the nut has been tightened.
Inspect the ferrule, nut, and tubing end for visible damage.
If the manufacturer specifies new fittings, use new compatible components rather than reusing worn parts.
For push-to-connect fittings, follow the connector manufacturer’s insertion-depth and tubing-preparation instructions. A tube that is cut unevenly or not fully inserted may leak.
If you are unsure which connector your refrigerator requires, check the model-specific installation guide before buying replacement parts.
Step 7: Check the Water Inlet Valve
If water appears to be coming from the inlet valve body rather than its tubing connection, the valve may be defective.
A leaking valve generally requires replacement with the correct model-compatible assembly.
Because the inlet valve has electrical connections and water connections, replacement is better left to a qualified appliance technician if you are not experienced with appliance repairs.
Step 8: Restore the Water Supply and Test for Leaks
After completing the repair:
- Make sure all connections are secure.
- Confirm that the tubing is correctly routed.
- Slowly reopen the water shut-off valve.
- Inspect each connection for moisture.
- Use a dry paper towel to check around the fittings.
- Test the water dispenser if your refrigerator has one.
- Observe an ice maker fill cycle when the appliance is ready.
Check again after the refrigerator has been operating for a while. Some leaks are slow and may not appear immediately.
Do not push the refrigerator back into its final position until you are confident that the connection is dry and the tubing is not being pinched.
5. How to Fix a Refrigerator Water Line Leak at the Shut-Off Valve
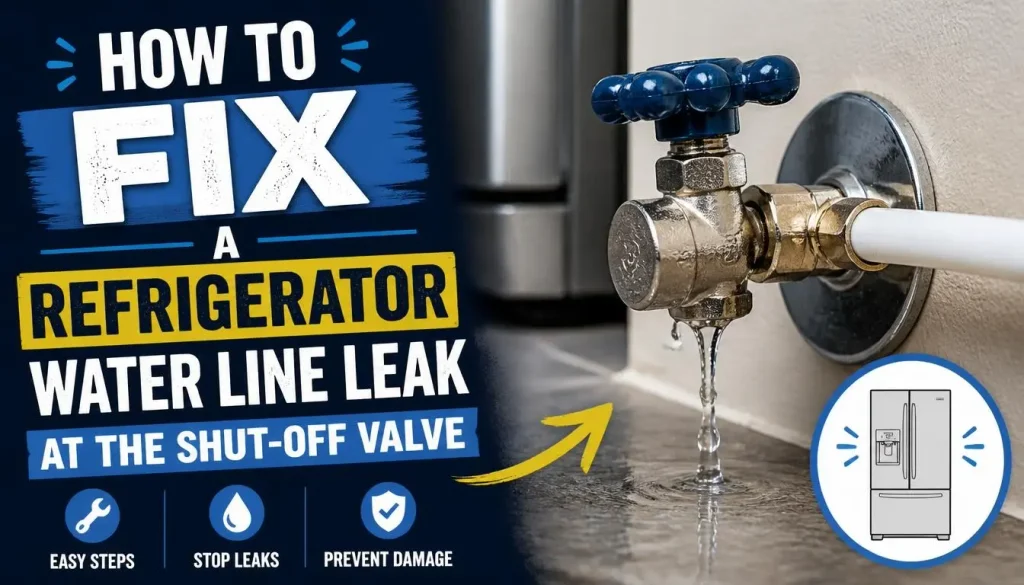
A leak near the household shut-off valve requires a different approach from a damaged refrigerator supply tube.
First, determine where the moisture is coming from.
If the Connection Is Loose
If the tubing connection is leaking but the valve body is dry, the fitting may need to be correctly reseated or replaced.
Turn off the household water supply before handling the connection. Use only compatible fittings and follow the manufacturer’s instructions.
If the Valve Body Is Leaking
Water escaping from the valve body, stem, or its plumbing connection may indicate a damaged valve.
A shut-off valve replacement involves household plumbing. A licensed or otherwise appropriately qualified plumber should handle this work, especially where local plumbing rules require it.
What About a Saddle Valve?
Some older refrigerator installations use saddle valves to connect to the household water supply.
Their suitability varies with the installation and local plumbing requirements.
Whirlpool specifically advises checking local plumbing codes before installing a saddle-type valve and warns against certain piercing-type valves because they can restrict water flow.
Do not replace an existing valve with a different design without confirming that the replacement is approved for your plumbing system.
6. How to Replace a Refrigerator Water Supply Line
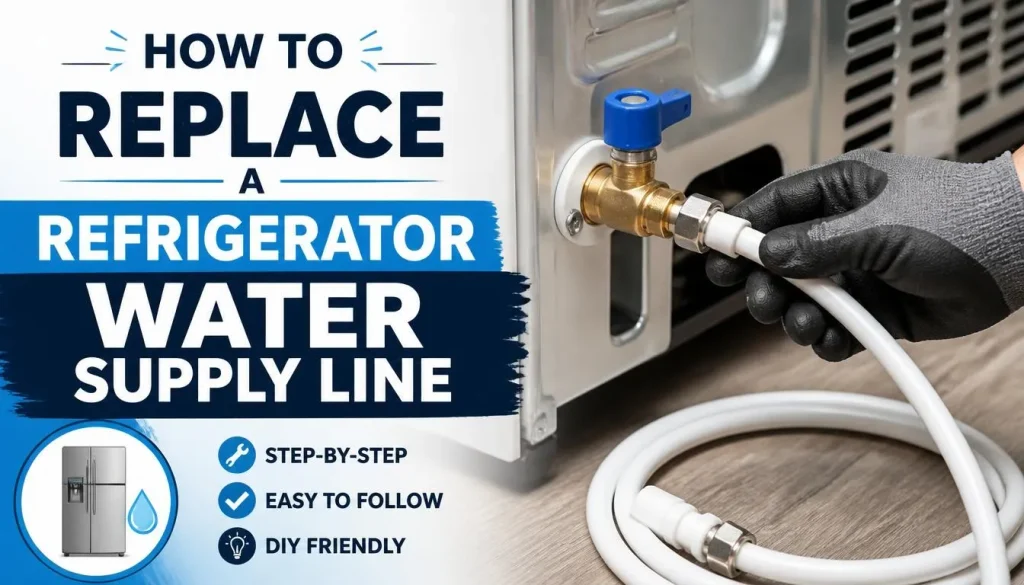
Sometimes replacing the complete supply line is more practical than trying to repair a damaged section.
However, the replacement must match your refrigerator’s requirements.
Understand the Different Water Line Materials
Common refrigerator water supply options include:
Copper Tubing
Copper tubing is used in some refrigerator installations. It is relatively rigid and must be routed carefully to avoid sharp bends or kinks.
PEX or Polyethylene Tubing
Flexible plastic tubing is used in many modern installations. It must be compatible with the refrigerator connection and rated for potable water.
Braided Stainless-Steel Water Lines
These flexible hoses have an outer stainless-steel braid and are commonly available as refrigerator supply-line kits. Their end connectors must match the household valve and refrigerator inlet.
Not every refrigerator accepts all three types.
Choose the Correct Water Line Size
Some refrigerator installations use 1/4-inch outside-diameter tubing, approximately 6.35 mm.
However, this measurement should not be treated as a universal specification.
Check your model’s installation instructions before buying a replacement line. Also confirm that the connectors, pressure rating, and tubing material are suitable for the appliance.
Install the Replacement Line Correctly
When installing a new line:
- Turn off the water supply.
- Use the correct replacement tubing.
- Cut tubing squarely where the installation instructions require it.
- Use compatible nuts, ferrules, or push-fit connectors.
- Follow the specified insertion depth.
- Leave enough flexible tubing for refrigerator movement.
- Keep the water line away from sharp edges and hot surfaces.
Whirlpool’s guide to checking a refrigerator water supply line explains why the correct tubing, secure fittings, and service loop matter.
7. What If the Leak Comes From the Ice Maker or Water Dispenser Line?
Not all refrigerator water leaks originate from the household supply line.
Some refrigerators have additional internal water tubing that supplies the ice maker and dispenser.
Ice Maker Water Line Leak
If water appears near the ice maker, inspect the accessible fill tube and its connections.
Possible causes include:
- A loose water connection.
- A damaged fill tube.
- A leaking inlet valve.
- An ice maker that is receiving too much water.
If the problem only happens during an ice-making cycle, that timing can help identify the source.
You can also read our guide on Samsung ice maker leaking water for more ice-maker-specific troubleshooting information.
Water Dispenser Line Leak
A dispenser-related leak may come from internal tubing, a damaged connection, or a water system component.
Pay attention to when the leak occurs.
Does it appear only when dispensing water, immediately afterward, or even when the dispenser has not been used?
If the tubing runs through the refrigerator door, replacement may require removing door panels or other internal components.
Do not cut or disconnect internal tubing unless you have the correct model-specific instructions and experience. A technician is the safer option for inaccessible door tubing.
8. How to Test a Refrigerator Water Line After Repair
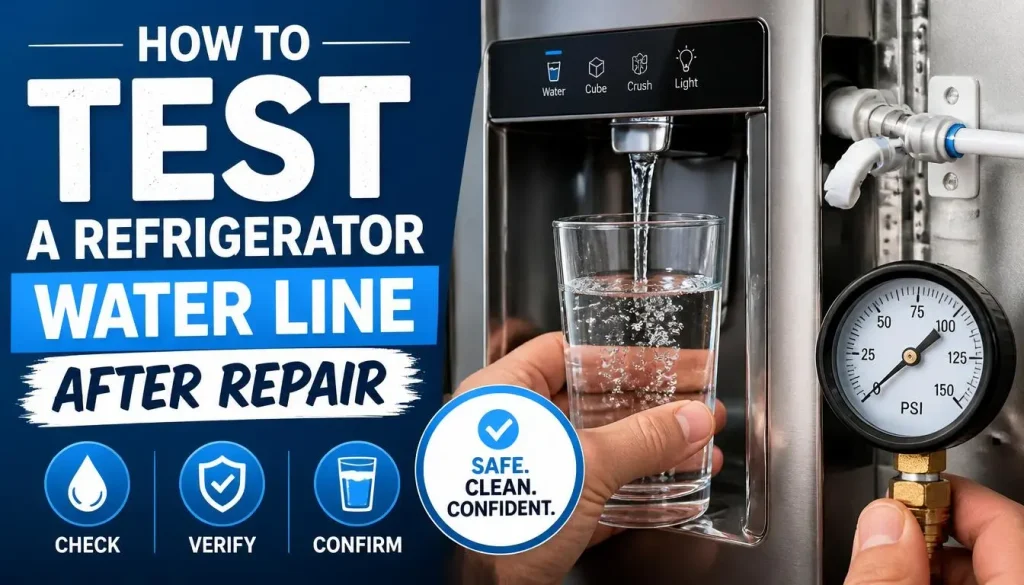
Testing is just as important as completing the repair.
A connection that looks secure may still leak when the water system is pressurized.
Use this checklist after restoring the water supply:
Check the Shut-Off Valve
Inspect the valve and its outlet connection for dripping.
Check Both Ends of the Supply Line
Examine the connection at the household water supply and the connection at the back of the refrigerator.
Check the Tubing
Look along the accessible tubing for moisture, kinks, or signs of movement.
Test the Water Dispenser
If the refrigerator has a dispenser, follow the manufacturer’s instructions for flushing and testing it after reconnecting the water supply.
Test the Ice Maker
Once the system is properly connected and ready, allow the ice maker to complete a fill cycle. Check the surrounding area for leaks.
Inspect Again Later
Dry the floor and surrounding surfaces. Recheck the area after the appliance has been operating.
A repair is not complete until the connections remain dry during normal operation.
9. When Should You Call a Plumber or Refrigerator Technician?
Some water line problems are suitable for basic DIY repairs. Others need professional attention.
Call a plumber when:
- The household shut-off valve is leaking.
- A pipe inside the wall is damaged.
- The connection under the sink or behind a cabinet is leaking.
- The main water supply needs repair.
- You are unsure whether a replacement valve meets local plumbing requirements.
Call an appliance technician when:
- The refrigerator’s inlet valve is leaking internally.
- The water line inside the door is damaged.
- Internal tubing is inaccessible.
- The filter housing or internal reservoir is cracked.
- The leak continues after replacing an external water line.
- Electrical components have been affected by water.
If the refrigerator is still under warranty, check the warranty terms before attempting repairs that could affect coverage.
10. How to Prevent Refrigerator Water Line Leaks
A few simple habits can reduce the chance of another leak.
Inspect Water Line Connections
Check accessible tubing and connections occasionally, especially after moving the refrigerator or performing maintenance.
Avoid Kinking or Pinching the Tubing
Make sure the line has enough room behind the appliance. A sharp bend or pinch can restrict water flow and damage the tubing.
Leave a Service Loop
A suitable amount of extra tubing allows the refrigerator to be moved for cleaning and servicing without putting unnecessary strain on the connections.
Use Compatible Replacement Parts
Always match replacement tubing and connectors to the refrigerator manufacturer’s specifications.
A cheap but incompatible fitting can create another leak.
Be Careful When Moving the Refrigerator
Avoid pulling or pushing the appliance without checking its water line. Never allow the tubing to become trapped between the refrigerator and the wall.
Check for Small Leaks Early
A small drip can eventually damage flooring and cabinetry. Investigate visible moisture instead of waiting for a large puddle to appear.
Frequently Asked Questions
1. Why is my refrigerator water line leaking behind the fridge?
A refrigerator water line may leak behind the appliance because of a loose connection, damaged tubing, a faulty inlet valve, or a leaking shut-off valve. Start by checking the accessible tubing and connections before replacing any parts.
2. Can I fix a leaking refrigerator water line myself?
Yes, some external water line problems can be fixed at home. A loose compatible fitting or damaged external supply line may be manageable for someone with basic plumbing skills. Internal tubing, electrical valves, and household plumbing repairs may require professional help.
3. How do I stop my refrigerator water line from leaking?
First, close the water shut-off valve. Find the source of the leak, then repair the compatible loose connection or replace damaged tubing. Restore the water supply slowly and check every connection before using the dispenser or ice maker.
4. Can a refrigerator water line be repaired instead of replaced?
It depends on the damage. A loose connection may only need proper reseating. However, cracked or split tubing is generally better replaced than patched. Use a manufacturer-approved repair fitting only when the tubing and connection are suitable for that repair.
5. How much does it cost to replace a refrigerator water line?
The cost depends on the tubing material, replacement kit, connector type, refrigerator model, and labor rates in your area. A straightforward external line replacement is generally simpler than repairing an internal door line or household plumbing connection. Ask for a quote before approving professional work.
6. Is it safe to use a refrigerator with a leaking water line?
It is better to stop using the water dispenser and ice maker and shut off the water supply until the leak is repaired. A small leak can still damage floors and cabinets. If water reaches electrical components, stop using the appliance and arrange professional assistance.
7. Where is the refrigerator water shut-off valve located?
The shut-off valve is commonly found behind the refrigerator, under the kitchen sink, in a nearby utility area, or in a basement. Its location depends on how the household plumbing was installed.
8. How do I know what size refrigerator water line I need?
Check the refrigerator’s installation manual or model-specific parts information. Some refrigerators use 1/4-inch outside-diameter tubing, but this is not universal. Confirm the material, size, and connector type before purchasing a replacement.
9. Can moving the refrigerator cause a water line leak?
Yes. Pulling or pushing the refrigerator can kink, pinch, stretch, or damage the supply tubing. It can also disturb a connection at the back of the appliance. Inspect the line after moving the refrigerator.
10. Should I turn off the ice maker if its water line is leaking?
Yes. Turn off the ice maker and close the water supply while the leak is being investigated. Do not restart it until the water connection has been repaired and tested.
Final Thoughts
A refrigerator water line leak is easier to fix when you find the actual source before replacing anything.
Start by turning off the water supply, then inspect the tubing, connections, shut-off valve, and refrigerator inlet. Tighten a compatible loose connection carefully, or replace damaged tubing with the correct water line and fittings.
Once the repair is complete, restore the water slowly and check for leaks before returning the refrigerator to normal use.
Most importantly, do not treat every puddle under a refrigerator as a water supply line problem. Identifying the correct source can save you time, prevent unnecessary part replacements, and help protect your kitchen from further water damage.

Hi, I’m the lead researcher and appliance enthusiast behind RefrigeratorSolve. With years of hands-on experience troubleshooting cooling systems and testing home appliances, I am dedicated to bringing you honest reviews, energy-saving tips, and practical solutions to keep your refrigerator running perfectly.