Replacing the water filter in your triple door refrigerator is a simple process I do myself every six months to ensure my water and ice taste fresh. It usually takes just a few minutes and requires no special tools.
My Guide to a Happier, Healthier Triple Door Refrigerator
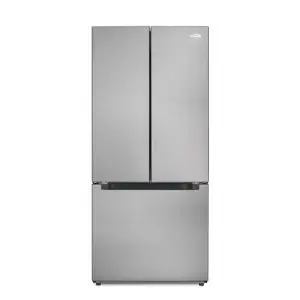
I remember the day my new triple door refrigerator was delivered. It was a thing of beauty—stainless steel, massive capacity, and that glorious built-in water and ice dispenser. For months, everything was perfect. The water was crisp, the ice was clear and solid. Then, one morning, I poured a glass of water and noticed something was… off. It had a faint, almost plastic-like taste. My ice cubes were starting to look a little cloudy. That’s when I saw it: a small, blinking light on the control panel next to the words “Filter Reset.”
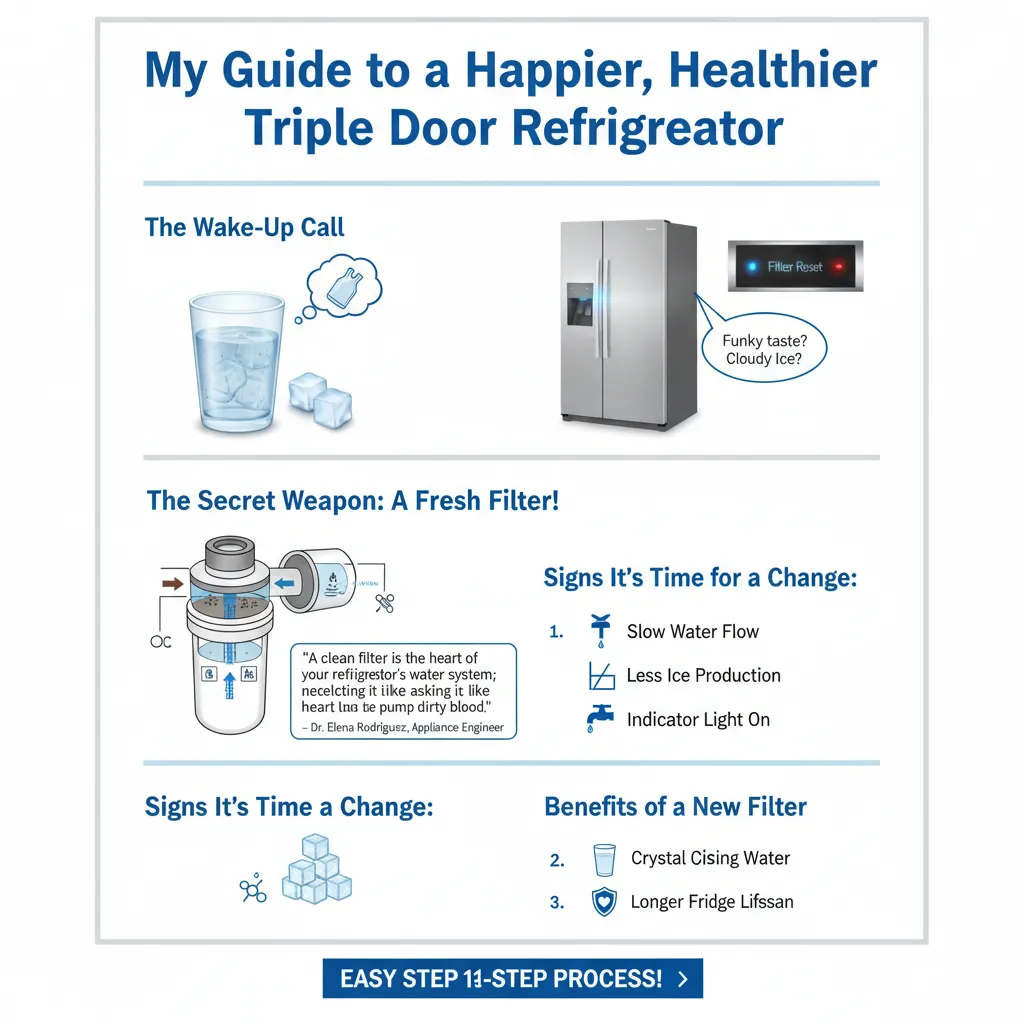
I’d almost forgotten this amazing appliance needed a little routine care. Like many people, I initially thought maintaining a fridge with a water filtration system would be a hassle. But let me tell you, from my own experience, it’s one of the easiest and most important things you can do. A fresh filter is the secret to great-tasting water, clear ice, and the long-term health of your refrigerator.
As one expert puts it, “A clean filter is the heart of your refrigerator’s water system; neglecting it is like asking your heart to pump dirty blood.” – Dr. Elena Rodriguez, Appliance Engineer.
This isn’t just about taste. That filter is a workhorse, silently capturing sediment, chlorine, and other potential contaminants from your water supply. Over time, it gets full. When it does, water flow can slow to a trickle, your ice maker might produce less ice, and those impurities you wanted to avoid can start making their way into your water glass.
So, if your water tastes funky, the flow is weak, or that handy indicator light is glaring at you, it’s time for a change. Don’t worry. I’ve done this many times now, and I’m here to walk you through the entire process, step-by-step. It’s easier than you think.
Getting Started: Know Your Fridge and Find Your Filter
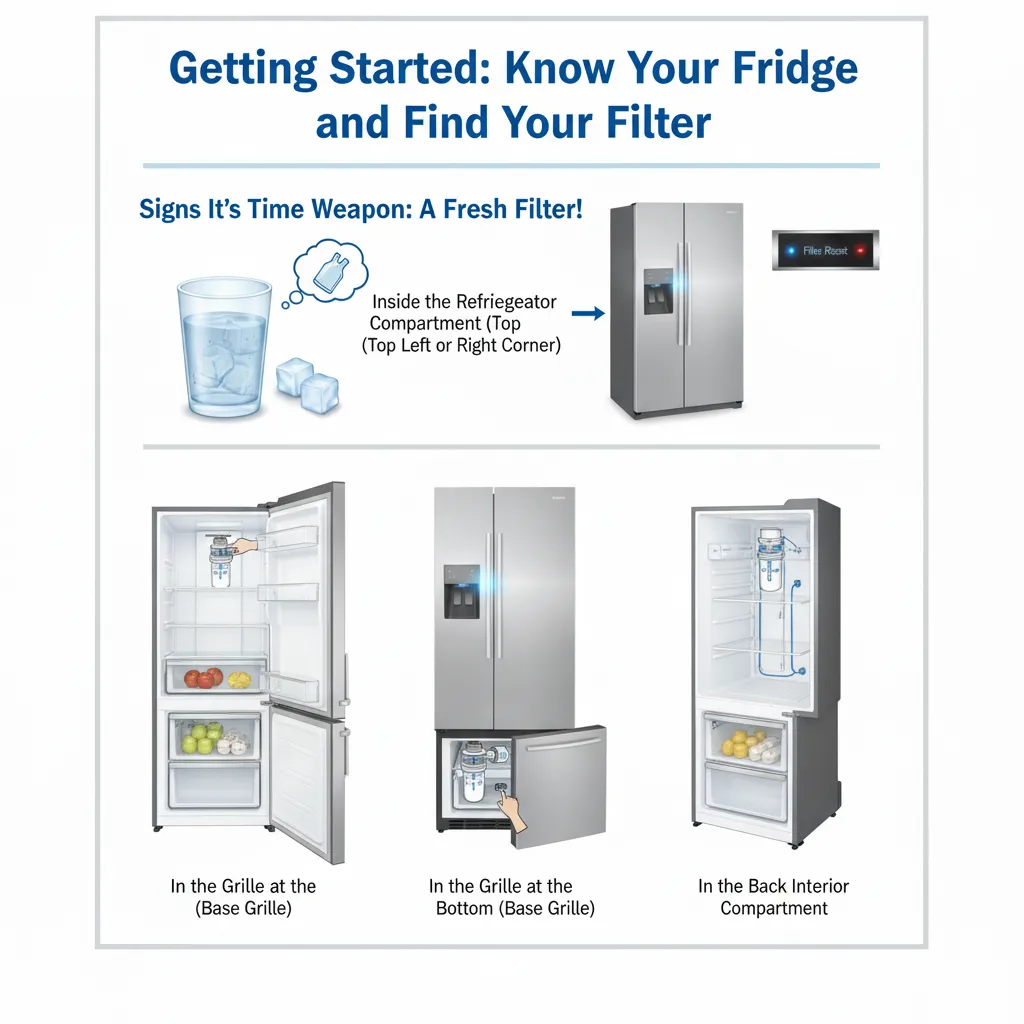
The first step is knowing what you’re working with. While all triple door fridges have a water filter, its location can vary. The three most common spots are:
- Inside the Refrigerator Compartment (Top Left or Right Corner): This is very common. Open your fresh food door (the middle door on most models) and look up at the top inside ceiling, either in the left or right corner. You’ll see a cylindrical cartridge or a cover that twists off.
- In the Grille at the Bottom (Base Grille): Some models hide the filter behind a small, removable panel at the bottom front of the refrigerator. You might need to open the freezer door to see it clearly.
- In the Back Interior Compartment: Less common in newer triple-door models, but some older designs have the filter mounted on the inside back wall.
Pro Tip from My Experience: The absolute easiest way to find your filter and get the right replacement is to check your owner’s manual. If you’ve misplaced it (who hasn’t?), a quick online search for your refrigerator’s model number will work wonders. You can usually find the model number on a sticker inside the main refrigerator compartment or on the door frame.
Speaking of model numbers, this is the golden ticket. Fridge water filters are not one-size-fits-all. Using the correct OEM (Original Equipment Manufacturer) filter or a certified compatible filter is crucial for performance and to keep your warranty valid.
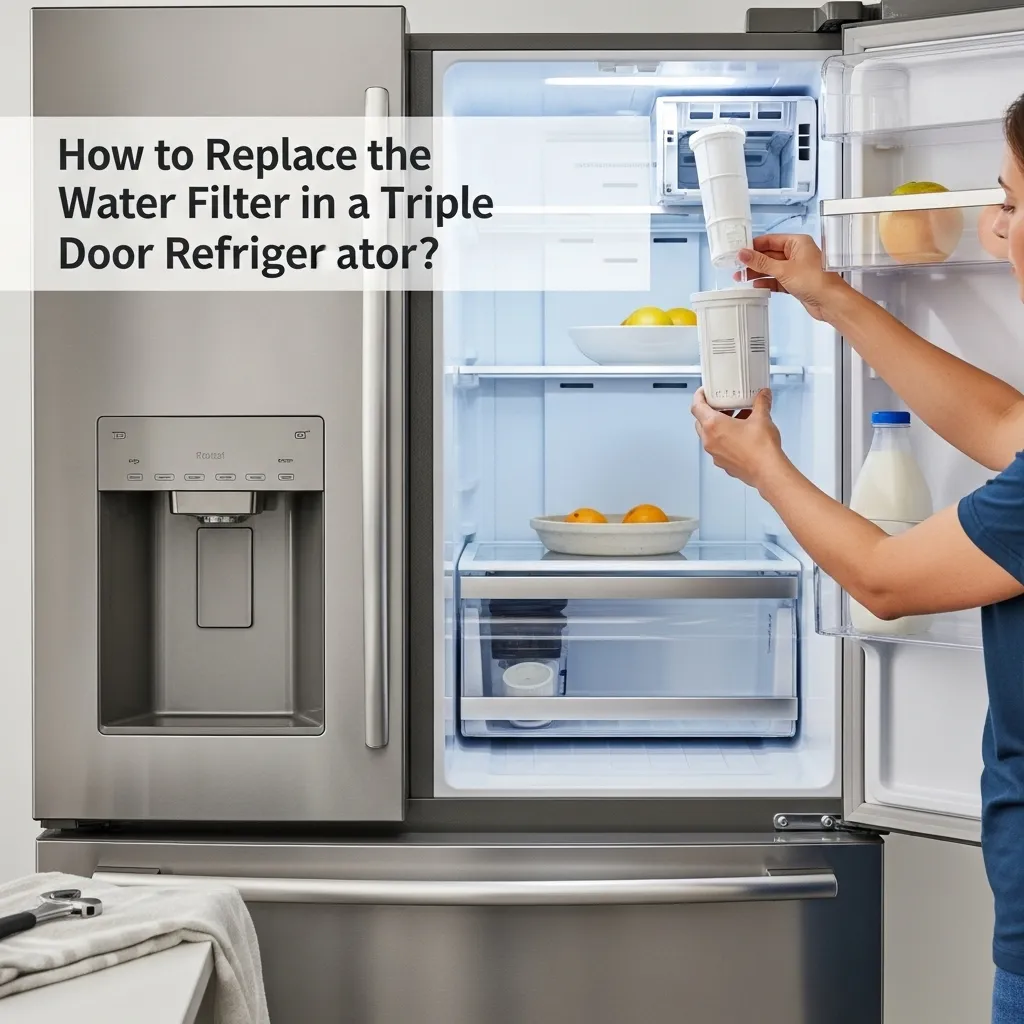
The Main Event: How to Replace Your Water Filter
Alright, let’s get to the good part. Here’s my simple, tried-and-true method. Remember to always check your manual for model-specific instructions, as the button-pressing sequence for resetting the light can sometimes differ.
What You’ll Need:
- Your new, compatible refrigerator water filter.
- A small towel or a cup.
- About 5 minutes of your time.
Step 1: Locate and Prepare
Find your filter based on its location (inside, base grille, etc.). I recommend placing a small towel or a cup on the floor directly beneath the filter housing. A little water might drip out when you remove the old cartridge, and this saves you from a mopping session.
Step 2: Remove the Old Filter
- For a push-in filter (inside the fridge): Push the filter in gently, then pull straight out. It might feel snug, but it should release without excessive force.
- For a twist-and-lock filter (also inside the fridge): Turn the filter cartridge counterclockwise (lefty loosey!) about a quarter turn until it stops. It should then release and you can pull it straight down.
- For a base grille filter: You may need to open a small latch or door on the grille panel to access the filter. The removal process is typically a simple push or twist, similar to the interior models.
Step 3: Prepare the New Filter
Take your new filter out of its packaging. You’ll often see a protective cover over the O-rings (the rubber rings that create a watertight seal). Remove this cover. Some manuals suggest applying a light coat of drinking-water-safe lubricant to the O-rings, but this is often not necessary if they are pre-lubricated. Check your instructions.
Step 4: Install the New Filter
- Align the new filter with the slot. You’ll see arrows or markings on the filter that show the correct orientation.
- For a push-in filter, push it straight in until it clicks firmly into place.
- For a twist-style, insert it and turn it clockwise (righty tighty!) until it stops and locks.
- You shouldn’t have to force it. If it doesn’t seem to want to go in, double-check the alignment.
Step 5: The Most Important Step – flush and reset!
This is the step I skipped the first time and ended up with a few glasses of weird-tasting water.
- Flush: Once the new filter is installed, run at least 2 gallons (about 7.5 liters) of water through the dispenser. This purges air and any loose carbon particles from the new filter. Just dispense water into a pitcher or large bowl and discard it. You’ll know you’re done when the water runs completely clear and without any sputtering.
- Reset the Indicator Light: Now, find your “Filter Reset” or “Water Filter” button on the control panel. Press and hold this button for 3-5 seconds until the light changes from red or orange to blue or green, or until it stops blinking. This tells your refrigerator’s system that a new filter is installed and resets the timer for the next change.
And that’s it! You’ve successfully replaced your water filter. Your water should now taste clean and fresh, and your ice should be clear again within a day as the new filter does its job.
Keeping the Good Times Flowing: Maintenance and Troubleshooting
Replacing the filter is the main task, but a little extra care goes a long way in extending the life of your entire appliance.
How Often to Replace?
The general rule is every 6 months. However, this can change based on your water quality and how much you use your dispenser. If you have a large family and go through a lot of water and ice, you might need to change it more frequently, like every 4-5 months. If you live alone and use it sparingly, you might stretch it to 7 or 8. Let your taste buds and the indicator light be your guide. As the famous chef Julia Child once said, “The only real stumbling block is fear of failure. In cooking you’ve got to have a what-the-hell attitude.” I apply this to basic appliance maintenance, too! Don’t be afraid to try.
Troubleshooting Common Issues:
- Water is leaking from the dispenser area: This is often caused by a filter that isn’t seated all the way. Turn off the water supply to the fridge, remove the filter, check the O-rings for damage, and reinstall it firmly.
- The water flow is still slow after replacement: Did you remember to flush the system? Air in the lines can cause low flow. Flushing for a full 2 gallons should fix this.
- The indicator light won’t reset: Consult your manual for the exact reset procedure. Sometimes it requires a specific sequence, like holding two buttons simultaneously.
- My model doesn’t have an indicator light: No problem! Just mark your calendar or set a phone reminder for 6 months from the day you installed the new filter.
Why This All Matters
This simple act of maintenance does more than just improve taste. It protects your refrigerator’s internal parts. A clogged filter forces the water valve to work harder, which can lead to premature failure—a much more expensive repair than a filter change. It also ensures you’re getting the clean, healthy water you paid for. A study by the Water Quality Association found that proper filtration can significantly reduce lead, chlorine, and other common tap water contaminants. You invested in a great appliance; maintaining it properly protects that investment.
Frequently Asked Questions (FAQ) for How to Replace the Water Filter in a Triple Door Refrigerator?
Can I use a generic water filter instead of the brand-name one?
You can, but you must ensure it is certified and compatible with your specific model number. A certified generic filter can be a great cost-saving option, but an uncertified one could potentially void your warranty or not perform as well.
My new water has a slight black tint to it. Is this dangerous?
This is almost always harmless. It’s tiny carbon particles from the new filter flushing out. This is exactly why we flush the system for 2 gallons! It should clear up quickly. If it persists after several gallons, contact the filter manufacturer.
Do I need to turn off the water supply to the fridge to change the filter?
Generally, no. The filter housing is designed to be changed without shutting off the water. A very small amount of water may escape when the old filter is removed, which is why I recommend putting a towel down.
What happens if I don’t change my water filter for a year or more?
The filter becomes saturated and can no longer effectively remove contaminants. Water flow will decrease dramatically, taste will suffer, and you risk putting strain on your ice maker and water system, potentially leading to costly damage.
A Final Thought
Taking care of your triple door refrigerator doesn’t require a technician’s license. It requires a few minutes of your time twice a year. That simple, routine act of swapping out the water filter is the single best thing you can do to guarantee perfect water, clear ice, and the long-term health of your appliance.
It feels good to be in control of your home’s maintenance, and it feels even better to enjoy a cold, clean glass of water knowing you made it happen. You’ve got this!
As the wise home economist Martha Stewart reminds us, “Keeping your home clean and organized is a continual process, and the care of your appliances is a part of that wholesome endeavor.” It’s all part of creating a healthy and happy home. Now, go enjoy that fresh water

Hi, I’m the lead researcher and appliance enthusiast behind RefrigeratorSolve. With years of hands-on experience troubleshooting cooling systems and testing home appliances, I am dedicated to bringing you honest reviews, energy-saving tips, and practical solutions to keep your refrigerator running perfectly.