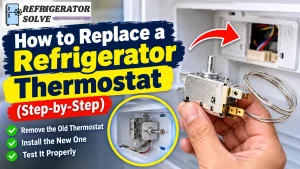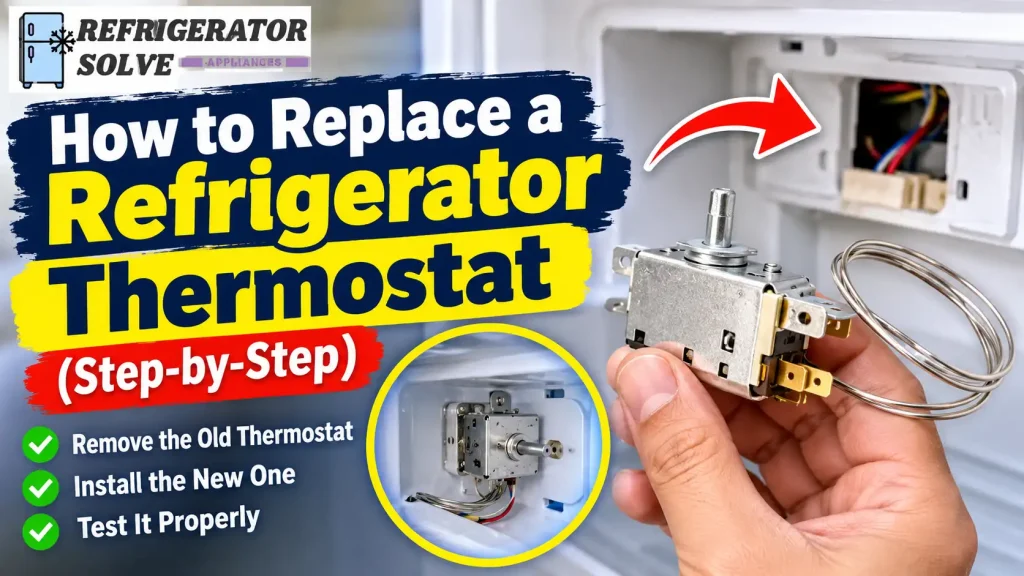
A faulty refrigerator thermostat can cause cooling problems, frozen food, or a compressor that runs longer than it should. Replacing a mechanical refrigerator thermostat may solve the issue, but you should first confirm that the thermostat is actually defective and buy a replacement that matches your refrigerator’s model.
In this guide, I’ll explain how to identify the correct thermostat, remove the old component, install the replacement, and check whether your refrigerator is cooling properly. I’ll also cover important safety precautions because thermostat designs and wiring arrangements vary between refrigerator models.
Quick Answer: To replace a mechanical refrigerator thermostat, unplug the appliance, access the thermostat control housing, photograph the wiring, remove the old thermostat and capillary tube carefully, install a compatible replacement, reconnect the wiring, and test the refrigerator. Always follow the repair instructions for your exact model.
What Does a Refrigerator Thermostat Do?
A refrigerator thermostat controls the temperature inside the refrigerator by regulating when the cooling system operates.
In a traditional refrigerator, a mechanical thermostat monitors temperature through a sensing bulb or capillary tube. When the temperature rises above the selected level, the thermostat closes an electrical contact to allow the compressor to operate. Once the desired temperature is reached, it opens the circuit and stops the compressor.
This process helps maintain a relatively stable temperature without requiring you to turn the refrigerator on and off manually.
However, not all refrigerators use the same temperature-control system.
Mechanical Thermostat vs. Electronic Thermistor
Before buying a replacement, identify which type of temperature-control component your refrigerator uses.
| Feature | Mechanical Thermostat | Electronic Thermistor |
|---|---|---|
| Appearance | Usually connected to a temperature dial | Usually a small sensor with wires |
| Operation | Uses mechanical temperature-sensitive components | Changes electrical resistance with temperature |
| Main purpose | Controls the cooling circuit in traditional designs | Sends temperature information to an electronic control board |
| Replacement | Usually replaced as a thermostat assembly | Requires a compatible sensor |
| Common location | Temperature-control housing | Refrigerator or freezer compartment |
A refrigerator with a digital display or electronic controls may use thermistors and a control board instead of a traditional mechanical thermostat.
Important: This guide focuses on replacing a mechanical temperature-control thermostat. Replacing an electronic thermistor, control board, or defrost thermostat involves a different procedure.
Signs Your Refrigerator Thermostat Needs Replacement
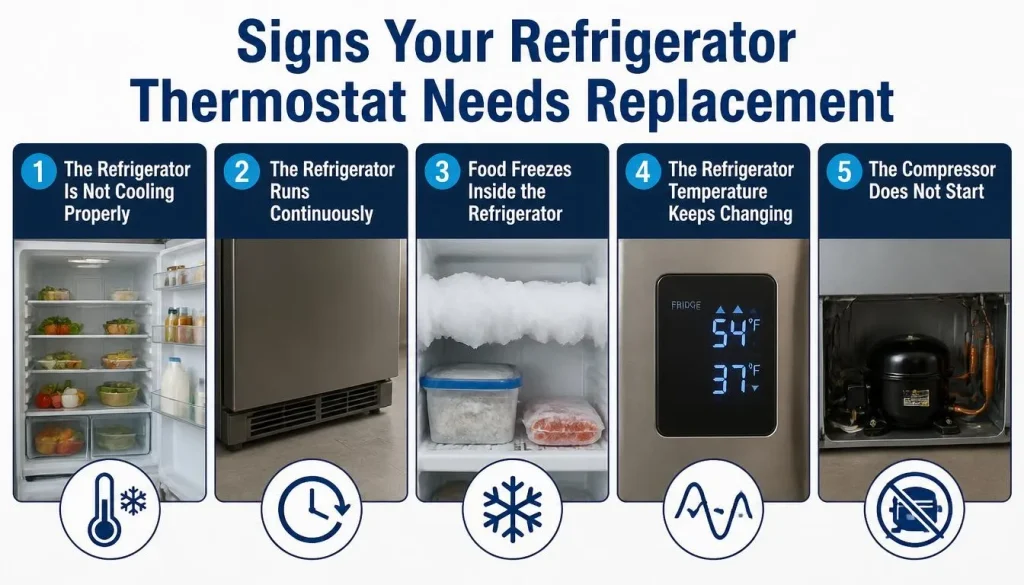
A faulty thermostat can affect how your refrigerator cools. However, these symptoms do not automatically mean the thermostat is bad. Other components can cause similar problems.
Here are some signs worth investigating.
1. The Refrigerator Is Not Cooling Properly
A thermostat that fails to close its electrical contacts may prevent the compressor from receiving the correct operating signal.
You may notice that the refrigerator feels warm even though it is plugged in and appears to have power.
Before replacing the thermostat, check the temperature settings, condenser coils, evaporator fan, and other cooling components.
You can also read our guide on why a refrigerator is not cooling but the freezer is working to understand other possible causes.
2. The Refrigerator Runs Continuously
A mechanical thermostat should stop the cooling cycle when the selected temperature is reached.
If its contacts remain closed or its sensing mechanism stops responding correctly, the compressor may run longer than normal.
However, continuous operation can also result from dirty condenser coils, damaged door seals, high room temperatures, or frequent door opening.
3. Food Freezes Inside the Refrigerator
Sometimes, a defective thermostat fails to stop the cooling cycle at the correct temperature.
This can make vegetables, milk, drinks, and other refrigerated items freeze.
A thermostat stuck in the cooling position may be responsible, but an incorrectly adjusted temperature control or a faulty electronic sensor can produce similar symptoms.
4. The Refrigerator Temperature Keeps Changing
A refrigerator that alternates between too warm and too cold may have a temperature-control problem.
If the temperature changes even when you leave the settings alone, inspect the thermostat and other components that control cooling.
5. The Compressor Does Not Start
A defective mechanical thermostat may fail to complete the compressor control circuit.
However, a failed start relay, overload protector, wiring connection, compressor, or control board can also prevent the compressor from starting.
Do not replace the thermostat based on this symptom alone.
Could Something Else Be Causing the Problem?
Before ordering a new thermostat, check these common issues:
- Dirty condenser coils: Dust and debris can reduce the refrigerator’s ability to release heat.
- Faulty evaporator fan: Poor airflow can cause uneven temperatures.
- Damaged door gasket: Warm air can enter through gaps around the door.
- Defrost system failure: Ice buildup can block airflow inside the appliance.
- Faulty start relay: The compressor may not start properly.
- Defective thermistor or control board: Electronic temperature-control problems can look like thermostat failure.
If your freezer stays cold while the refrigerator section becomes warm, the problem may involve airflow, frost buildup, a damper, or an electronic sensor rather than the mechanical thermostat. Our guide to refrigerator cooling problems explains several of these possibilities.
Where Is the Refrigerator Thermostat Located?
The location depends on the refrigerator’s design and model.
On many traditional refrigerators, the thermostat is located inside the fresh-food compartment, close to the temperature-control dial.
You may find it:
- Behind the temperature-control knob.
- Inside the upper control panel.
- Behind a plastic thermostat housing.
- Near the refrigerator light assembly.
- Inside a separate control compartment.
Some models place the temperature-control system in a different location. Refrigerators with electronic controls may not have a removable mechanical thermostat at all.
Before removing any panel, check your refrigerator’s owner’s manual or manufacturer parts diagram. Use the complete model number to find the correct repair information.
What to Check Before Replacing a Refrigerator Thermostat
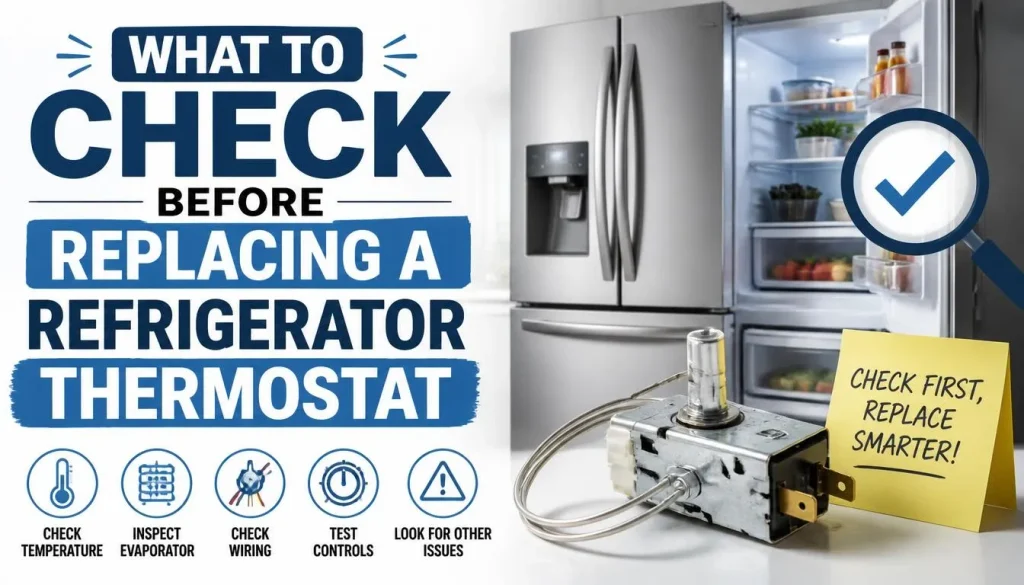
Replacing the wrong component wastes money and may not solve the cooling problem.
I recommend checking a few things before starting the repair.
1. Check the Refrigerator Temperature
Place an appliance thermometer inside the refrigerator and allow the temperature to stabilize.
FoodSafety.gov recommends keeping the refrigerator at 40°F (4°C) or below and the freezer at 0°F (-18°C) or below. These are useful targets when checking whether the appliance is maintaining a safe temperature.
You can read the official FoodSafety.gov refrigerator and freezer temperature guidance.
For more guidance, see our article on the ideal refrigerator temperature setting.
2. Check the Temperature-Control Knob
Make sure the knob is properly attached and can move through its normal settings.
Sometimes, a loose, damaged, or disconnected control knob creates the impression that the thermostat is not working.
Also, remember that the numbers on many refrigerator dials represent cooling settings, not exact temperatures.
3. Inspect the Thermostat and Wiring
Look for visible damage around the thermostat housing, wiring connectors, and control panel.
Burnt connectors, melted plastic, or damaged wiring require careful attention. Do not reconnect or reuse visibly damaged electrical components.
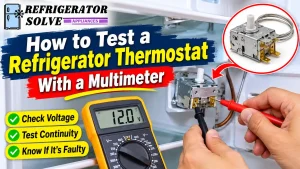
4. Test the Thermostat With a Multimeter
A multimeter can help determine whether a mechanical thermostat’s electrical contacts are opening and closing correctly.
However, the correct test depends on the thermostat model, terminal arrangement, temperature conditions, and manufacturer’s service specifications.
A general approach for a qualified person is:
- Disconnect the refrigerator from electrical power.
- Access the thermostat using the model-specific service instructions.
- Identify the correct terminals from the wiring diagram.
- Disconnect the appropriate wires after documenting their positions.
- Set the multimeter to the continuity or resistance setting.
- Check the contact behavior under the conditions specified by the manufacturer.
A continuity result by itself does not prove that every part of the thermostat is working correctly. A thermostat may respond electrically but still fail to regulate temperature properly.
Never perform resistance or continuity testing on an energized circuit. If you are unfamiliar with electrical testing, ask a qualified appliance technician to perform it.
How to Find the Correct Replacement Thermostat
This is one of the most important parts of the repair.
Do not choose a replacement thermostat simply because it looks similar to the original one.
Check the following details:
- Full refrigerator model number: The complete model number helps identify the correct replacement part.
- Original thermostat part number: Compare the number on the existing component with the manufacturer’s parts listing.
- Electrical specifications: Check the required voltage and contact ratings.
- Capillary tube length: The replacement must have the correct sensing arrangement and suitable capillary length.
- Terminal configuration: The electrical connections must match the specified design.
- Mounting arrangement: The replacement must fit the original control housing.
Model-number suffixes can matter. Two refrigerators from the same brand may use different thermostat assemblies.
Check the manufacturer’s parts catalog or contact an authorized parts supplier before purchasing.
Can You Use a Universal Refrigerator Thermostat?
Some replacement thermostats are advertised as universal. However, that does not mean they will work with every refrigerator.
A universal thermostat is suitable only when its specifications and compatibility are confirmed for the refrigerator model.
An incorrect replacement may cause poor temperature control, improper compressor operation, or electrical problems.
For this reason, I recommend using an original manufacturer part or a verified compatible replacement whenever possible.
Tools and Materials Needed
Gather the correct tools before opening the control panel.
| Tool or Material | Purpose |
|---|---|
| Compatible replacement thermostat | Replaces the faulty component |
| Phillips screwdriver | Removes panel screws |
| Flathead screwdriver | Releases suitable clips or covers |
| Nut driver or socket set | Removes mounting nuts or screws |
| Multimeter | Checks electrical continuity when appropriate |
| Protective work gloves | Helps protect against sharp edges |
| Safety glasses | Protects your eyes during suitable repair work |
| Smartphone or camera | Records wiring and component positions |
You may not need every tool for your refrigerator. The exact requirements depend on its design.
How to Replace a Refrigerator Thermostat Step by Step
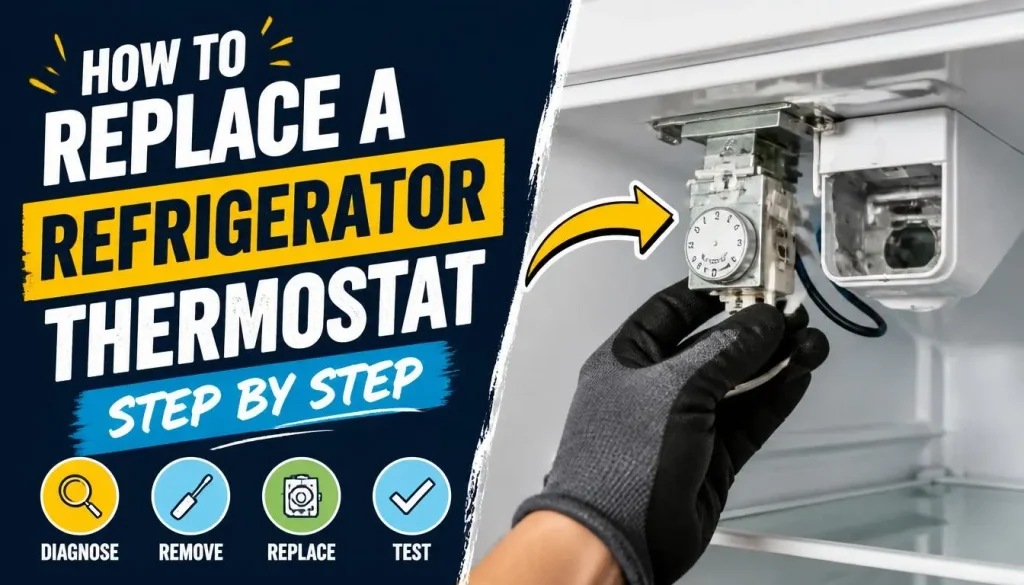
The following procedure is intended for an accessible mechanical temperature-control thermostat. Individual refrigerators may use different panel arrangements, mounting hardware, and capillary routing.
Safety warning: Unplug the refrigerator before starting. Never work on exposed electrical connections while the appliance is connected to power. If the thermostat is inaccessible, the wiring is damaged, or the repair requires force, stop and contact a qualified technician.
Step 1: Unplug the Refrigerator
Disconnect the refrigerator from the electrical outlet before opening the control panel.
If the plug is difficult to reach, switch off the correct circuit breaker. Make sure the appliance cannot accidentally receive power while you work.
Move nearby food and shelves if they obstruct access to the thermostat housing.
Wear suitable protective gloves because refrigerator panels can have sharp edges.
Step 2: Locate the Thermostat Assembly
Find the temperature-control knob or electronic control area.
On many traditional refrigerators, the mechanical thermostat sits behind the temperature-control knob inside a plastic housing.
Check the service instructions for your exact model before removing the panel. Do not assume the thermostat is located in the same place on every refrigerator.
Step 3: Remove the Control Knob and Cover
If your model uses a removable control knob, carefully pull it off the thermostat shaft as directed by the manufacturer.
Then remove the screws, clips, or other fasteners holding the control panel in place.
Use the appropriate screwdriver or nut driver.
Avoid forcing plastic clips. They can become brittle and break, especially on older appliances.
Some models require you to remove a light cover or bulb before accessing the thermostat housing. Follow the model-specific instructions rather than applying that step to every refrigerator.
Step 4: Photograph and Disconnect the Wiring
Before removing any wires, take clear photographs of the thermostat and its electrical connections.
Capture the terminal positions and connector arrangement from more than one angle if necessary.
Next, disconnect the appropriate wiring connectors according to the service instructions.
Pull on the connector body rather than the wire itself. Pulling directly on the wire can damage the terminal or loosen its connection.
Do not rely only on wire colors. Connector positions and terminal functions must match the manufacturer’s wiring diagram.
The official Zanussi thermostat replacement instructions also recommend recording the wiring positions before disconnecting them.
Step 5: Remove the Old Thermostat Carefully
After documenting and disconnecting the wiring, remove the thermostat’s mounting nut, screws, or retaining clips.
Gently lift the thermostat out of its housing.
Some mechanical thermostats have a capillary tube running from the control housing into a holder or sensing area inside the refrigerator.
Do not pull the thermostat out forcefully. First identify how the capillary tube is secured and how it passes through the appliance.
Step 6: Remove the Old Capillary Tube and Sleeve
The capillary tube is a sensitive part of a mechanical thermostat assembly.
Before removing it, inspect its route and take photographs so you know how the original component was installed.
Carefully release the tube from its retaining clips or holder. Remove any sleeve that the manufacturer specifies should be transferred to the new component.
Keep these points in mind:
- Do not sharply bend the capillary tube.
- Do not crush, cut, or puncture it.
- Do not pull against a tube that appears stuck inside the refrigerator liner.
- Keep track of the original routing and retaining clips.
- Do not force the sensing section into a different location.
If the capillary tube enters an inaccessible section of the refrigerator liner and will not come out freely, stop rather than risk damaging the appliance.
Step 7: Install the New Thermostat
Compare the new thermostat with the old one before installation.
Check the mounting arrangement, terminal positions, capillary tube, and part specifications.
Position the replacement thermostat in the original mounting location.
If the manufacturer instructs you to transfer a sleeve or other small component from the old thermostat, follow those instructions carefully.
Do not modify terminals, cut the capillary tube, or change the thermostat’s mounting arrangement to make an incompatible part fit.
Step 8: Route and Secure the New Capillary Tube
This step deserves special attention.
Follow the original capillary tube route as closely as the manufacturer specifies.
For models that use a capillary holder or retaining clips:
- Carefully unroll the replacement capillary tube.
- Position it along the original route.
- Insert it into the specified holder or sleeve.
- Secure it using the correct retaining clips.
- Check that it is not sharply bent, pinched, or trapped by the control panel.
The sensing section must return to its intended position because incorrect placement can affect temperature regulation.
The Frigidaire official thermostat replacement guide shows how a model-specific thermostat replacement involves transferring the capillary sleeve and securing the tube in its retaining clips.
The procedure will differ for other refrigerator models, so follow your appliance’s repair instructions.
Step 9: Reconnect the Wiring and Reassemble the Panel
Reconnect the electrical terminals using your photographs and the manufacturer’s wiring diagram.
Make sure each connector is fully seated in its specified position.
If your model uses a grounding wire, reconnect it exactly as specified.
Next:
- Secure the thermostat in its housing.
- Reinstall the control knob.
- Check the capillary tube routing.
- Refit the thermostat cover.
- Reinstall the control panel screws or clips.
- Reconnect any panel harnesses or other components removed during the repair.
Before restoring power, check that no wire is trapped between the panel and refrigerator liner.
Step 10: Restore Power and Test the Refrigerator
Once everything is correctly reassembled, plug the refrigerator back into the outlet or restore the circuit breaker.
Set the temperature control according to the owner’s manual.
Listen for normal cooling-system operation and check that the refrigerator responds to the temperature setting.
Avoid opening the doors unnecessarily while the temperature stabilizes.
Use an appliance thermometer to check the actual temperature rather than relying only on how cold the refrigerator feels.
If the refrigerator does not cool properly, disconnect power again and review the installation only if you can do so safely. Persistent problems may indicate another faulty component.
How to Check If the New Refrigerator Thermostat Is Working
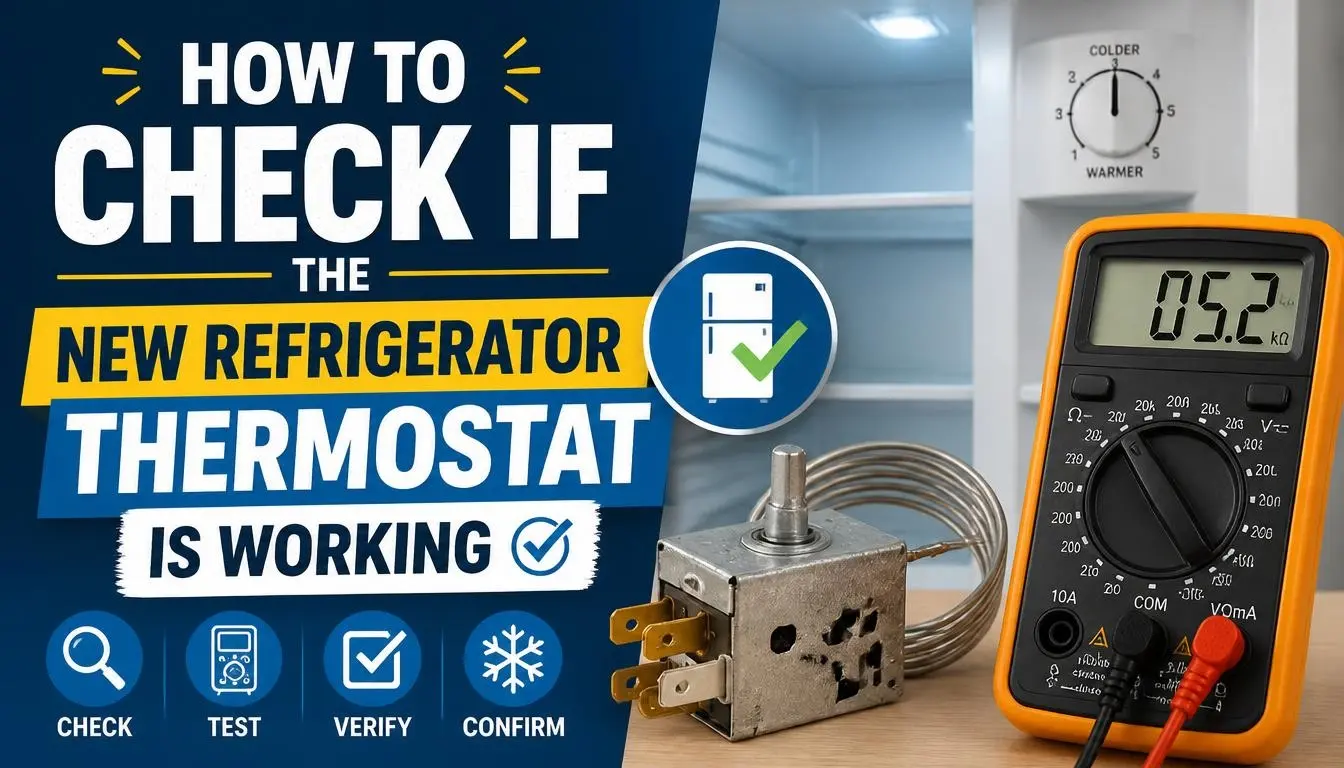
Replacing the component is only part of the repair. You also need to confirm that the refrigerator maintains the correct temperature.
Here is what to check.
1. Monitor the Refrigerator Temperature
Place an appliance thermometer inside the fresh-food compartment.
FoodSafety.gov recommends a refrigerator temperature of 40°F (4°C) or below. The freezer should be at 0°F (-18°C) or below.
Allow enough time for the refrigerator to stabilize after the repair. Some models may need several hours or longer, depending on their design and operating conditions.
2. Check Compressor Operation
The compressor should operate according to the refrigerator’s cooling demand.
It should not run continuously without reaching the selected temperature, nor should the refrigerator remain warm because the compressor never starts.
Remember that compressor operation alone does not prove the thermostat is correctly controlling temperature.
3. Check for Overcooling
Monitor the temperature to make sure food is not freezing unexpectedly.
If the refrigerator becomes too cold, recheck the temperature setting and consider whether the thermostat, sensing position, or another control component is causing the problem.
4. Watch for Repeated Cooling Problems
Keep an eye on the refrigerator during normal use.
If the temperature continues to fluctuate, the compressor does not cycle correctly, or cooling remains weak, another component may be responsible.
Do not keep adjusting the temperature control to hide a problem that needs diagnosis.
Common Mistakes to Avoid During Thermostat Replacement
A small installation mistake can cause more trouble than the original problem.
Avoid these common errors:
| Mistake | Why It Matters |
|---|---|
| Buying an incompatible thermostat | The refrigerator may not regulate temperature correctly |
| Forgetting to unplug the appliance | Exposes you to electrical shock |
| Connecting wires incorrectly | Can cause electrical or operating problems |
| Damaging the capillary tube | Can make the replacement thermostat unusable |
| Routing the capillary incorrectly | May affect temperature sensing |
| Leaving connectors loose | Can interrupt electrical operation |
| Skipping the final temperature test | You may not notice an unsuccessful repair |
| Replacing the thermostat without diagnosis | The original problem may remain |
The safest approach is to use the exact replacement part or a verified compatible alternative and follow the service instructions for your refrigerator.
When Should You Call a Refrigerator Repair Technician?
Not every thermostat replacement is suitable for DIY repair.
Contact a qualified appliance technician when:
- Your refrigerator uses an electronic thermostat or control board that you cannot safely diagnose.
- The wiring is burnt, melted, or damaged.
- The capillary tube is stuck or inaccessible.
- You cannot identify the correct replacement part.
- The thermostat requires more disassembly than the manufacturer’s instructions explain.
- The compressor still does not operate after the repair.
- The refrigerator has a sealed-system or refrigerant-related problem.
- You are not comfortable working with electrical components.
Also check your warranty before opening the appliance. Self-repair may affect warranty coverage, depending on the manufacturer’s terms and the type of repair.
For additional guidance, consult the Zanussi official repair and safety instructions or your refrigerator manufacturer’s service documentation.
Refrigerator Thermostat Replacement Cost
The total cost depends on the refrigerator brand, model, thermostat design, replacement part availability, and local labor rates.
There are usually two main expenses.
Replacement thermostat: The part price depends on whether you need an original manufacturer component or a verified compatible replacement. Less common refrigerator models may require more expensive or harder-to-find parts.
Professional labor: A repair technician may charge for diagnosis, labor, travel, and any additional parts needed to complete the repair.
If you plan to replace the thermostat yourself, compare the part cost with a professional repair estimate before starting.
For refrigerators that are still under warranty, contact the manufacturer or authorized service provider first.
Frequently Asked Questions
How do I know if my refrigerator thermostat is bad?
Common warning signs include a refrigerator that does not cool properly, food that freezes unexpectedly, continuous compressor operation, or inconsistent temperatures. However, these symptoms can also result from a faulty fan, start relay, thermistor, control board, or another cooling problem. A proper diagnosis is necessary before replacing the thermostat.
Can I replace a refrigerator thermostat myself?
You may be able to replace an accessible mechanical thermostat if you have the correct replacement part, suitable tools, and the model-specific repair instructions. However, electronic temperature-control systems and complicated wiring arrangements may require professional service.
How long does it take to replace a refrigerator thermostat?
The time varies by refrigerator model and thermostat location. An accessible mechanical thermostat may be relatively straightforward to replace, while models requiring extensive panel removal or difficult capillary tube access can take longer. Allow additional time for checking the refrigerator’s temperature after installation.
Do I need to unplug my refrigerator before replacing the thermostat?
Yes. Always disconnect the refrigerator from electrical power before removing its control panel or handling thermostat wiring. Never work on exposed electrical connections while the appliance is energized.
Can I use a universal thermostat in my refrigerator?
Only when the replacement is specifically confirmed as compatible with your refrigerator. Check the electrical ratings, terminal arrangement, capillary specifications, and mounting requirements. A similar appearance does not guarantee compatibility.
Will replacing the thermostat fix a refrigerator that is not cooling?
It may fix the problem if the mechanical temperature-control thermostat is defective. However, poor cooling can also result from dirty condenser coils, fan problems, a failed start relay, a faulty thermistor, or a control-board issue. Diagnose the cause before ordering a replacement.
What happens if a refrigerator thermostat gets stuck?
If the thermostat remains in the cooling position, the refrigerator may run too long and become excessively cold. If it fails to activate the cooling circuit when needed, the refrigerator may become too warm. The exact symptoms depend on the thermostat design and failure.
Is a refrigerator thermostat the same as a thermistor?
No. A mechanical thermostat generally controls an electrical circuit through temperature-sensitive mechanical components. A thermistor is an electronic temperature sensor that changes resistance as temperature changes. Refrigerators with electronic controls use thermistors with a control board to regulate cooling.
How much does it cost to replace a refrigerator thermostat?
The cost depends on the refrigerator model, replacement part, local parts availability, and technician labor charges. Ask for a quote that separates the part price from diagnosis and labor so you can compare repair options.
Final Thoughts
Replacing a refrigerator thermostat can solve certain cooling problems, but it is important to identify the correct faulty component first.
Start by checking the temperature, inspecting the control system, and confirming whether your refrigerator uses a mechanical thermostat or an electronic sensor. Once you have the correct replacement part, follow the model-specific instructions carefully, especially when disconnecting the wiring and handling the capillary tube.
After installation, check the actual refrigerator temperature with an appliance thermometer. If the appliance still does not cool properly, avoid replacing more parts without a proper diagnosis.
A careful repair can restore normal temperature control, but using the correct part and following the manufacturer’s safety instructions should always come first.

Hi, I’m the lead researcher and appliance enthusiast behind RefrigeratorSolve. With years of hands-on experience troubleshooting cooling systems and testing home appliances, I am dedicated to bringing you honest reviews, energy-saving tips, and practical solutions to keep your refrigerator running perfectly.